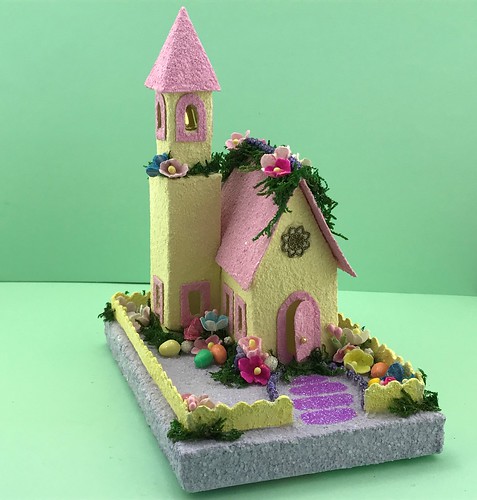
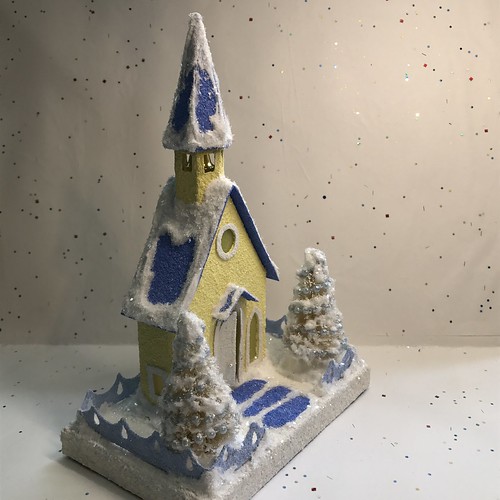
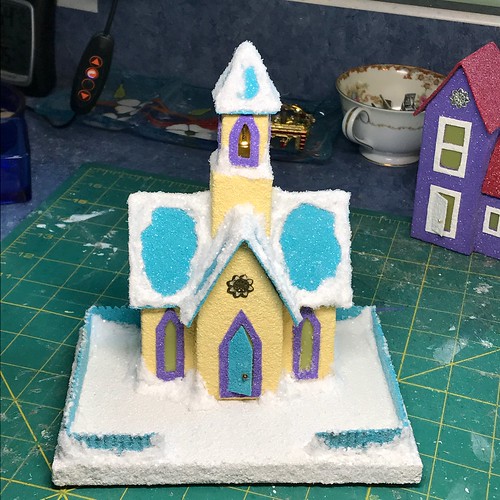
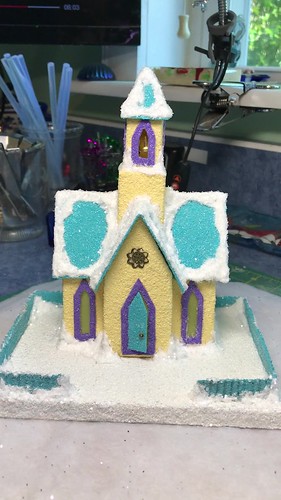
When I began to make Putz churches, I had to devise a way to hang bells in the bell towers. Following is the method I use. The bells hang freely from a small chain and swing back and forth if the church is moved. Two examples…
Basically, I make a ceiling for the bell tower and hang the bell from the ceiling. I assemble the ceiling and bell as a complete part before placing it in the tower.
Supplies needed:
- Cardboard piece for the bell tower ceiling
- Pencil
- Ruler
- Acrylic paint
- White Glue
- Sand / optional for vintage-style texture
- Paint brush
- Glitter
- Glitter tray
- A small bell / The type I use are called “liberty bells” in craft supply stores. They are available in gold and silver.
- Short piece of chain link
- Wire cutters
- Needle-nose tweezers
- Small jump ring
- Hot glue gun
After cutting the pattern pieces, assemble the church to the point of placing the bell. If the pattern you are using doesn’t have a pattern piece for hanging the bell, cut one from cardboard that is the size and shape of your bell tower. The belltower I am using is a 3/4″ square, so I cut 3/4″ square of poster board.
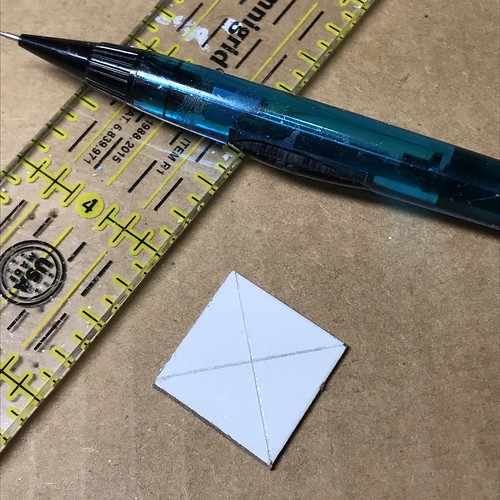
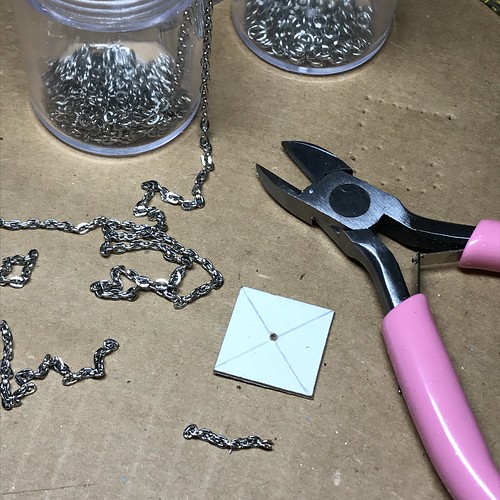
Mark the center of the ceiling piece by drawing an X from the corners through the middle of the pattern piece.
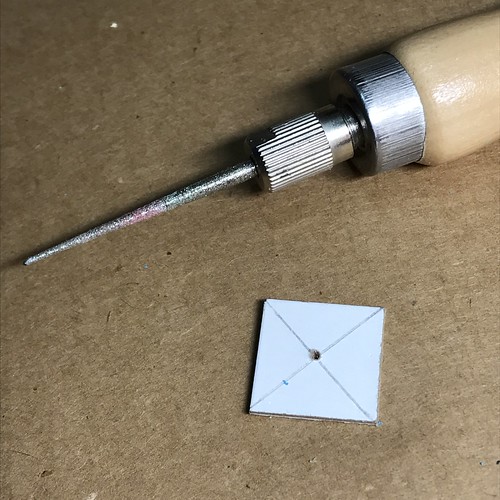
Use a sharp-pointed tool to drill a hole in the center of the ceiling piece. My tool is a bead reamer.
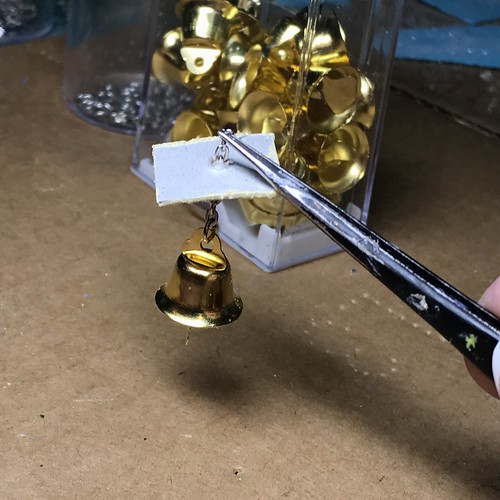
Cut a small piece of chain.
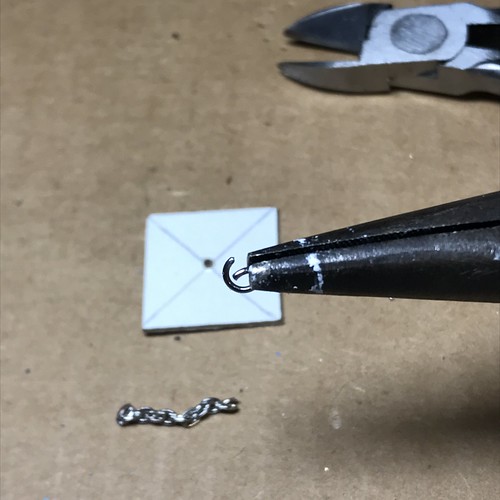
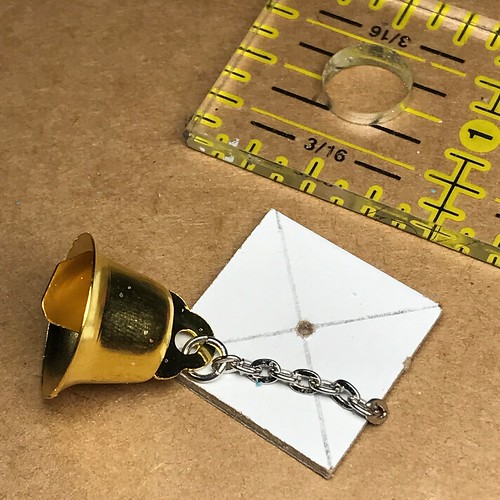
Attach the bell to the chain, using a small jump ring.
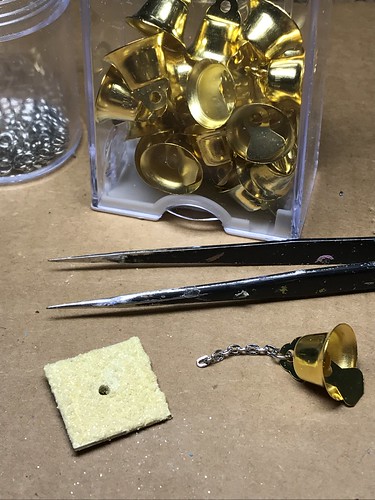
Paint the ceiling. Let it dry. Give it a second coat, and while the paint is still wet, coat it with glitter. When the paint is dry, reopen the hole, if needed. I also paint and glitter the inside of the bell tower because it is visible when the Putz church is finished.
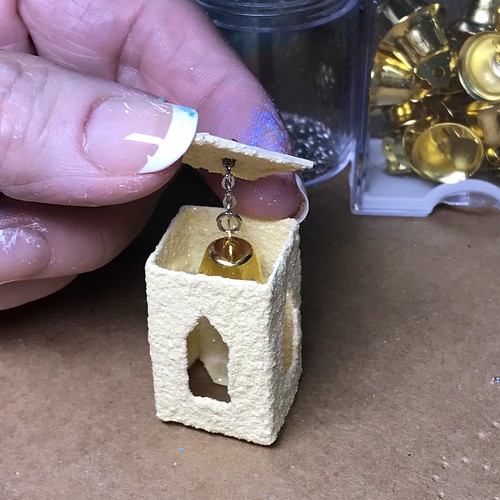
Pull the chain through the hole.
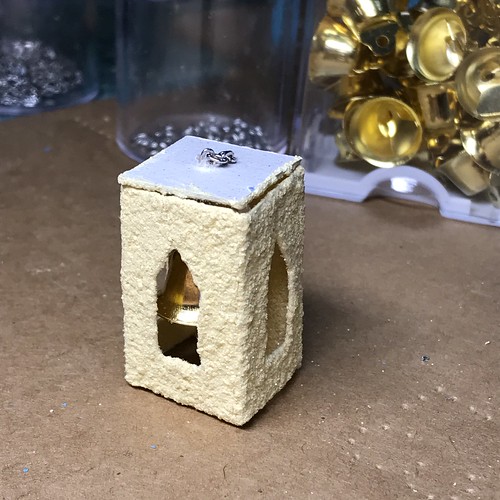
Set the ceiling on top the tower structure.
Adjust the chain until the bell sits where you want it.
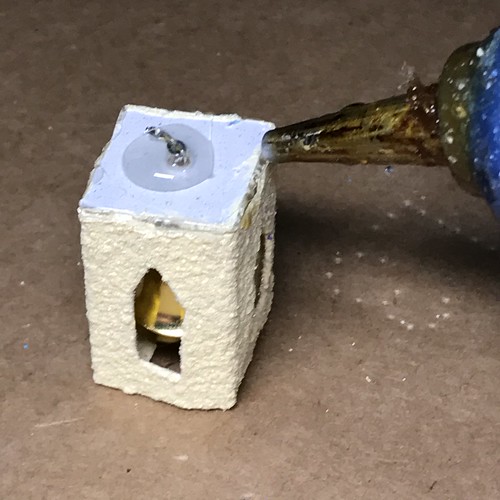
Hot glue into place by putting a glob of hot glue over the loose end of the chain. Place a thin line of glue around the edge of the ceiling. Make it thin so the steeple roof will be able to sit in place when assembled. Too much hot glue and the roof won’t fit properly.
At this point, continue to assemble your Putz church. Here’s the one I made today. I still need to add a front walk and embellishments.
I think the swinging bell adds a nice touch to the Putz church.
If you are interested in crafting some Putz houses and bottle brush trees of your own, check out my Putz tutorials for more information. Putz house tutorials
I am always happy to answer questions about the process. Please ask, if you are wondering about the details of putzing!
You can see my Putz houses and other Christmas ornaments in my Etsy shop.
All proceeds from my Etsy shop benefit Kenya Mercy Ministries. They work with the urban poor of Nairobi, Kenya, particularly the children and their families who live in Kibera, the largest slum in Africa. Thank you for your part in helping these children when you purchase items from my shop!
~~Rhonda
One Comment
Ok, easy and hard with such small pieces. Thank you, I will need to remember this when I get skilled enough to tackle a church. Cross my fingers because I want a whole village.