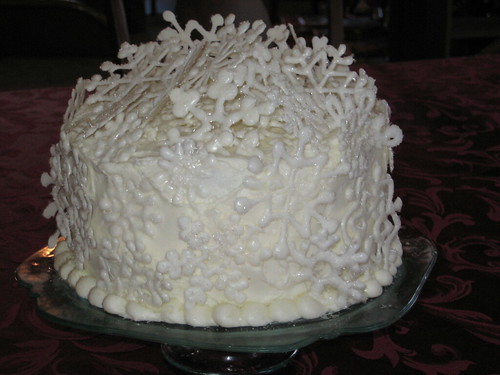
The snowflake cake turned out beautifully. I initially tried white chocolate for the snowflakes, but it had a yellow tint to it, so I decided to use almond bark instead. Much whiter. I liked the way it looked.
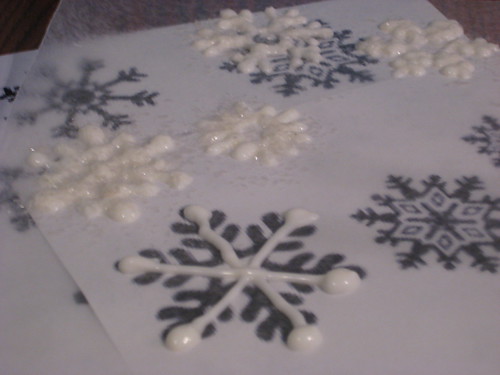
I googled < snowflake clip art > and copied the ones I liked into Print Shop, where I pasted several copies, sizing them into small, medium and large. I printed several sheets and used them as patterns.
I melted the almond bark in the microwave at 50% power until almost melted, then stirred it until completely melted. I placed it in a piping bag using a very small writing tip, reheating the bag for a few seconds occasionally if the almond bark hardened.
I put a piece of waxed paper over the patterns and piped onto the waxed paper. If you try this at home, you may want to tape the pattern and the waxed paper down while you pipe to keep the papers from shifting as you work.
While they were still wet I sprinkled some of the snowflakes with edible glitter and some with sanding sugar.
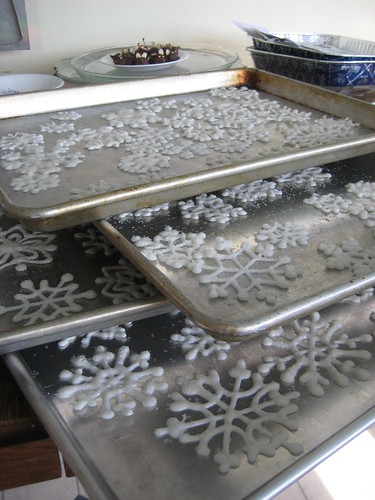
When the snowflakes had hardened, I peeled them off the waxed paper and stored them on cookie sheets until needed.
Not hard to do. Just a bit time consuming. 🙂 After frosting the cake, I pressed the snowflakes into the frosting. They break easily, so I made plenty of extra. For the top of the cake, I leaned a few against each other and then leaned others next to them to make a pile of snowflakes. Very pretty!
~~Rhonda


2 Comments
I think you did w wonderful job and thank you so very much for sharing. I will use your recipe and try this out . Thanks for all your help in caring to share. Merry Christmas to all
Samantha, it was a fun project. I hope you enjoy it, too! ~~Rhonda 🙂
One Trackback
[…] is DH’s birthday. I made his favorite…red cake. Used the leftover snowflakes from Monday night’s dessert to decorate the cake. DD put five candles on one side and four on the other to mark DH’s 54th […]