Sometimes, when making Putz houses, it can be hard to find items small enough for use as embellishments, such as wreaths, snowmen, etc. Now that I am making mini and tiny-mini sized Putz houses, I have started making my own wreaths to get the sizes I want. It’s easy, it’s cheap, and they can be made in any size needed.
This tiny wreath is no more than 1/2″ wide.
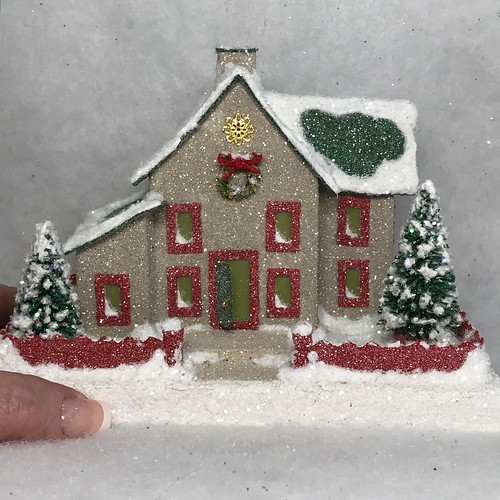
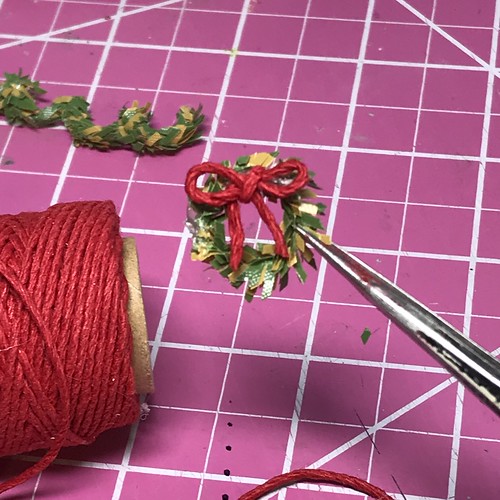
The wreath on this tiny mini barn is about 3/4″ wide.

To make wreaths and garlands, you will need:
- evergreen chenille stems / I like the ones with both green and brown bristles, but all green is fine. Chenille stems used to be called pipe cleaners, for those of us at the older end of the generation…
- scissors
- a tapered round stick (like a paint brush handle) for making wreaths in different sizes
- a straight round stick (like a paint brush handle or a dowel rod) for making garlands or for making a lot of wreaths in one size
- wire clippers
- round nose pliers
- flat nose pliers
- hot glue gun
- thin red cord for making bows
- needle nose tweezers are helpful, but not required
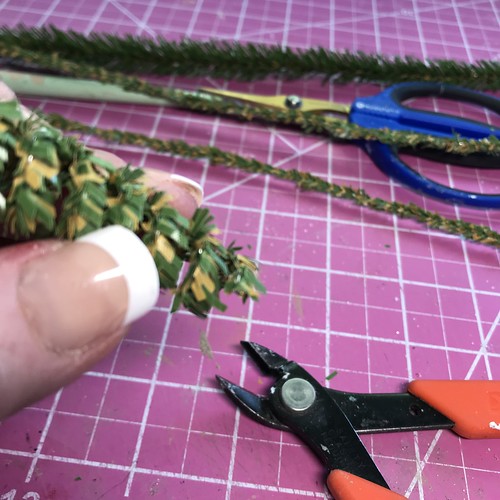
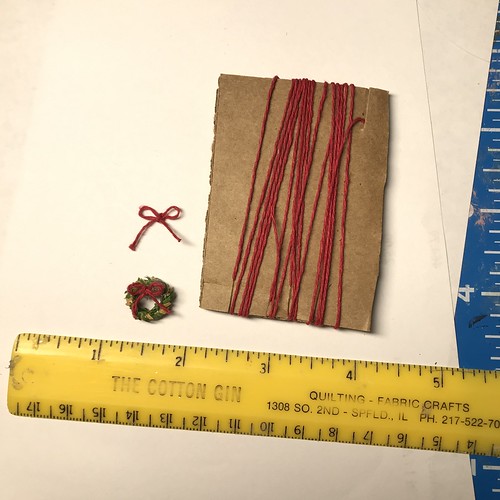
The chenille stems I have are about 1/2″ wide. They are probably available in smaller sizes, but I am using what I have on hand. I trim them with scissors until they are very small. Below, the original stem is at the top, the trimmed stems are on the bottom.

making wreaths
Wrap the trimmed chenille stem around the stick. Use a tapered stick if different sized wreaths are wanted. Keep the coils close together.
If you want to make a lot of wreaths in the same size, find a non-tapered, round stick that will make the size you want the wreaths to be.

When the chenille stem has been completely wound around the stick, slide it off the end.

Don’t pull or stretch it apart.

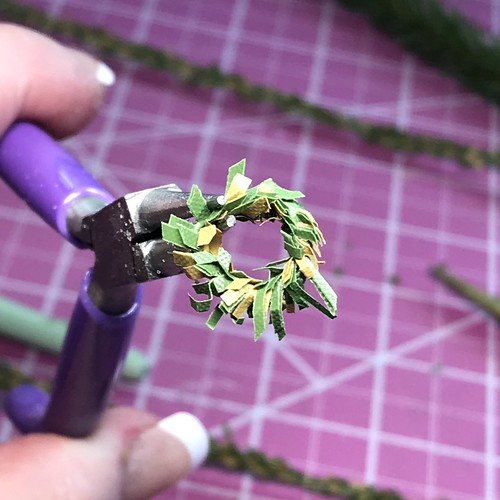
To cut circles, use wire cutters to cut the loop directly above the end of the wire.

The cut will make a complete circle of chenille stem.
Cut all the loops.

Put a drop of hot glue on one end of the wire and hold the two ends together until the hot glue hardens. Don’t overlap the wire. Push the wire end to end and hold till the glue sets.

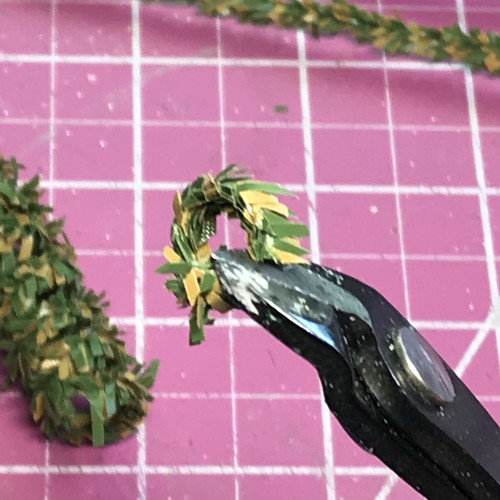
Some of the loops may not make a complete circle. Especially at the end of the chenille stem. That can be remedied with round nose pliers, like those used in jewelry making or beading.

Using the pliers, gently bend the ends until the loop makes a complete circle. The round nose pliers curve the wire rather than bending it at a sharp angle, so a nice circle is made when done.
Using a tapered stick, wreaths of different sizes can be made at the same time. I find this handy! I make several batches of wreaths at a time. When I need one, I have a good variety of sizes to choose from.
To the left is a 3/4″ wreath. The one on the right is 1/2″.

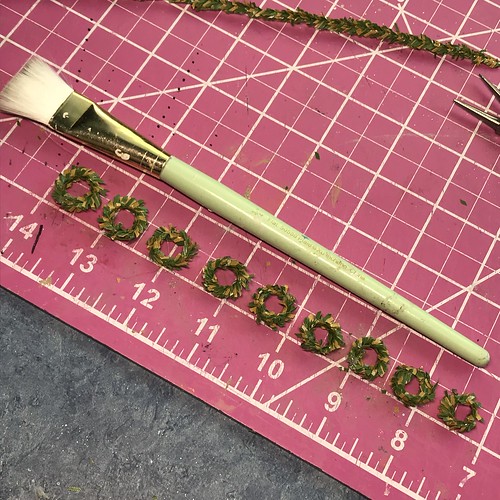
When the glue is hardened so the wreath is a complete circle, the bristles can be trimmed to round out the look of the wreath.
This paint brush made these nine sizes with one chenille stem. A thicker paint brush would make larger wreaths, a thinner one would make smaller wreaths.
bows for the wreaths
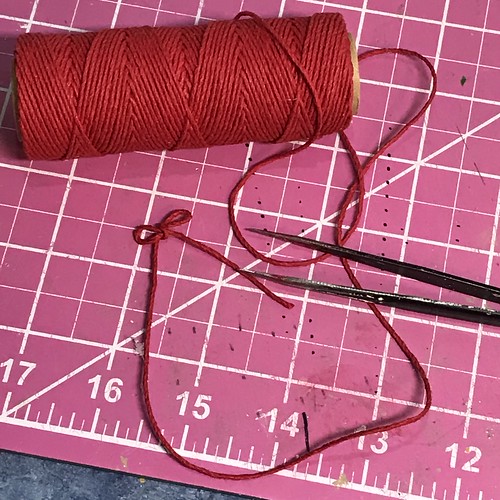
To make bows for the wreaths, use a thin cord. I like this
20-pound weight, 1mm, hemp cord which I bought on amazon. Hemptique
I used to have a piece of very small, wired, red cord which I really liked, but, when I had used it all, I wasn’t able to find a source for more. The wired ribbon was perfect for making neck scarves for tiny snowmen. It could be shaped to look like it was blowing in the winter breeze.
The hemp cord works fine and the three strands can be pulled apart for a fine thread to make tinier bows. I’ll show you how I do that below.
I find that leaving the cord attached to the spool makes it easier to handle the thin cord while making the bow. Tie a bow as close to the end of the cord as possible. Needle nose tweezers can be used to poke and pull the bow if needed. Pull the loops of the bow to make the center tight. Ajust the loops to the size needed.
Cut the cord from the spool and trim the ends to the length desired.
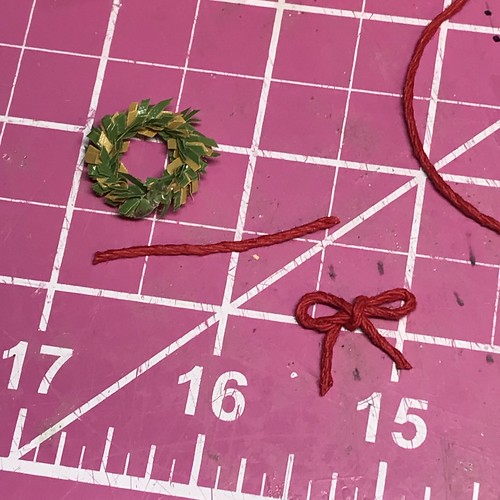
Use hot glue to attach the bow to the wreath to cover the spot where the wire ends were glued together. I usually glue bows to the top of the wreath, but they could just as easily be placed to hang from the bottom.
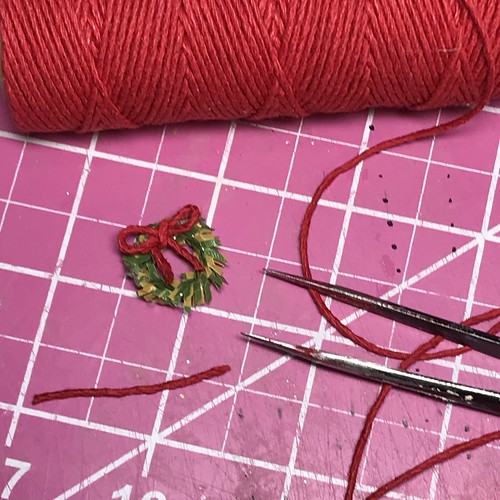
After making the wreaths and adding the bows, I put a tiny drop of white glue on the ends of the cord to prevent fraying. When dry, it won’t show.


tiny bows for the smallest wreaths
To make tinier bows, I cut about 24″ of the hemp cord and pull the three strands apart.

The individual strands are curly and need to be straightened before use.
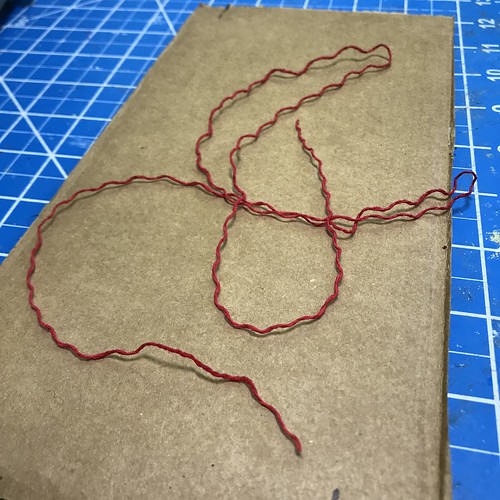
I dampen the strand to relax the fibers. I just wad it up in my palm and spritz it with a little water. Here it is after being dampened. Doesn’t have to be soaked.
I cut two slits in a piece of cardboard. One slit at the top left and one at the bottom right. I slip one end of the damp strand into the slit at the top and wind the strand around the cardboard, catching the other end at the bottom. Any leftover can be slipped into a slit cut on the side of the cardboard. The strand should be taut, but not stretched tight.

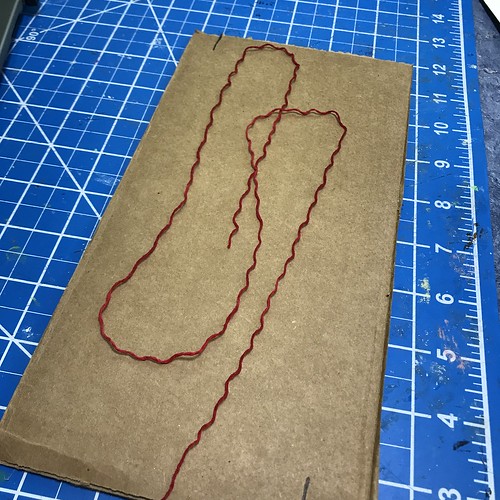
After the strand is dry, remove it from the cardboard. The curls will be gone.

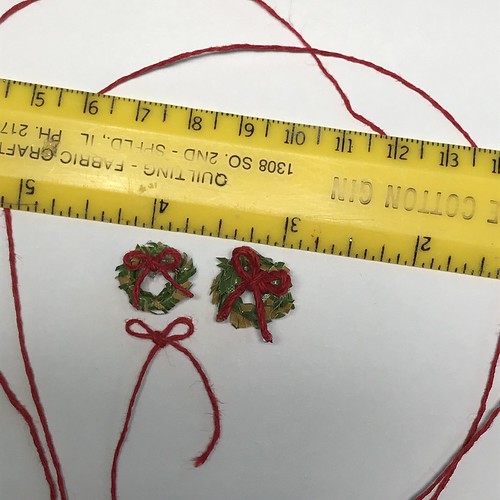
Make bows from the strand as explained above. Here is a picture of a wreath on the left made with the thinner strand. The wreath on the right has a bow made with the whole cord.

Leftover cordage is stored on a 2″ by 3″ cardboard, cut with slits to catch the ends of the cord.
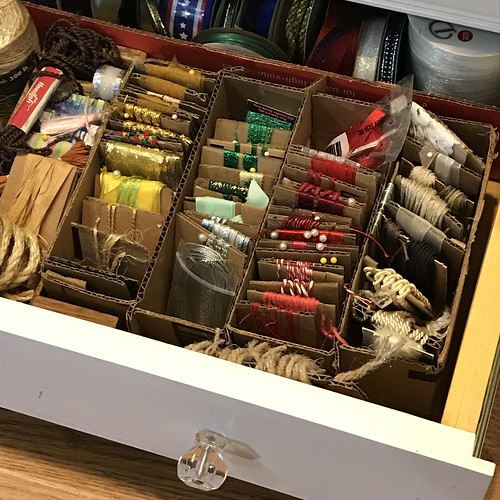
The bits and bobs are stored in my ribbon drawer until needed.
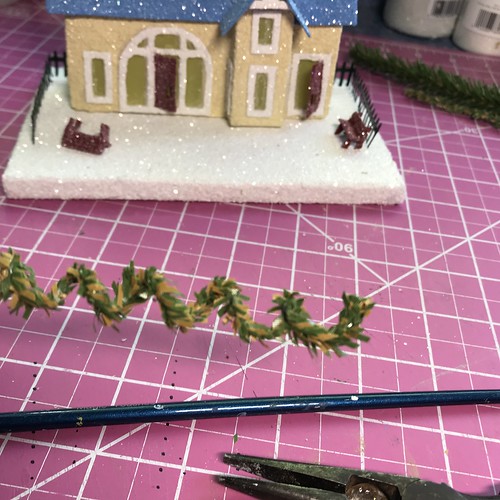
Garlands
To make a garland for a fence or roofline, start with a trimmed chenille stem and a straight, round stick. The paint brush I use is about 3/16″ wide.
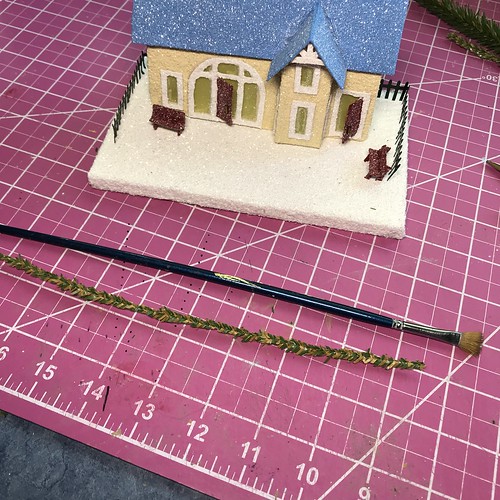
Curl the chenille stem around the stick, leaving a little space between the loops.
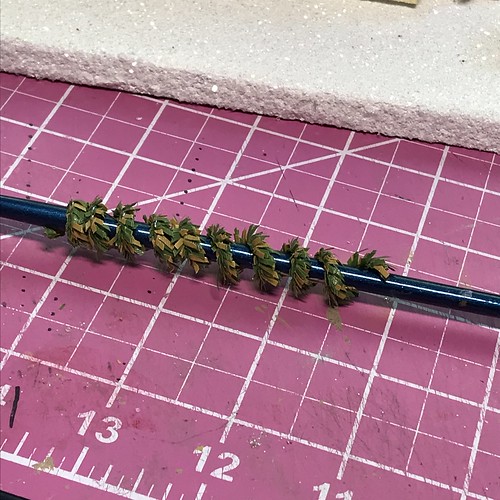
Remove the stem, but don’t pull it out of shape.

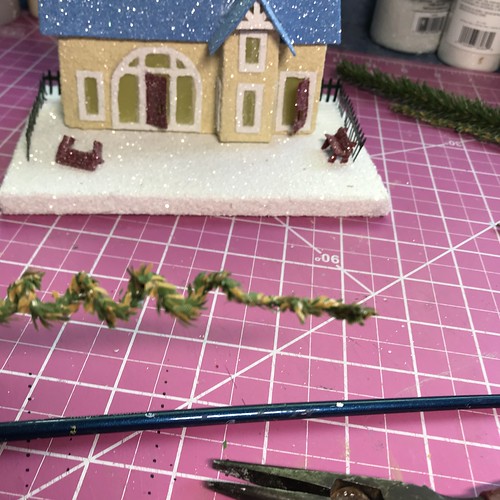
The next step is to flatten the circled loops to make flat loops. In this picture, the two loops on the right have been flattened.

I use flat nose pliers to squeeze the wire flat at the top of the garland loops.
This view is from the top, with the two flattened loops on the right.
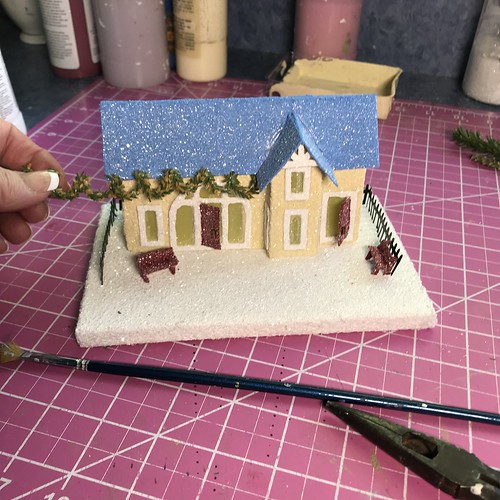
The garland can be added to a roofline.
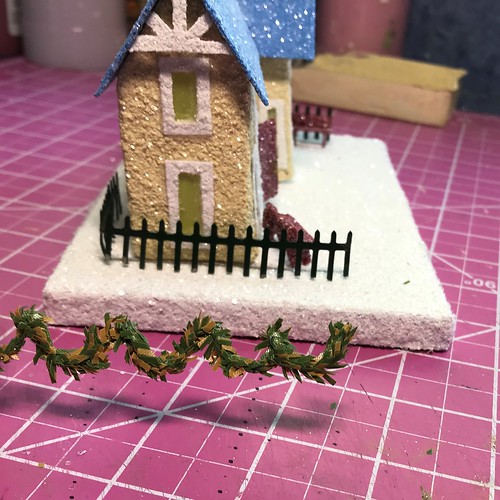
It can be added to a fence.
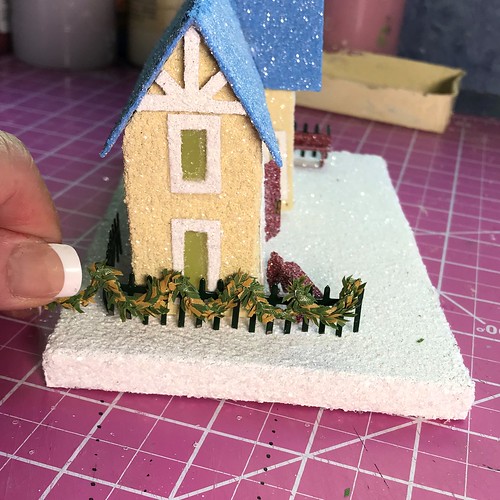
Here’s an example of a garland used on a fence made from twigs.

The smaller the wrapped loops are made, the smaller the finished garland loops will be.

If you would like clarification on any step in this tutorial, please ask!
You can see my Putz houses and Christmas ornaments in my Etsy shop.
If you are interested in crafting Putz houses of your own, check out my Putz tutorials for more information. Putz House Tutorials
I am always happy to answer questions about the process. Please ask, if you are wondering about the details of putzing!
All proceeds from my Etsy shop benefit Kenya Mercy Ministries. They work with the urban poor of Nairobi, Kenya, particularly the children and their families who live in Kibera, the largest slum in Africa. Thank you for your part in helping these children when you purchase items from my shop!
~~Rhonda