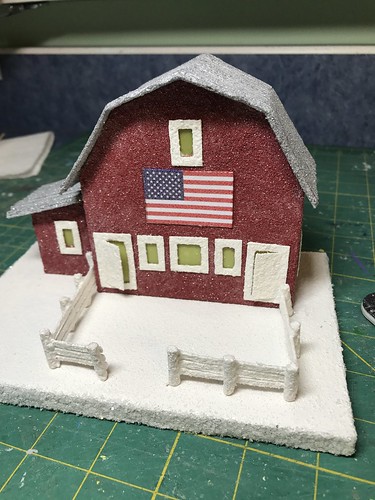
As I worked on this Putz barn, I took some pictures of the process I used to make the fence. It was my first effort at this type of fence, and it worked well. If you like the look of a board fence for your miniature barn or house, give it a try!
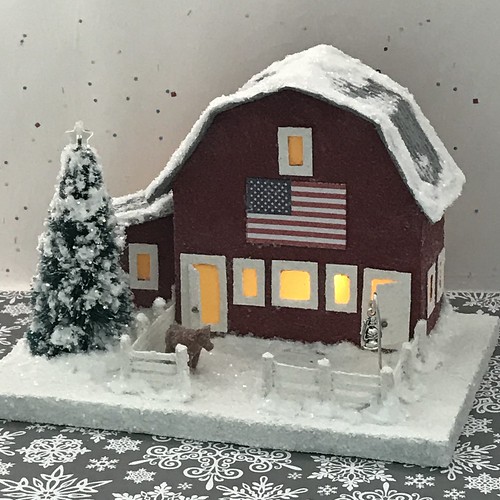
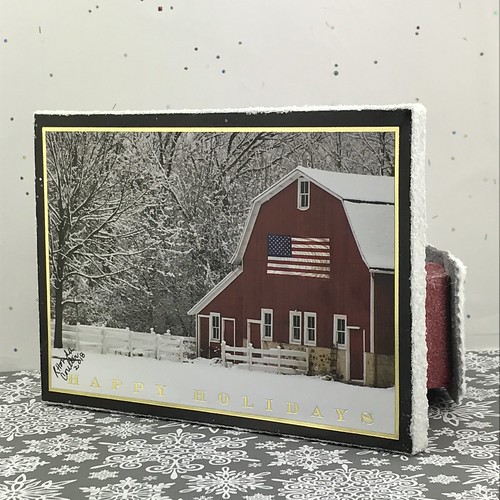
The inspiration for the pattern I drew to make this Putz barn came from the Christmas card I used to make the base. I really liked the look of the fence in the picture and wanted to try to replicate it for the Putz.
FYI ~ My tutorial for making Putz bases from greeting cards can be found here: Putz bases from greeting cards
Supplies Needed for fence project
heavy-weight chipboard
Acrylic ruler
Craft knife
Alligator clips (without teeth)
Bamboo skewers
Wire cutter (for cutting skewers)
Fine-nosed tweezers
Hot glue gun
Scissors
Nail file or fine sandpaper
Acrylic paint
Glitter
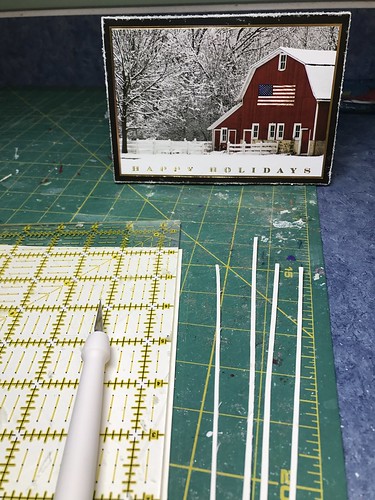
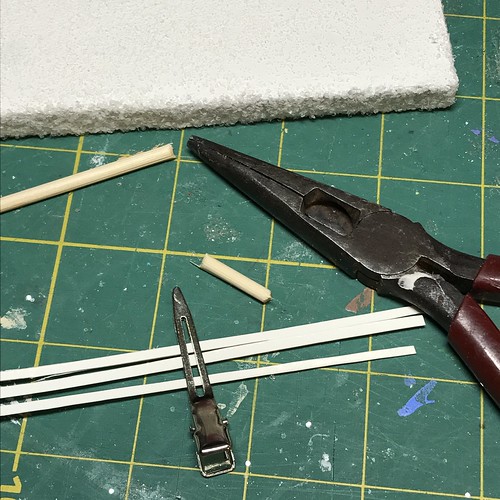
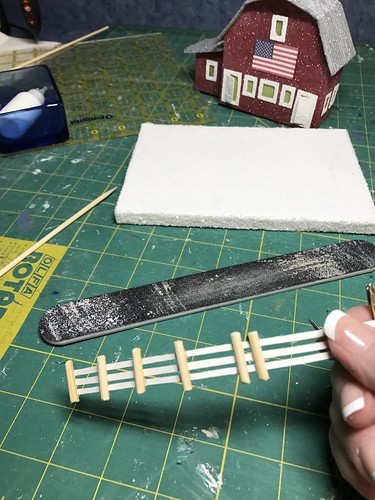
To begin, I found some heavy white chipboard and cut very thin strips from it. No wider than 1/8″. The chipboard was a scrap I had. I am not sure what it came from. It is heavier than poster board or the chipboard you would get from a cereal or cracker box. Had a thickness to it. Didn’t bend under its own weight when held horizontally. I eyeballed cutting it, but you could use the acrylic ruler to measure and draw lines for precise cutting, if you prefer. Use a sharp blade to cut more easily and to ensure clean edges.
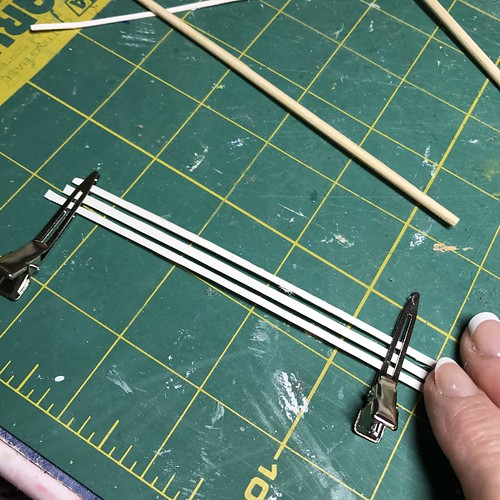
I like using alligator clips (the ones without teeth) as clamps when making my Putz creations and I found them very useful for this project. I used them to hold three strips of chipboard in postion for gluing.
The fence posts are made from bamboo skewers. These are about 1/8″ thick. I used a wire cutter to cut through the skewer. Beware. The cut piece may go flying! After they are cut, use a nail file or a bit of sandpaper to smooth the cut ends of each post.
I put a small strip of hot glue on one side of the fence post and set it on the “boards.” I find a fine-nosed tweezer is useful when setting small pieces.
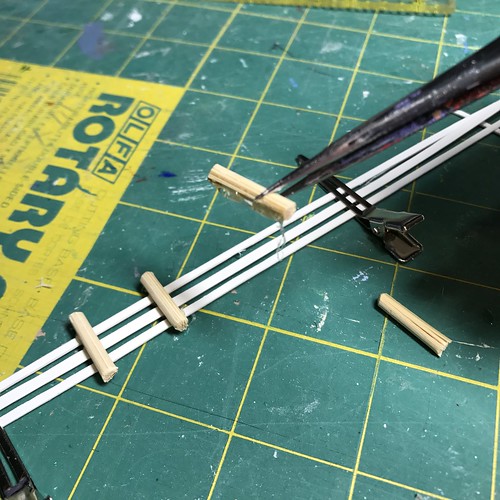
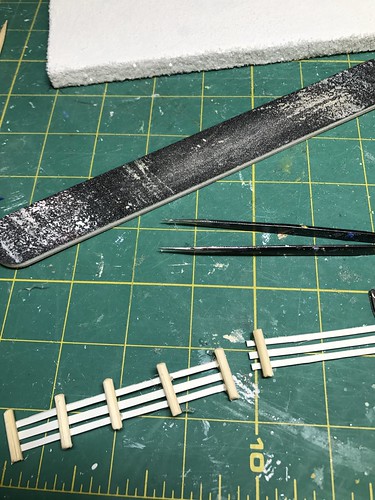
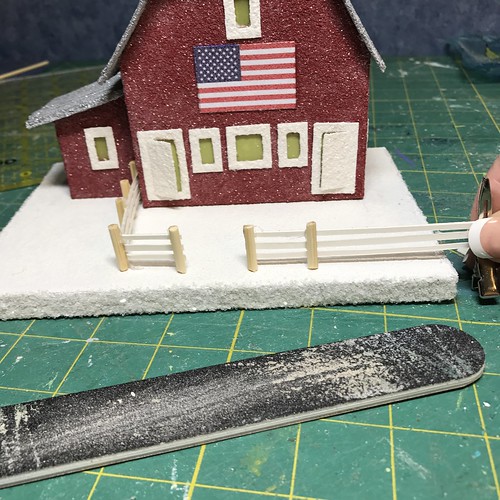
Think ahead about spacing of posts. Check the Putz for how much space needs to be fenced. Adjust fence posts accordingly.
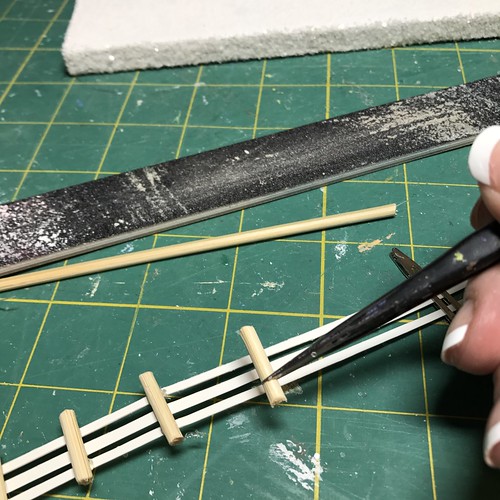
In this picture, the first five posts are part of the left section of the fence. Before I cut that length off, I placed the first post of the right section to keep the boards in alignment.
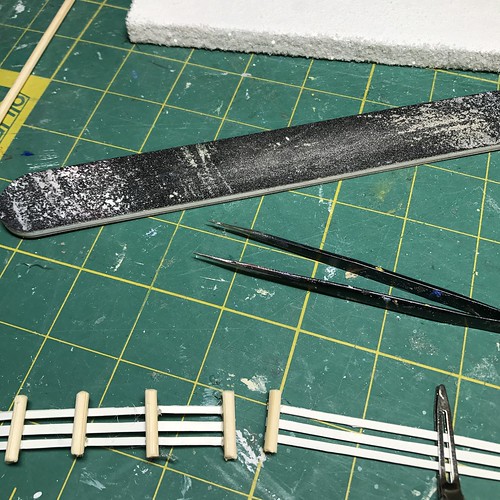
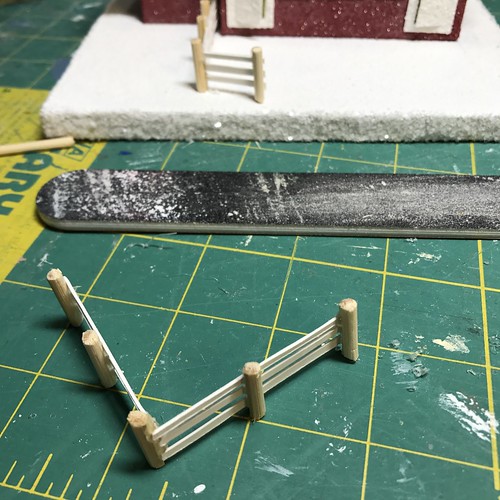
Then I cut the left section off.
And trimmed the right section.
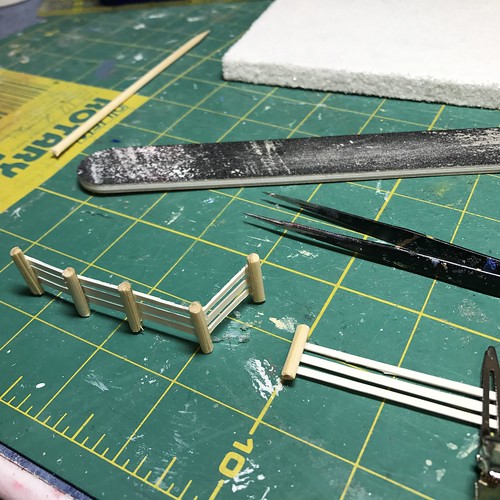
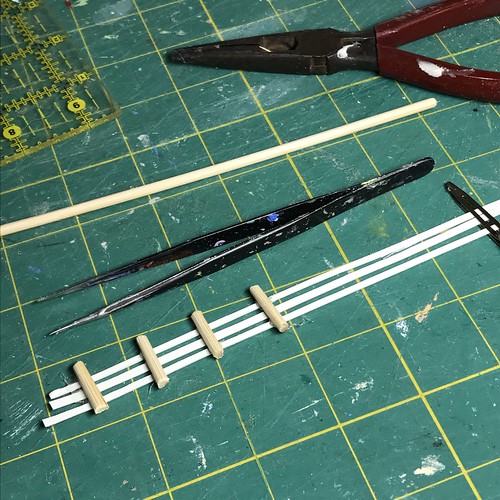
I eyeballed the fencing for the placement of the corner post.
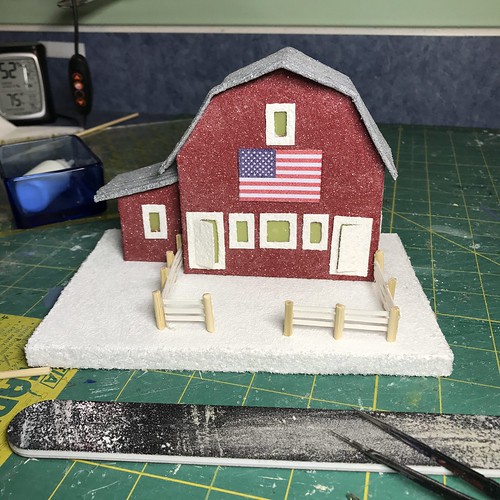
Check placement of the fence on the Putz piece before painting. Be sure you have it the way you want it. It’s easier to make adjustments prior to painting and glittering.
Paint and glitter.
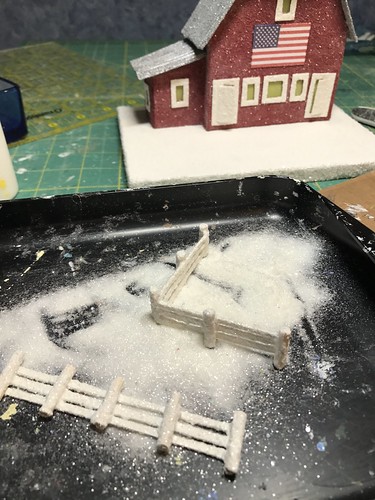
Glue in place using hot glue. Remember that blobs of extra glue are just fodder for snowdrifts. 🙂
I am very happy with the way this project turned out. I’ll be making more board fences for future Putz.

If you are interested in crafting some Putz houses and bottle brush trees of your own, check out my Putz tutorials for more information. Putz House Tutorials
I am always happy to answer questions about the process. Please ask, if you are wondering about the details of putzing!
You can see my Putz houses and other Christmas ornaments in my Etsy shop.
All proceeds from my Etsy shop benefit Kenya Mercy Ministries. They work with the urban poor of Nairobi, Kenya, particularly the children and their families who live in Kibera, the largest slum in Africa. Thank you for your part in helping these children when you purchase items from my shop!
~~Rhonda