This post supplements a tutorial I wrote March 8,2012, about making fences for Putz houses, and a post I wrote March 16, 2012, about making fence posts for Putz houses. I had promised to write a tutorial about attaching fence posts and fences to bases, and started it, but didn’t finish it till now. I hope you find this information helpful!
When making bases and fences for Putz houses, I prefer to paint and glitter the base and the posts before the posts are attached to the base. That’s a personal call. Do it the way that makes the most sense to you. No right or wrong at this point.
When painting my own Putz houses, I mix acrylic paint half and half with white glue and add a little fine sand to the mix for texture. I glitter the piece while the paint is still wet, but it’s easy to touch up glitter later. Just brush on some white glue or Mod Podge over the spot that needs glitter and sprinkle the glitter on while it is still wet. I paint the bottom of the base, but do not glitter it. That’s a good place to sign your name and the date you crafted your little glitter house. Who knows? Someone may find that very interesting in fifty or sixty years.
Click here for the tutorial for making bases for Putz houses.
Click here for the Tutorial for Making Fence Posts.
The base has been painted and glittered. Now the posts are ready to paint. I’ve already put a base coat of white acrylic paint on them and let it dry.
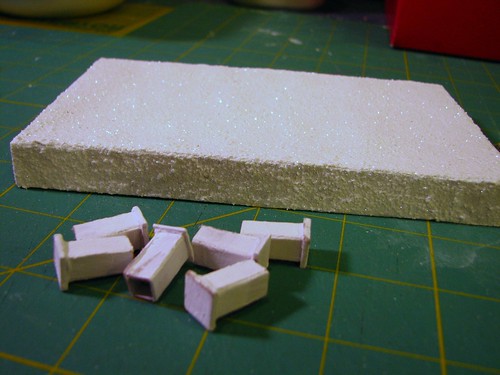
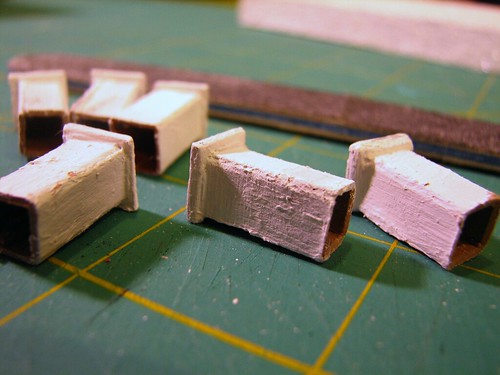
If needed, sand the base coat for a smoother finish, though vintage houses do have a lot of texture so this step may be skipped, if you’re good with that. A nail file works well for sanding small pieces.
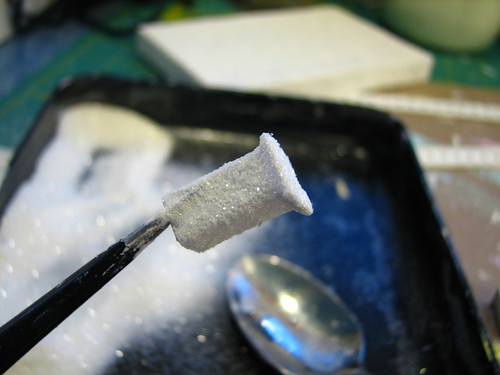
I love the very fine point on these needle-nosed tweezers for working with the small parts of Putz houses. They work well for holding the posts while they are painted.
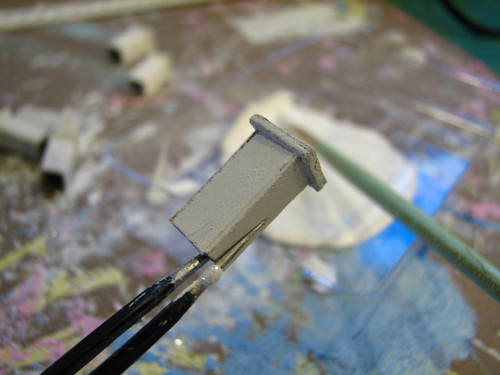
The light texture comes from the sand in the paint.
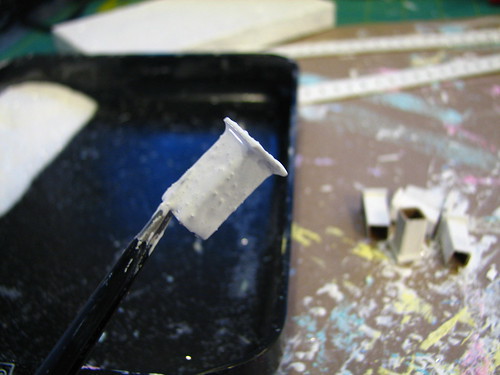
Glitter while the paint is wet. Allow the posts to dry before attaching them to the base. A hair dryer or an embossing gun can speed the drying time if you are in a hurry. Just remember that a hair dryer puts out a lot of air movement. Don’t point it at your dish of glitter! An embossing gun is not quite so forceful and is a better choice, in my opinion. But it can still blow glitter all over the counter. Be mindful of where you’re pointing the breeze.
With fence posts completed and dried, it’s time to attach them to the dry base and construct the fence. The base can be as simple as a piece of cardboard or it can be a box that elevates the house just a bit. Some Putz houses are adhered to gift boxes or jars. Use what ever makes you happy.
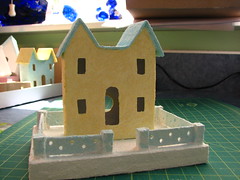
Be mindful of what the house looks like that you plan to set on the base. Is the door in the middle, or to the right or left? You may want to place the entrance in your fence accordingly.
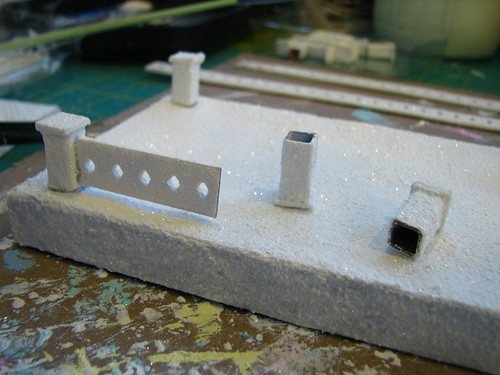
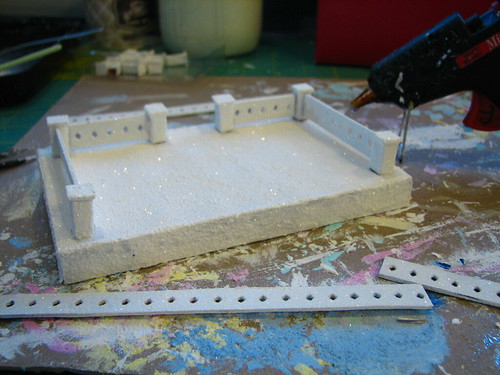
Glue a post to the spot where you want it. I find a hot glue gun to be the best tool for this step.

Cut a fence section to the length you want it. Using a hot glue gun, attach it to the post, holding it in place until the glue cools. Take care to keep the fences straight.
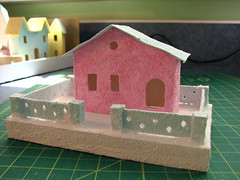
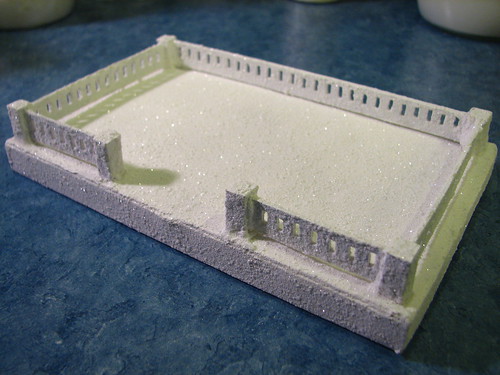
Add more posts and more fence sections until you have constructed as much fencing as you like. Vintage houses often have fencing along the front and/or the sides. I like to put my fences all the way around the house. Again, make yourself happy!

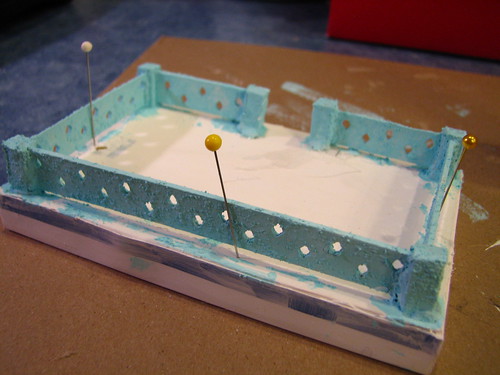
If the fence is painted after it is glued to the base, the cardboard will absorb moisture from the paint, and may warp or bow. If this happens, place a few pins to hold the fence in a straight line. With the pins in place, the cardboard will dry straight and the fence will look great. If the pins have been placed into wet paint, twist them as they are removed rather than pulling them straight out. If pulled straight out, they may pull up a chunk of paint that will require a touch up.
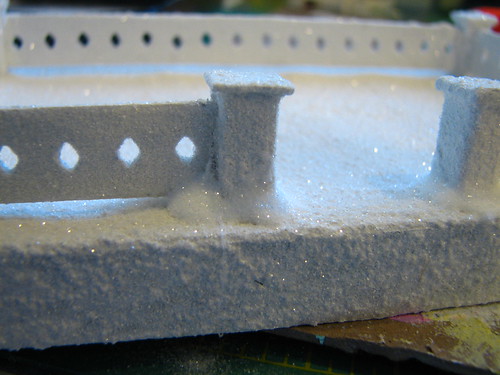
Globs of glue are fine. They make great snowdrifts after they are painted and glittered.
The tutorial “Making fences for Putz houses,” explains how to attach fences that use no posts to the Putz bases.
Here are links to some of my other tutorials for making Putz houses.
Making Putz house ornaments from Christmas cards
If you would like to see more of my Putz houses, as well as Christmas ornaments I have made from upcycled holiday cards, please visit my Etsy store.
~~Rhonda