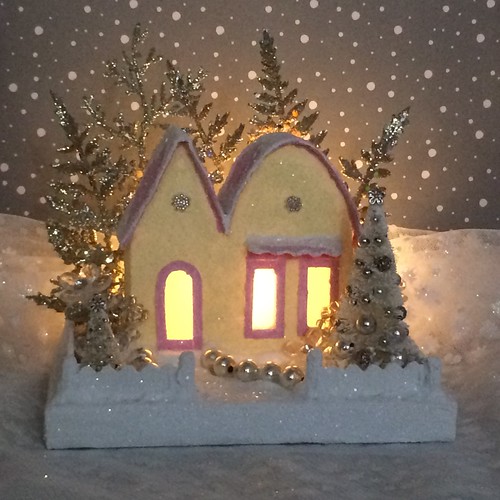
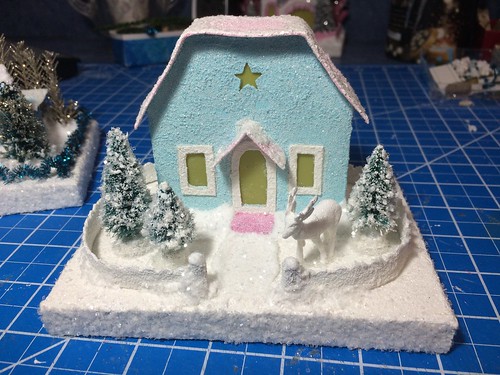
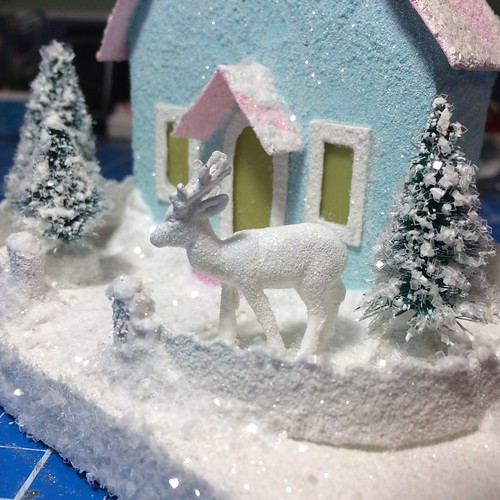
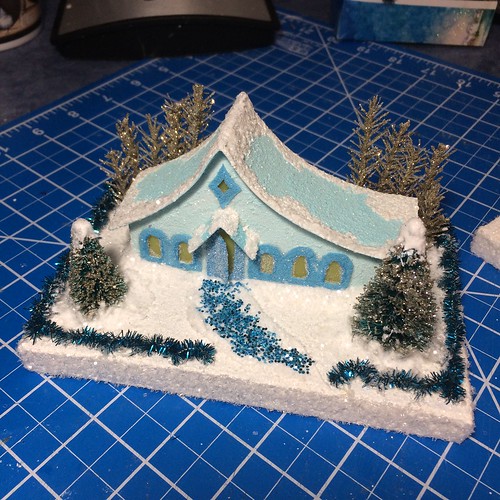
tada!

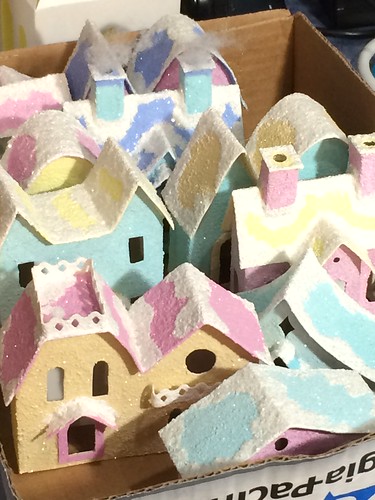
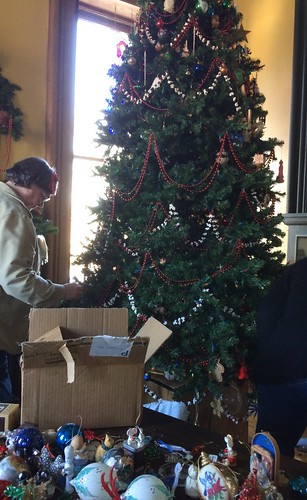
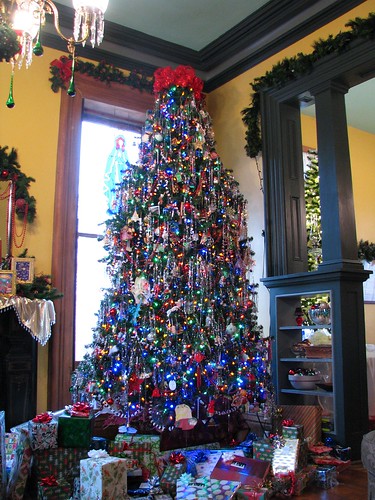
Progress was made! And we had fun working together! With the help of DH and my two sisters, we took all the tinsel, ornaments, strings, and beads off the tree.

taking down Christmas

taking down Christmas

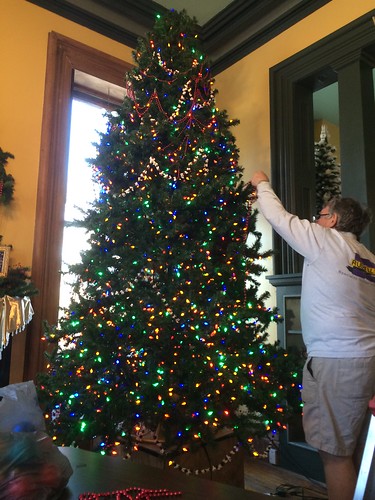
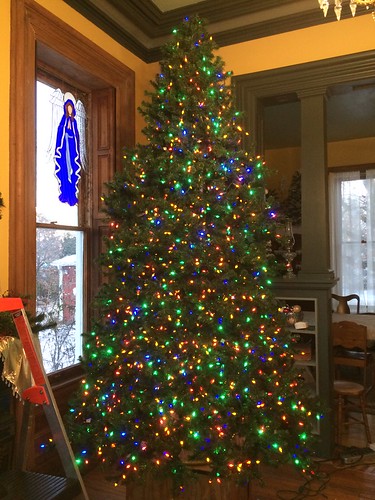
At this point the tree will have to wait. The next step is to take the lights off the four bottom branches. They are too wide to carry through the doorways to the attic. The middle section and the top section will go to the storage room in the attic with the lights on.

taking down Christmas

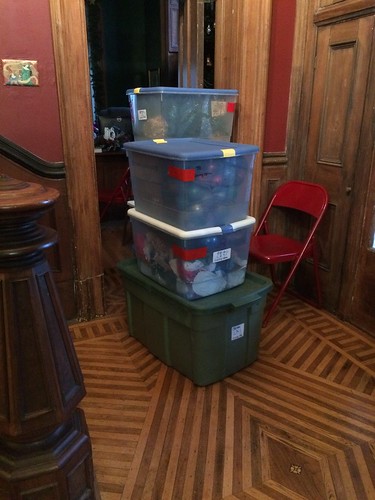
We filled five or six boxes just from the living room tree.

taking down Christmas

They are updated on the computer file and ready to go back to storage until next Christmas. Which is only 352 days away, I might add!

~~Rhonda
taking down Christmas

As you might guess, taking Christmas down around here is a faster project than putting it up. But it still takes a lot of time. We don’t try to get it all down at once. A tree here, a tree there. The addition hall, a box or two or three. No rush. But it IS nice to get it put away. The house always looks bare after that, but it also gives me a good feeling to have it done.

I received a call this morning and found out two of my sisters had a spur of the moment decision to come down and visit today. We’re going to take down the living room tree. It’s a big job and it will be more fun to do it while I have someone to talk to. I’m looking forward to that.

family Christmas tree

DH has been taking the tinsel off. I’ve been straightening the kitchen. I’ll post an update later!

~~Rhonda
sorority putz

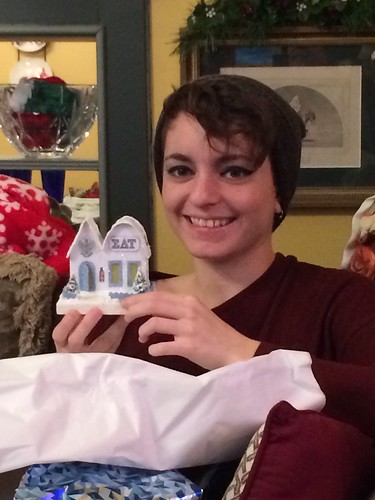
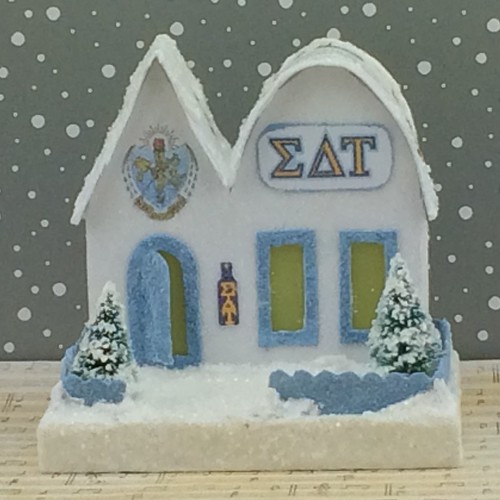
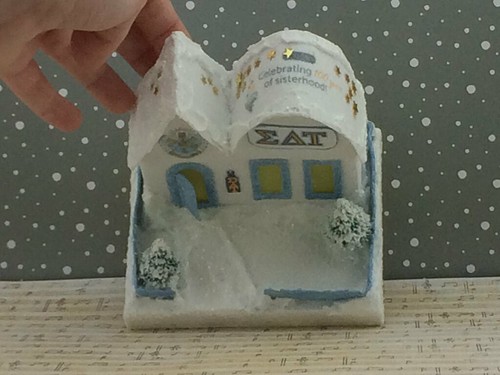
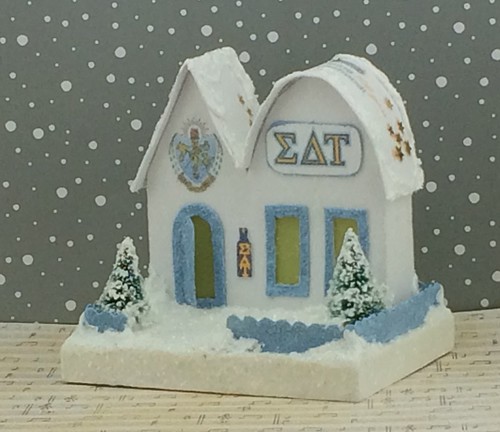
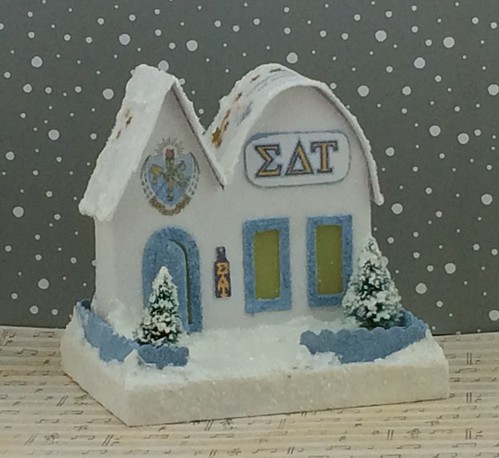
Youngest Daughter started college this fall and one of the groups she joined is the sorority Sigma Delta Tau. For Christmas, I made a little sorority Putz house for her.

Putz sorority house

Sigma Delta Tau

It was fun to make. I googled the sorority and clicked on IMAGES. I found their crest, a paddle and a sign that I copied, pasted, resized and printed to add to the house. I also found a banner celebrating the 100th anniversary in 2017. I printed that and used it for the roof.

Sigma Delta Tau

Old blue and cafe au lait are the sorority’s colors. I used the old blue for the trim and the fence.

Sigma Delta Tau

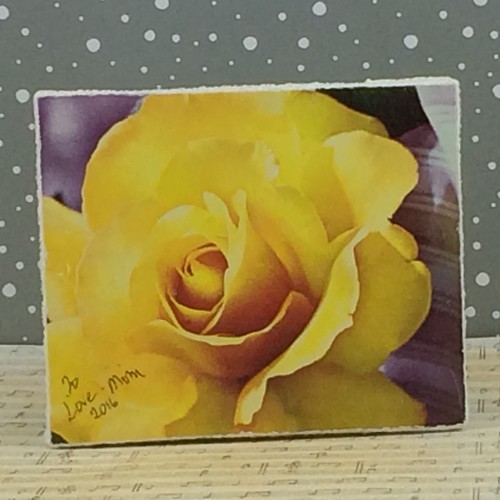
The base is made with a vintage greeting card that pictures a yellow rose, which is the flower of ΣΔΤ.

Sigma Delta Tau

All in all, a successful Christmas surprise.

Sigma Delta Tau

~~Rhonda
happy 2017!

A new year. Always a good time for reflection and for resolutions, I suppose because it feels like a brand new beginning. If you think about it, though, every day is a new beginning. And the moment we are in now is the only one we’ve got. Every day should be appreciated as new beginning.

Budding plants always remind me of fresh beginnings.

amaryllis

What are you doing to make the most of the new beginnings in your life? Have you made some New Year Resolutions? I hope you give it some dedicated thought…how do you want to live the rest of your life? Now is what you have to work with. Make the most of it.

One thing I love to do is organize. It makes me happy. I told Youngest Daughter if I am ever in the nursing home and need something to occupy my time, just give me a jumble of beads to organize. It will make me happy and, when I’m done, they can be mixed up and given to me again. I’d be just as happy doing it the second time.

My craft room is in need of some major organizing and I am resolving to get it done. I am using the room differently than I did five or ten years ago. When the room was remodeled in 2004, I designed it around my scrapbooking hobby. Now my creative direction centers on Putz houses and Christmas ornaments. I need to organize my craft space for what I’m doing now.

I have a long list of things I want to do with my Putzing. I would love to make a series of Putz houses, one for each month of the year. January would be a New Year theme, February would be a Valentine’s theme, etc. A set of four Putz houses for the four seasons is also on my list. And then there’s the Dr. Seuss Putz houses I would like to make. And the larger Putz houses, and the tiny Putz houses…lots of ideas whirling around in my mind.

How do I accomplish all that when my craft space is so unorganized? Not easily, I assure you. So decluttering, organizing and refitting the craft room is a big item on my list of things I want to accomplish. Maybe the resolution is “get organized” and one of the ways to implement that is to work on the craft room.

One step at a time. I spent yesterday and today organizing the items I have listed in my Etsy shop. Every Putz house got a number which will make them easy to find when I am filling orders. It is a good feeling to have that done. Now I am going through drawers and cabinets. Clean them out, organize them, use the available space in the best way. I need to think about my space in terms of prime real estate where I put things I use every day, secondary real estate where I put things I need less often, and the outer limits where I keep things I need only occasionally.

DH brought up an 8′ table from the basement to the craft room so I could organize my packing supplies. The table fits across the east wall, so it’s out of the way, but accessible. I put my packing boxes and the box of extra cardboard that I use for making bases under the table. On top the table is my light box setup for taking photos of the things I list on Etsy. Also on top the table are the boxes that store my Etsy items. Neatly available when needed.

I organized my file drawer today. It is to the left of where I sit to craft. Took everything out and started over. Getting that done is giving me incentive to do more! I’ll keep plugging away at it. And when I need a rest, I’ll take it! Like Ski. He’s good at resting. Though I probably won’t use the nearest box.

Ski

I glanced out the window the other day and saw the dogwood blossoms. They are on the tree all winter. They always give me hope for the new beginning that spring brings us each year.

dogwood buds

Are you organizing a particular area in your home or in your life? What are your favorite resources for motivation?

~~Rhonda
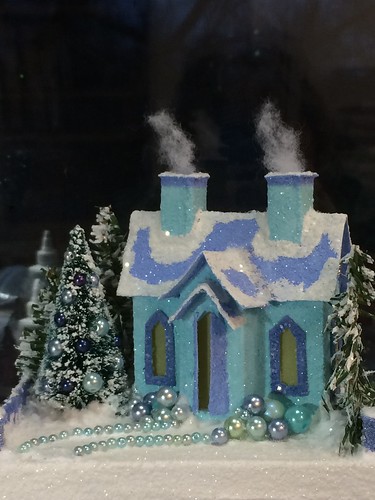
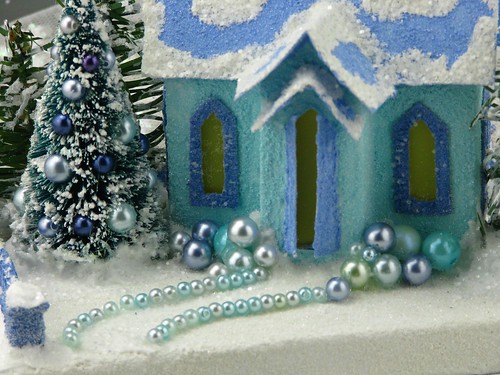
turquoise and dark red putz house

I saw a little Putz house online and decided to draw a pattern for it. Mine looks nothing like the one I saw, though there are similarities in the house design. I did move the chimney and changed its design a bit.

My house…with the lights on…

turquoise and red Putz house

A rather simple design. Classic, though, and that’s my favorite.

turquoise and red Putz house

The fence is a scooped (scalloped?) design…

turquoise and red Putz house

turquoise and red Putz house

It is listed in my Etsy shop at ChristmasNotebook. Stop by and check it out, as well as the other Putz houses and ornaments in the shop.

~~Rhonda
mid century putz

Younger Son’s wife loves anything to do with mid century design. We have worked on mid century Putz houses together in the past. You can read about that here:

December 2014 mid century putz houses

This link will show you how she diplayed them Christmas 2015.

January 2016 mid century putz houses revisited

Most of the houses we made together were patterns from Retro Renovations. I revised the pattern for house #4. When the pattern was done, I made a paper mock-up to check that all was done correctly.

Mid century Putz. Paper test of the pattern. A little tweaking and it's ready to make in poster board.

I tweaked the front door overhang and a couple of other small things. My daughter-in-law took the finished pattern home with her. She plans to make one to add to her village.

Mid Century Putz Cul de Sac

My favorites are still the vintage style Putz houses, but I do love these mid-century houses!

~~Rhonda
santa’s Christmas tree farm

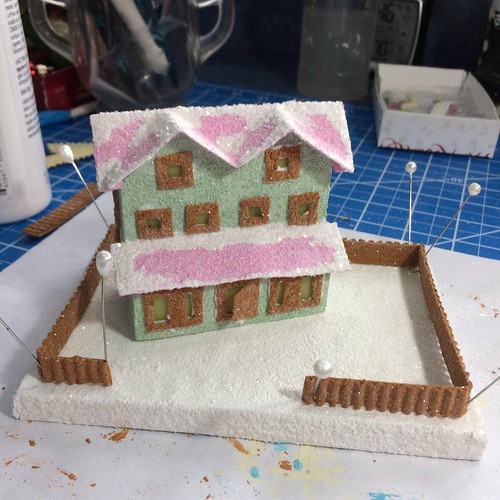
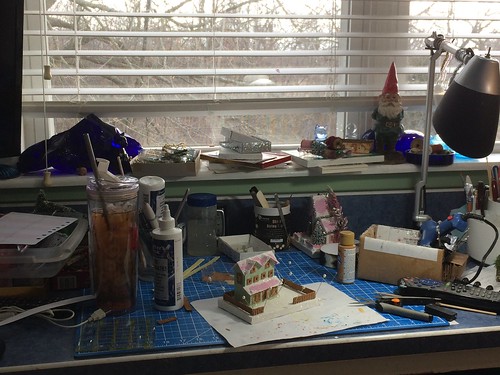
My last Christmas Tree Lot sold quickly. I am happy to say it went to a very good home. Someone I know who will enjoy it for many years. So today I began a new tree lot. This one has a different style of building. This is how far I got on Day 1. I made and painted four new bases the day before, so I had one of those ready for this Christmas tree lot.

Santa's Christmas Tree Lot

I began by drawing a pattern. I did make a few minor changes to the pattern as I worked with it, but it’s basically the same as when I started.

Santa's Christmas Tree Lot

This is how they all start…by cutting the pattern from poster board.

Santa's Christmas Tree Lot

Folded and ready to glue together.

Santa's Christmas Tree Lot

The roof is a piece of cardboard, with one side removed to show the corrugation.

Santa's Christmas Tree Lot

I scored one side to make a peak for the roof.

Santa's Christmas Tree Lot

Santa's Christmas Tree Lot

Cutting window frames.

Santa's Christmas Tree Lot

After painting the pieces, I like to pin the house to a piece of foam core so the walls dry straight rather than bowed.

Santa's Christmas Tree Lot

While the house and roof dried, the window frames and the door were painted. I give the pieces two coats of paint and then glitter them while the second coat of paint is still wet.

Santa's Christmas Tree Lot

The roof, window frames and door are glued on and the window panes have been glued to the inside.

Santa's Christmas Tree Lot

Pinning down the building. This step is fun. Now I feel like it’s coming together.

Santa's Christmas Tree Lot

I decided to make the fence from cinnamon sticks.

Santa's Christmas Tree Lot

Santa's Christmas Tree Lot

Santa's Christmas Tree Lot

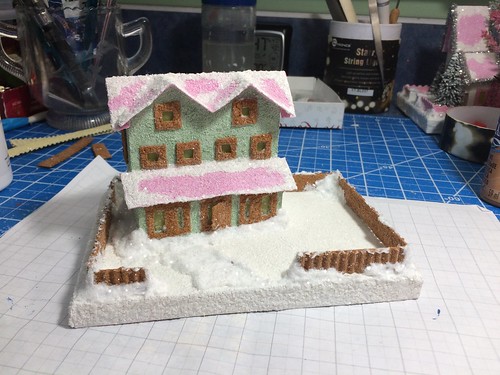
It snowed!

Santa's Christmas Tree Lot

Day 2. After pondering the next step, I decided to add a garland to the cinnamon stick fence.

Santa's Christmas Tree Lot

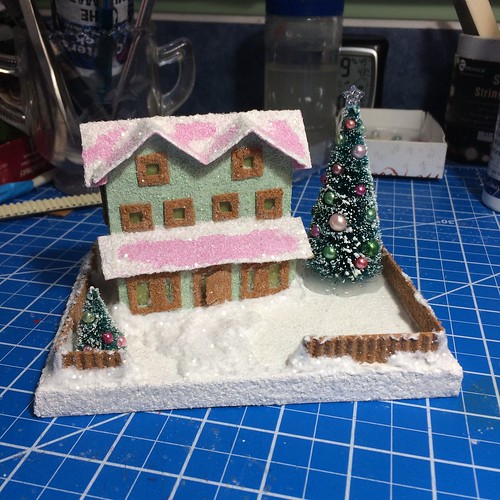
Trees, a snowman, a sign and some wreaths add the necessary detail.

Santa's Christmas Tree Lot

Photographed for Etsy.

Santa's Christmas Tree Lot

Santa's Christmas Tree Lot

A cheerful glow…

Santa's Christmas Tree Lot

I hope you liked this one. As always, fun to make! I’m glad I have an outlet for these, so I can keep making more!

I have set a goal for myself of making some tutorial videos. Step by step guides for making Putz houses, bases, fences, etc. I have to get past the bustle of Christmas, then New Years, and then some recuperation time. Then practice, practice, practice. It may take a while to get a final product I like, but when it’s time to post them to YouTube, I will let you know!

~~Rhonda
noel farms Christmas tree lot

I have been working on this little Putz Christmas Tree Lot for a few days. Finished it today. This is much like the two I’ve made before, but I try to make each one a little different from the others. This one has lights, which is a first. Also a snowman, rather than a mailbox. It also sits on the lot a bit differently than the others. Each Christmas Tree Lot gets a different name, also.

Noel Farms Christmas Tree Lot

To prepare the tree lot for lights, I had to put up two tall poles in the back of the lot to hang the lights. I drilled holes into the base to give them a bit of stabilty with some hot glue. I also added a fence which helps to brace the light poles. Here the lot is ready to have the lights attached.

Noel Farms Christmas Tree Lot

And they’re up! And looking very pretty in the morning sunlight!

Noel Farms Christmas Tree Lot

At this point, I have added trees, icicles and a snowman.

Noel Farms Christmas Tree Lot

Some Christmas wreaths and a sign finish it off!

Noel Farms Christmas Tree Lot

Noel Farms Christmas Tree Lot

Detail of the snowman.

Noel Farms Christmas Tree Lot

The Noel Farms Christmas Tree Lot is listed in my Etsy Shop, ChristmasNotebook. I hope it finds a happy home!

Is there a village shop or house you would like to see as a Putz house? I’d be happy to give it a try!

UPDATE December 21, 2016: This Noel Farms Christmas Tree Lot has sold. I am happy to make custom items if something similar is wanted. I can make a tree lot or farm sign with your last name, your child’s name or other wording. I can create new Putz houses based on your family’s heirlooms, or make anything in my Etsy shop in the color of your choosing.

~~Rhonda
2016 chalkboard tree

This is the fifth year my sister Genny and I made a chalkboard tree on the large chalkboard in the music room. DH painted the chalkboard on the wall in 2011. It is about eight feet tall. It took four coats of green chalkboard paint to cover well. If you paint a chalkboard on a wall, be sure to sand the wall as smoothly as you can. All those tiny bumps add up when you are doing some serious chalk work later!

four coats by the time he was done

The 2012 tree was based on one I found online. The link I had to that one no longer works, but it was quite similar to the one we made. The one I based ours on had been modeled after a wall hanging. I added a nativity under my version.

Christmas Open House

In 2013, we did a “Twelve Days of Christmas” theme. Under the tree were two of our cats, Zak and Cedar.

12 Days of Christmas

In 2014, it was a nativity scene.

chalkboard

Last year we had a toy theme.

2015 chalkboard tree

This year, it was a vintage style theme of children at Christmas.

Open House 2016

The process starts with deciding on a theme, then finding pictures to use. I googled < coloring pages vintage christmas children > and found a lot of pictures to choose from. I printed the ones I liked and then edited them. I took out details that would be hard to chalk or that weren’t needed to tell the story of the picture.

The next step is to lay them out and decide what order they should be in. I try to print four or five more than I need so there is some leeway when deciding how the pictures will go. When the order is decided, I take photos so we can remember how we want them. Aren’t phones great these days!?

Chalkboard Christmas Tree 2016

The tree has seven branches. That means we need fourteen pictures, which includes something for under the tree, plus something for a “tree topper.”

Chalkboard Christmas Tree 2016

Chalkboard Christmas Tree 2016

There’s always room for change, though. Once the pictures are taped on the chalkboard, we sometimes rearrange or substitute other pictures to make the design look more balanced. After we have the pictures in the order we want them, Genny starts the big job of tracing them onto the chalkboard. This year she used white graphite paper, placing a sheet behind the picture with the graphite toward the wall. She likes to use a bamboo skewer for the tracing.

Chalkboard Christmas Tree 2016

And so it begins.

Chalkboard Christmas Tree 2016

Genny leaves the pictures taped to the sides of the chalkboard for reference as she chalks.

Chalkboard Christmas Tree 2016

Starting at the top decreases the risk of smudging.

Chalkboard Christmas Tree 2016

Chalkboard Christmas Tree 2016

The chalking takes two or three full days of work. Of all the trees we put up, this is the one that takes the most time to “decorate.”

Chalkboard Christmas Tree 2016

Chalkboard Christmas Tree 2016

Genny uses a combination of sidewalk chalk and thinner art chalks to color the tree. We also have some glitter sidewalk chalk that we use when appropriate.

Chalkboard Christmas Tree 2016

The lines between the pictures are drawn on before anything else. One vertical line to divide the chalkboard and then seven horizontal lines to make the branches.

Chalkboard Christmas Tree 2016

When the pictures were done, we added the branches, lights, jingle bells and the snow. This one reminded me of Genny.

Chalkboard Christmas Tree 2016

Top to bottom…

Open House 2016

2016 chalkboard tree

2016 chalkboard tree

2016 chalkboard tree

I really like the lights on this tree. We will probably use that idea again.

2016 chalkboard tree

I am already collecting ideas and pictures for two new themes. Not sure which one to use next year…

Update: 2017 Chalkboard Christmas Tree

~~Rhonda
open house 2016 ~ part three

Welcome back to the open house tour. If you would like to read the two previous posts, here are the links:

open house 2016 ~ part one

open house 2016 ~ part two

We left off with only the addition left to see. The addition was built onto the house by the previous owner as a family room. We divided it into a large bedroom, a hallway, laundry room and bathroom. The addition sits two steps lower than the original house. Not sure why, but there it is. So watch your step.
On the counter in the hallway, we set up the “mission tree.” The past two years, we have had a tree in the craft room with ornaments on it that I have made. Anyone who made a donation to the mission fund could choose an ornament as a thank you. Because the upstairs was closed this year, we put a small tree in the addition hall with ornaments on it. All donations will go to the same mission my Etsy shop supports. My grateful thank you to all who left donations! Your gift will go a long way toward helping the children and their families who live in Kibera, the largest slum in Africa.

Kenya Mercy Ministries

Open House 2016

On the other side of the hallway are our children’s baby pictures. I wrap these pictures every year so my kids know they are gifts from God to me and DH.

baby pictures wrapped as gifts

In the laundry room, this antique hutch holds tableclothes and extra towels.

antique hutch

Near the hutch is a small table-top tree with vintage ornaments on it. All these ornaments were found at thrift stores a few years ago.

Open House 2016

On the laundry room counter is a beautiful thrifted nativity.

Open House 2016

At the other end of the counter, a framed “Carol of the Birds” and a small bowl of ornaments fill the corner.

Open House 2016

On the dryer, Frosty hangs out while his laundry dries. The clothesline and Frosty were a thrifted item. I added them to a small wreath I already had.

Frosty's doing his laundry.

There are three trees in the addition bedroom. The “Silver and Blue Tree,” the “Putz Tree,” and a pompom aluminum tree. The silver and blue tree has a bit of a vintage feel to it. It is on a revolving tree stand, so each side is easily viewed.

Open House 2016

The Putz tree holds little Putz houses that I have made. I make them all from scratch, from the base to the fence to the house or church. These Putz houses are available in my Etsy Shop. ChristmasNotebook

Putz tree

The tree doesn’t look this pink in real life. It’s actually a white tree. My phone doesn’t adjust for the LEDs.

Putz tree

Open House 2016

Open House 2016

Open House 2016

Open House 2016

The pompom aluminum tree was a gift from one of my sister’s friends, who was paring down. She wanted it to go to a home where it would be appreciated and displayed. So glad she gifted me with this vintage tree! The vintage Putz houses below the tree are a gift from Younger Son and his wife. Beautiful!

Open House 2016

The nativity in this room was a gift from DH’s work to celebrate 25 years of service. It fits this blue bedroom perfectly. The cubbies above the nativity belonged to my mother. Long ago, they were mailbox cubbies.

Open House 2016.

Open House 2016

The dresser next to the bed came from my father. It was used by his sister until she went to college and then it was passed to him. Thanks, Dad! I love this dresser! The deer was a gift to my mother. When she passed away, it became mine.
The two village buildings are replicas of two buildings in my hometown…the courthouse and the county jail, which now serves as a county museum.

Open House 2016

I’m always glad to get the house ready for the annual open house. After the party is over, I have a month to enjoy all the Christmas decorations! I hope you enjoyed the tour. Mark your calendars for next year! We always have the open house on the first Sunday afternoon in December. Hope to see you there!

~~Rhonda