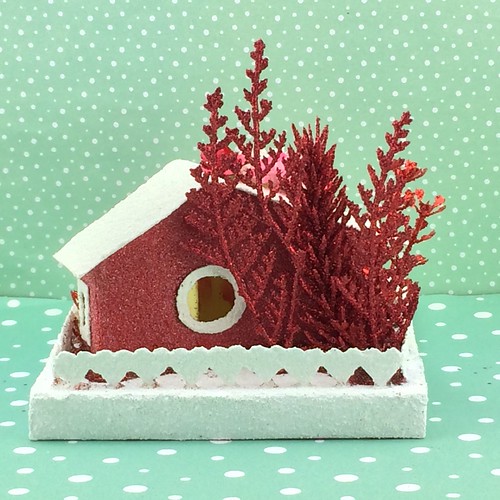
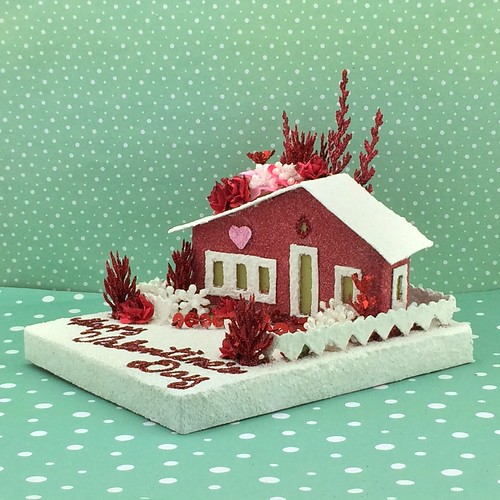
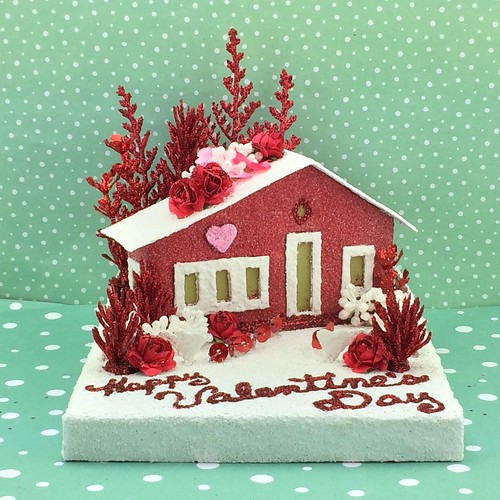
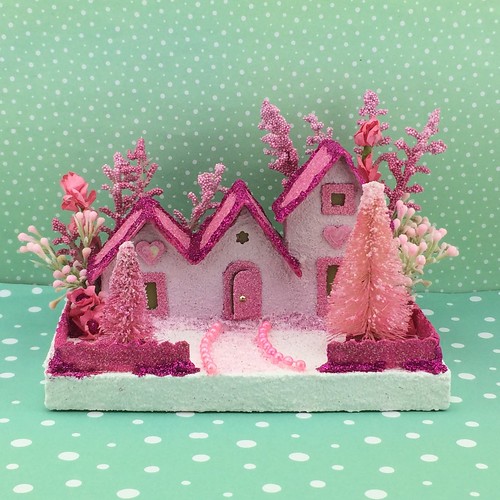
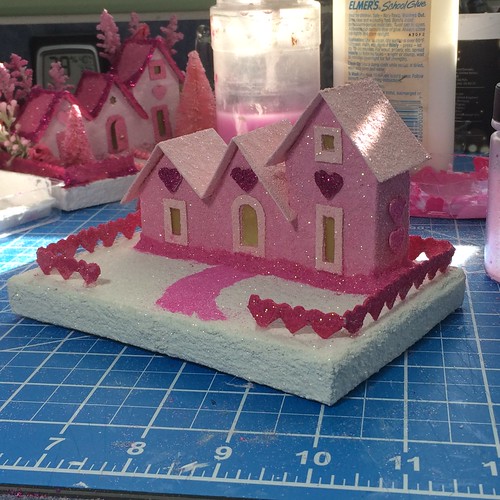
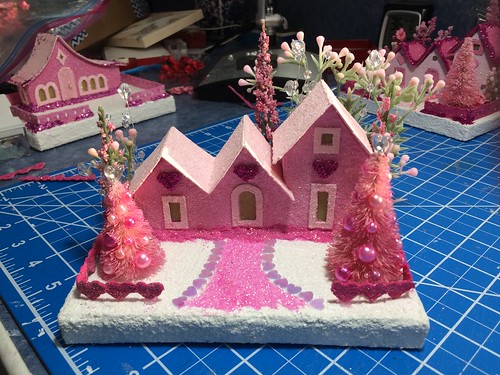
fourth and last Valentine’s putz

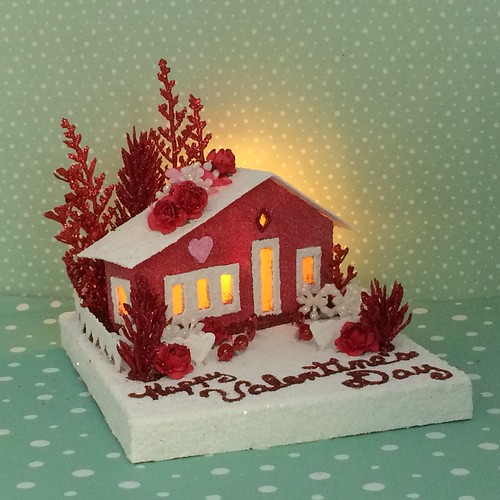
I didn’t feel well over the weekend and didn’t come up to the craft room on Saturday or Sunday. I think I’m on the mend, though I now have a bad cold settling in my chest. Some coughing and a headache, but better than the past weekend. I had finished the Valentine Putz house Friday evening, but was too tired to take pictures of it then. I had planned to do that on Saturday and get it posted to my Etsy shop, but just didn’t feel well enough to follow through.

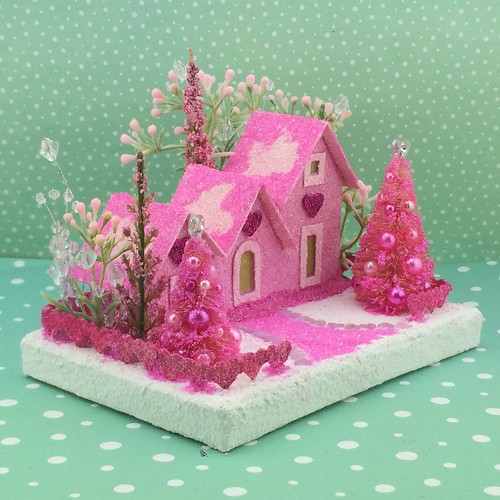
But I managed to get the pictures taken today, so here it is. I love to see the windows shining with light.

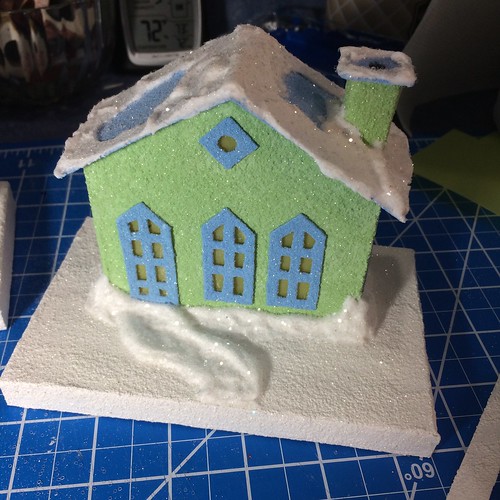
Valentine's Putz

I usually don’t post the back picture exept on Etsy, but here it is from the back. The hole will accommodate a small light. LEDs are perfect for Putz because they are so small and they burn cool. Here is a link to a string I ordered from Amazon and it works very well with the Putz houses. LED Light String

Valentine's Putz

The house turned out pretty well. I do love the heart-shaped fence.

Valentine's Putz

Valentine's Putz

I would like to make a house to represent each month of the year. The Valentine houses certainly cover February but Youngest Daughter suggested something about Martin Luther King for Black History Month. I looked up the house he grew up in and it would make a beautiful Putz house. Now to draw the pattern!

~~Rhonda
two valentine putz houses

I finished two of the three Putz houses I have been working on for Valentine’s Day. They are posted in my Etsy shop. ChristmasNotebook.etsy.com

Putz house

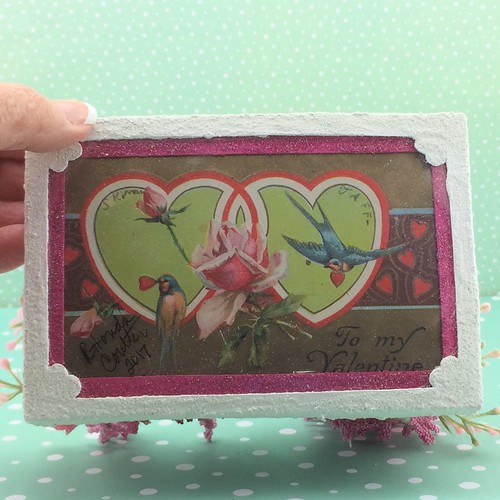
A vintage Valentine postcard is featured on the bottom of the base. A little surprise when the house is tipped up.

Putz house

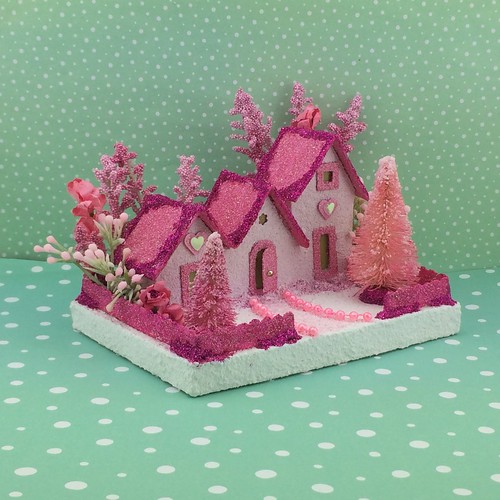
Tiny pink beads line the sidewalk.

Putz house

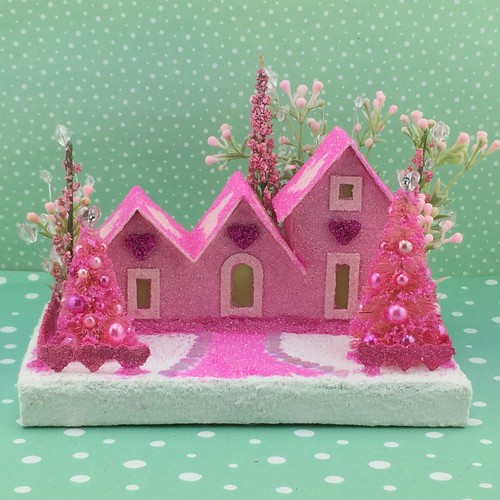
The second house is similar, but has a cute heart-shaped fence around the yard.

Putz house

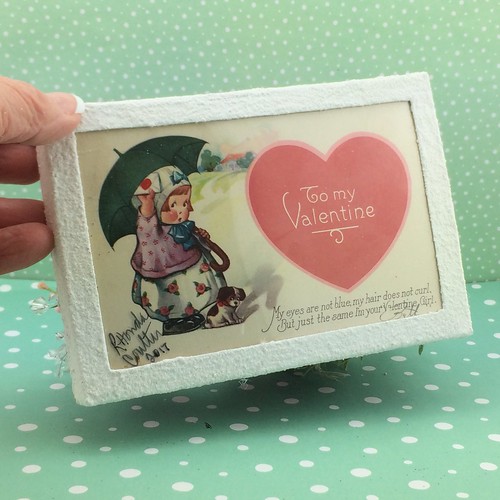
It also has a sweet vintage postcard on the bottom of the base.

Putz house

Tiny hearts line the sidewalk.

Putz house

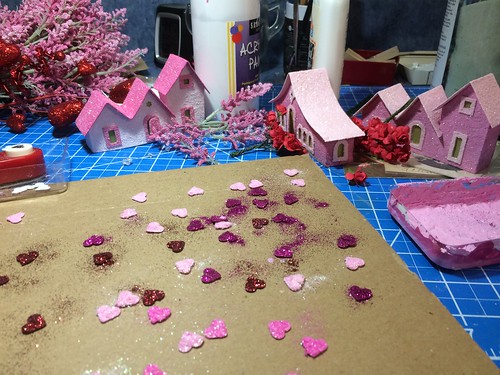
I punched little hearts, painted and glittered them, and used them to embellish the houses.

Putz house

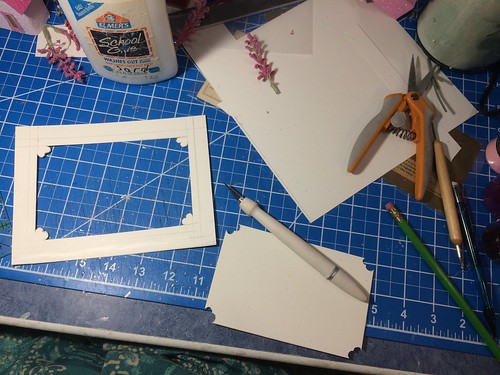
It took me a while to figure out how to make the base to use the vintage postcards without doing any damage to them. I ended up making a window in the base and encasing the postcards behind a piece of acetate.

Putz house

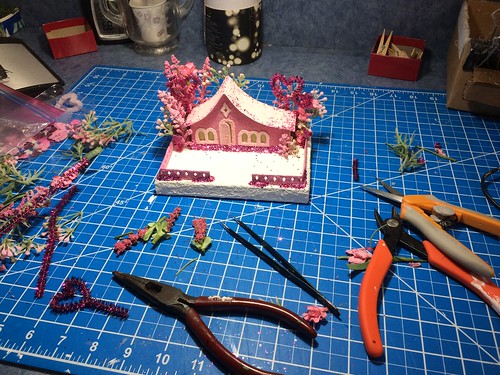
In process.

Putz house with heart-shaped fence

Putz house with heart-shaped fence

Putz house with heart-shaped fence

I plan to finish the third house tomorrow and will post a picture when it’s finished.

~~Rhonda
valentine putz

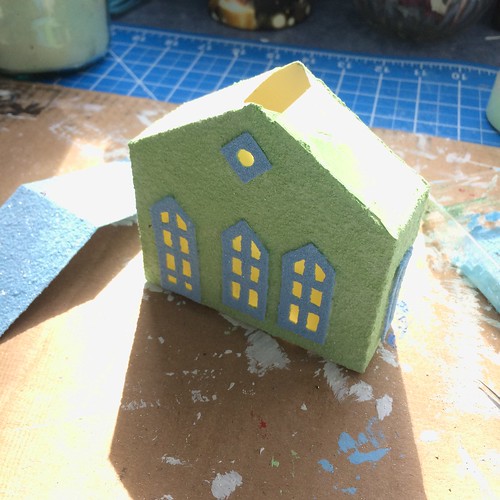
One of my goals related to my “putzing” is to make Putz houses to represent the months of the year. I am currently working on several Valentine’s Day Putz houses. It’s been a struggle for me. I had to decide what to do about the bases because I like to use a Christmas card when I make my usual Putz houses. I ordered some vintage Valentine postcards, which I love, but I didn’t want to glue them to something, so I had to experiment and devise a way to have the card on the bottom of the base without destroying the postcard. That took some experimenting. And what to do about the snow that the usual Putz house is decorated with?

Because I am a perfectionist by nature, it is hard for me to proceed with a project when I hit any kind of roadblock. But I struggled through and, after a lot of pondering and a lot of self-discipline to finish, I finished my first Valentine Putz.

Valentine Putz

I am trying to decide if it needs a Valentine banner or not. Or some kind of little heart-sy sign. What do you think? “I love you!” “Happy Valentine’s Day” “Be Mine” “Love is Eternal” Suggestions?

My thanks to Middle Daughter who purchased four shades of pink glitter for me! And four shades of pink chenille stems. And other pink and red embellishments. I’ll be using more of those on the next two Valentine houses.

This little house will be featured in my Etsy shop sometime on Monday. ChristmasNotebook.etsy.com

PS…just looking at the picture made me realize I could do a very cute heart-shaped fence with that scalloped design. I will try that with one of the other Valentine Putzes I make!

~~Rhonda
replenishing Putz supplies

The past week I have worked on replenishing some of my basic supplies needed for my Putz houses.

I made a lot of fence posts. So nice to have those on hand when I’m putting together a new Putz house. I like to put fences around all of them, sometimes with posts, sometimes without.

making Putz fence posts

If you look closely, you can see the little wooden posts mixed among the ones I made. I gave them all a base coat of white paint so they are ready to go when I need them.

making Putz fence posts

Here’s the link to my tutorial for making the fence posts.

I also made a lot of fencing. I figured out a way to keep the punched designs even. I’ll write a post about that soon.

making Putz fences

making Putz fences

Here’s a link to my tutorial for making fences for Putz houses.

I also made fifteen bases for new Putz houses. I’ll link the tutorial, but I need to write a new one as I do it a little differently now. Tomorrow I plan to paint and glitter the bases. The picture will be on the bottom so you get a little surprise if you lift the house.

Bases for Putz houses

Tutorial for making Putz bases

Here are two of three pink Putz houses I made for Valentine’s Day. I plan to use vintage Valentine post cards for the bases. Middle Daughter will pick up some holiday-related embellishments for me tomorrow. I hope to have these in my Etsy shop by the end of the week. ChristmasNotebook.etsy.com

Pink on pink

I pulled some Christmas cards from my collection to use for shadow boxes. I’ll work on those soon.

~~Rhonda
the last two putz houses from the box

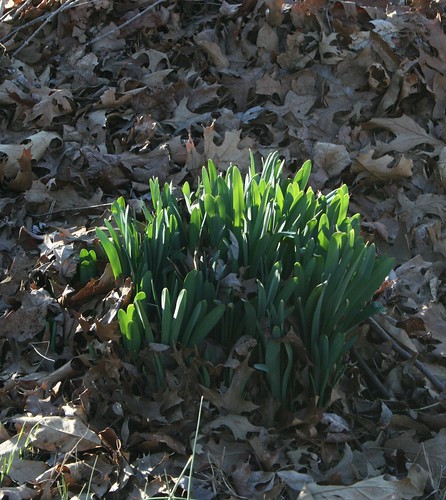
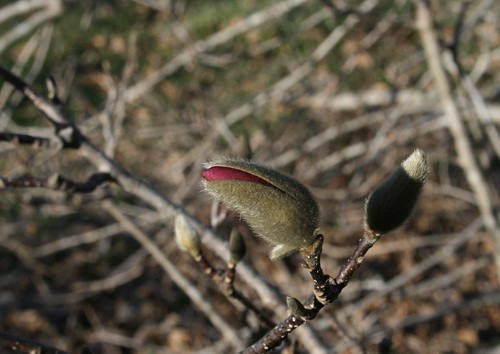
The weather was beautiful today. We had a high of 69 and it was sunny all day. I opened the window in the craft room and let that wonderful fresh air waft in. Smelled so good! Another six to eight weeks and we may have crocus blooming in the back yard.

Today I finally finished all the little Putz houses I had stored in a box from a few years ago. It took longer than I thought it would to finish them, but am glad it’s now done. They are featured in my Etsy shop and you can see more pictures of them there. ChristmasNotebook.etsy.com

The first one is an ivory yellow color with a pink roof and a pink fence. It’s topped with a widow’s walk.

Yellow and pink Putz house

It also has a little balcony on the second floor.

Yellow and pink Putz house

Very cute when the lights are on.

Yellow and Pink Putz house

The second little glitter house has the reverse color scheme. The house is pink and the roof is yellow.

Pink and yellow Putz house

It also has a yellow fence.

Pink and yellow Putz house

Pink and yellow Putz house

Now that I am caught up on all the Putz houses from the box, I may do some shadow boxes or dioramas for a while. We’ll see where my interest falls next time I’m crafting. Which will probably be tomorrow!

Thanks for reading my blog posts. And thanks, too, for leaving comments!

If you have an interest in making some of your own Putz houses, you will find my tutorials here: Putz / Little Glitter Houses. If you have any questions, please ask! I am always happy to help.

~~Rhonda
putz houses from the past week or so

I have been busy working my way through the box of Putz houses I had stashed from a few years ago. Most needed window panes and frames. I finished those touches and have been putting them on bases ever since. Here are a few of the ones I have finished.

The double chimney blue house…

Putz house

Close-up details…

Putz house

More of a vintage style pink on pink…

Putz house

I may have to keep this one. It is listed in Etsy, but I’m waffling…

Putz house

One of my own patterns. Do you like the arch or not?

Putz house

Close-up…

Putz house

Vintage mercury beads line the sidewalk…

Putz house

With the lights on…

IMG_5915

There are two more that I finished but haven’t posted to Etsy yet. This is the first time I’ve made one with a rounded fence.

Rounded fence

Details…

Rounded fence

The ski-slope design is one of my favorites. The trees on this house are dusted with “antique silver” colored glitter.. The scalloped fence is made from tinsel chenille stems. That’s “pipe cleaners” for folks in my generation.

Little blue house

Headed to bed. I’ll be back to work tomorrow. I have two more houses to finish.

~~Rhonda
making putz bases

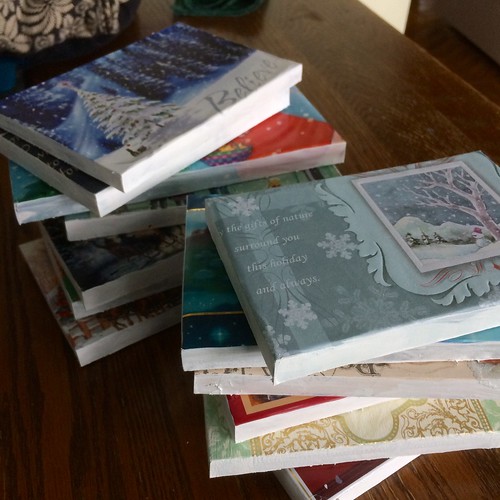
I continue to work on my box of Putz houses. I put window panes in them and made window and door frames for some of them. I’ll finish that part of the project tomorrow. Yesterday (Friday) I spent my craft time making bases for the little houses. I scoured my Christmas card collection to find cards to match the houses. These days, I pick the card first and paint the house to match. Much easier! But I did manage to find cards for all the houses. I stacked them together before moving to the next step.

making Putz bases

All the bases had to be assembled, then painted. I had a few done, then realized I needed a way to remember which picture went to which house, so I took pictures of all of them.

making Putz bases

I thought the “gingerbread” and the color matched this cute card perfectly. I see this house still needs window frames.

making Putz bases

And I love the colors on this pair.

making Putz bases

I finished six of the bases. That process includes making a box from the card to serve as the base, cutting cardboard to fill the box to give it stability, binding it with strips of cardboard and rubber bands to allow the glue to dry tightly, giving it a base coat of white paint, and a second coat, then a third coat of paint mixed with sand to give it that lovely vintage texture, and applying fine glitter to the wet paint. The final step is to let the paint dry completely before attaching the house, fence and embellishments. I like to cut the flaps off flat boxes and use the box as a tray to corral projects. I was happy to have one on hand that held all six bases.

making Putz bases

I have three bases left to paint. I will do that in the morning before I make window frames. That will give the bases time to dry after they are painted. Hopefully, I will get all the houses attached to their bases by the end of the day.

making Putz bases

Here is a link to my tutorial for making bases for Putz houses. I wrote this blog post four years ago, before I began making the bases from Christmas cards, but the basics are all there. Tutorial for making Putz house bases

All day, as I worked on my project, I watched the ice build up on the big oak in the back yard. The birds were in a frenzy at the feeder, and I was glad I could stay indoors. Be safe out there!

~~Rhonda
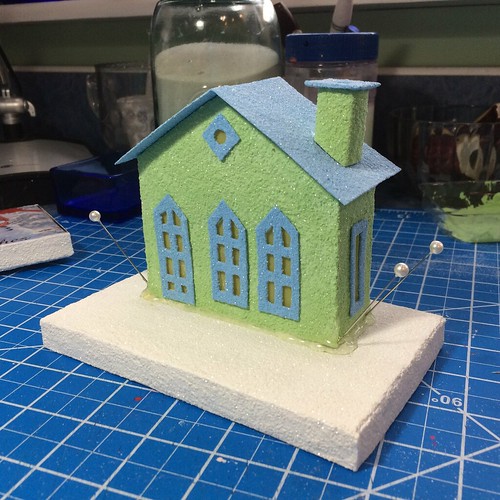
green and pink two-story putz

I’ve been working on the box of Putz houses I had made a couple of years ago. None of them had window panes, so I put those in first.

Untitled

After the window panes were in, it was time to add the window and door frames. I started with the little two-story green house with the pink roof and decided to paint them a honey brown color.

Putz house

I made the fencing to match the trim.

Putz house

Pinning the fence (and the house) down keeps it in place until I’m ready to hot glue it to the base.

Putz house

A peek at my work space…I always make a mess, but it’s a satisfying mess!

Putz house

Added snow…

Putz house

And decorated trees…

Putz house

Added some background foliage…

Putz house

And done.

Putz house

Putz house

Putz house

It’s posted in my Etsy shop – ChristmasNotebook. Along with almost 40 other Putz buildings and several kinds of Christmas ornaments, many made with recycled Christmas cards.

I am making progress on my organizing-the-craft-room project. DH helped me clear out some of the drawers on the east side of the room. I’ve been putting supplies and projects in those drawers, making room in the drawers on the west side for the items I want right at hand. There is a lot to do, but I’ll keep chipping away at it. If you’re interested, click here for pictures of my craft room.

We’re expecting an ice storm, starting tomorrow morning and running through Sunday. If it’s headed for you, find a happy place and hunker down! I’ll be in the craft room…

~~Rhonda
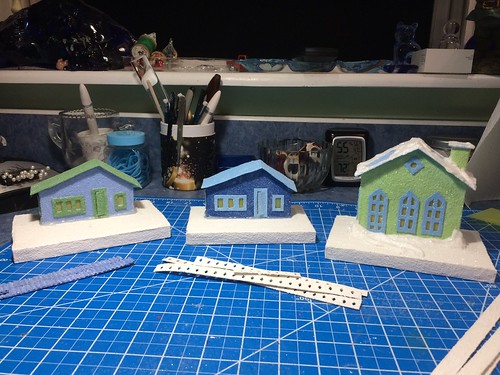
soup and putz

Our weather has been cold and windy. I made chicken tortellini soup this morning and put four quarts into the fridge. We’ll be set for a few days. I find soup comforting when the weather is bitter.

Untitled

I have a box of Putz houses that I made a few years ago.

Untitled

Today I got them out and put window panes in them.

Untitled

Tomorrow I will add the window frames and make more bases to accommodate them.

~~Rhonda
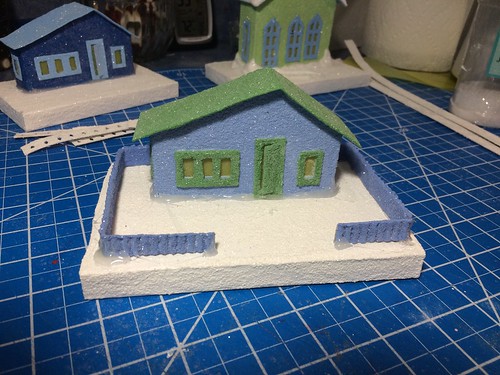
tada!

Progress was made! And we had fun working together! With the help of DH and my two sisters, we took all the tinsel, ornaments, strings, and beads off the tree.

taking down Christmas

taking down Christmas

At this point the tree will have to wait. The next step is to take the lights off the four bottom branches. They are too wide to carry through the doorways to the attic. The middle section and the top section will go to the storage room in the attic with the lights on.

taking down Christmas

We filled five or six boxes just from the living room tree.

taking down Christmas

They are updated on the computer file and ready to go back to storage until next Christmas. Which is only 352 days away, I might add!

~~Rhonda