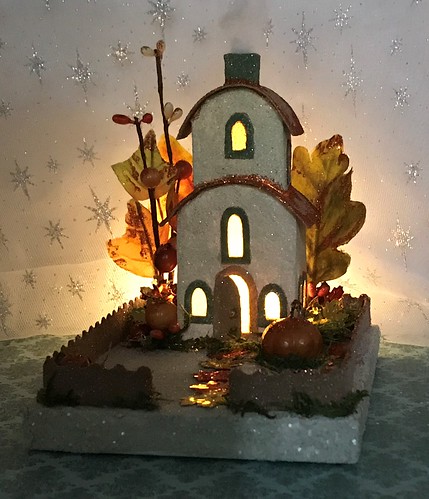
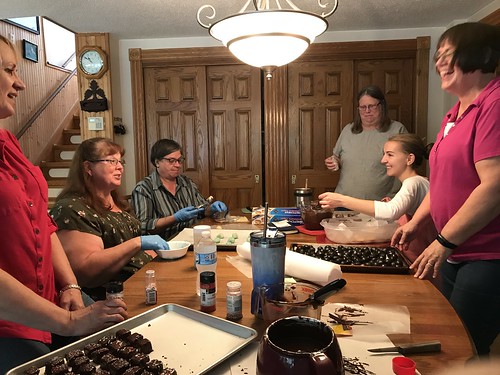
it’s cookie time!

Every year, about this time, I start on the cookie and candy production for our annual Christmas Open House. Currently, I have four items in the freezer and will be making many more over the next six weeks or so.

Of course, I have my favorite Christmas-themed measuring spoons handy. There’s no baking Christmas cookies without the right tools!
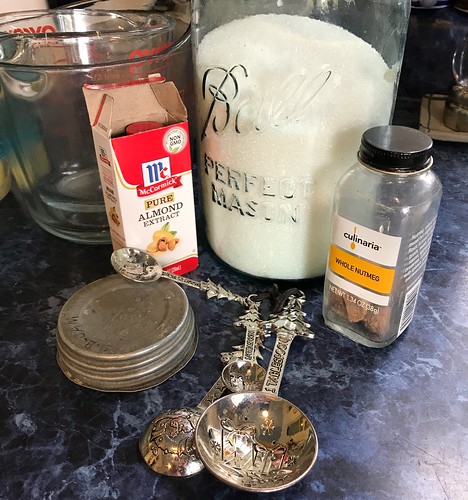
Christmas measuring spoons

The first recipe I made was for Date Balls. Middle Daughter and I had several weeks worth of Project Runway to catch up on, so I decided to make the Date Balls and form them into balls while we watched TV. My sisters and I are working on a project of making 150 dozen cookies for my Dad and my brothers to hand out to their customers at Christmas. I made one batch of Date Balls for our Open House and one batch for their shop customers.
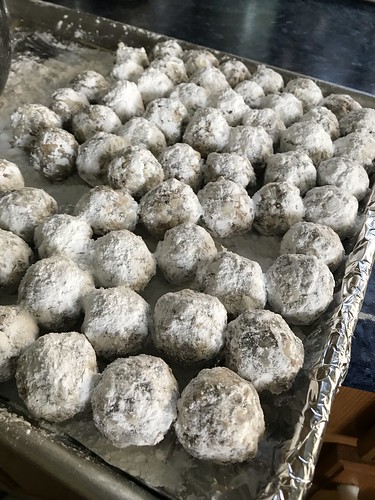
Date Balls

I date the boxes for storage. A couple of times over the years, we found an extra box, left from the year before in the freezer…no date, no eat. :-}
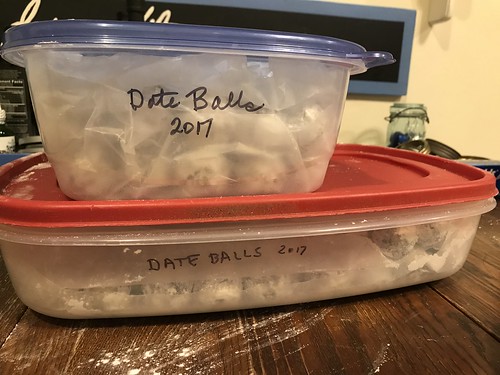
Date Balls

The link to the recipe is here: Date Balls

Last Sunday afternoon, I made Elfin Bites and Nutmeg Logs.
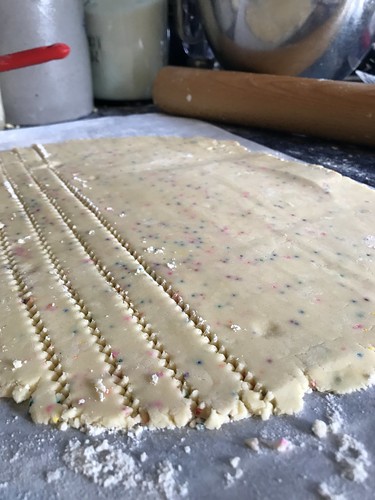
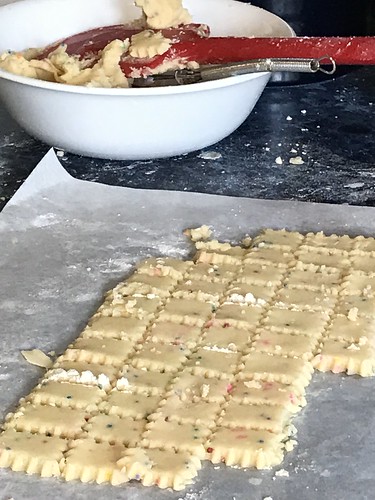
Elfin Bites

Elfin Bites

These tiny 3/4″ square bits of shortbread are one my favorite cookies.
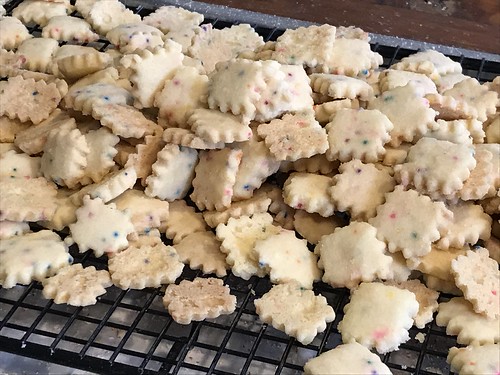
Elfin Bites

This link will take you to the recipe for Elfin Bites.

Nutmeg Logs are good. Not a personal favorite, but they are the absolute favorite of my sister Margaret and my dear friend Laurie, so they are a must each year. I roll mine thin so they are crispy delicious.
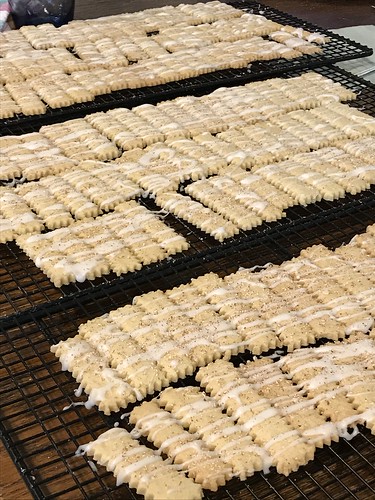
Nutmeg Logs

I use a pastry crimping wheel to get the nice edge on both the Nutmeg Logs and on the Elfin Bites.
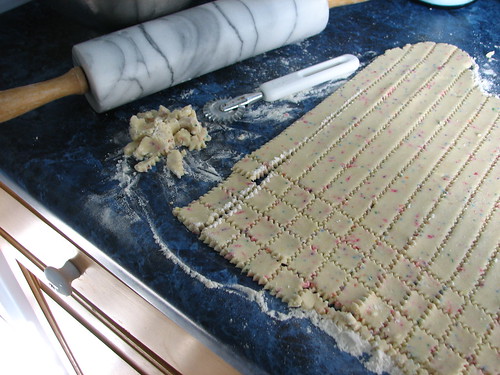
Elfin Bites

Here is the link for Nutmeg Logs.

Yesterday, I made Daniel’s Cookie Bar Bites. They are a double batch of Tollhouse Chocolate Chip Cookies, made with two bags of mini chocolate chips. I underbake them by a few minutes and they make wonderfully fudgy little cookies.
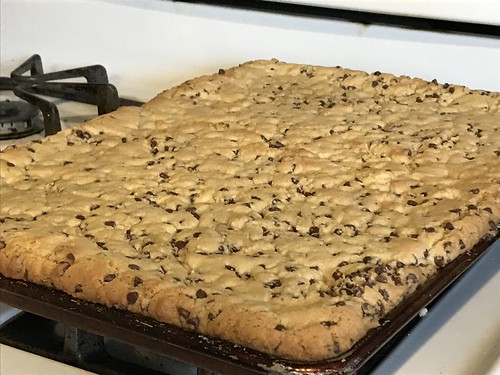
Cookie Bar Bites

I cut them into 1″ squares. They are frozen at this point.
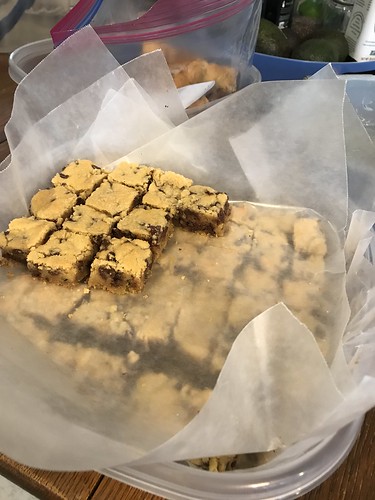
Cookie Bar Bites

Two days before the Open House, I will thaw them, dip them in chocolate and decorate the tops with cookie sprinkles.
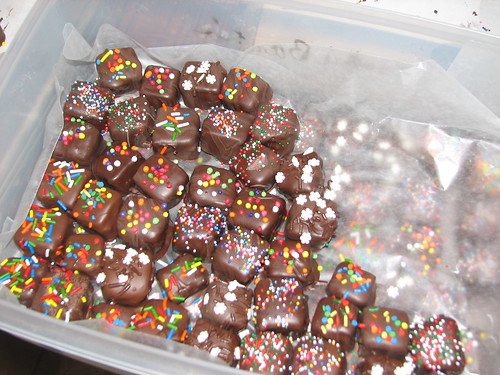
Daniel's Cookie Bar Bites

And the edges, which I don’t use for making the Cookie Bites, are stored in a zippered storage bag to be enjoyed by family.
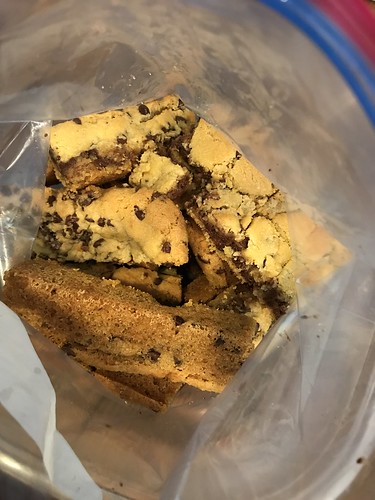
Cookie Bar Bites edges

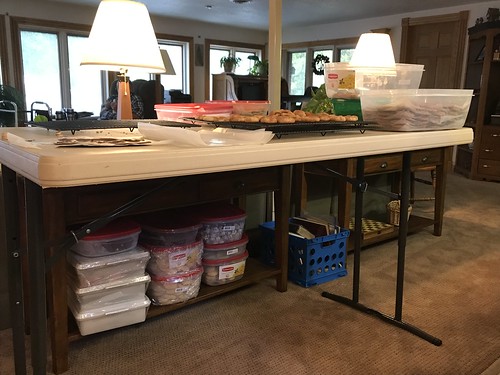
I have an antique baker’s table in my kitchen and I’m using it to store cookie supplies so they are at hand and easy to access as needed.
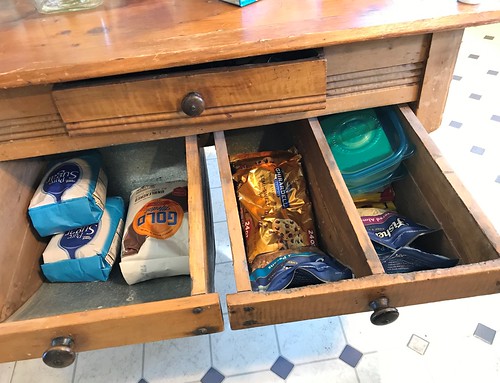
baker's table

And I have a storage tub full of chocolate for my baking needs. Lots of future truffles contained here…
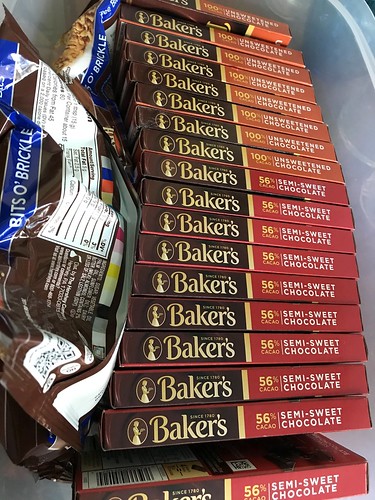
Christmas Cookie chocolate

My sister is coming this weekend to help decorate for Christmas. Her first big project will be the chalkboard tree. I will be making recipes for five kinds of truffles so I can work on those while she is chalking. I will keep you posted on what we get done!

~~Rhonda
menu plan monday ~ october 2, 2017

September flew by! Here’s October and I am not ready for it! Love the season, but I just can’t imagine it is already here! We’ve been enjoying the relief from 90° temps the past few days. Much nicer to have the windows open and the air conditioner turned off.

Saturday, DH and I went for a country drive. The leaves are just turning. Should be even more beautiful in a couple of weeks. Then the downhill slide into winter…

country drive

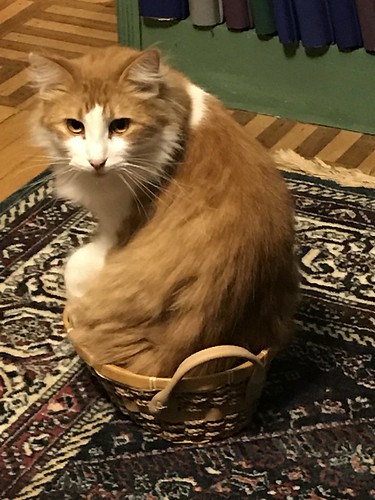
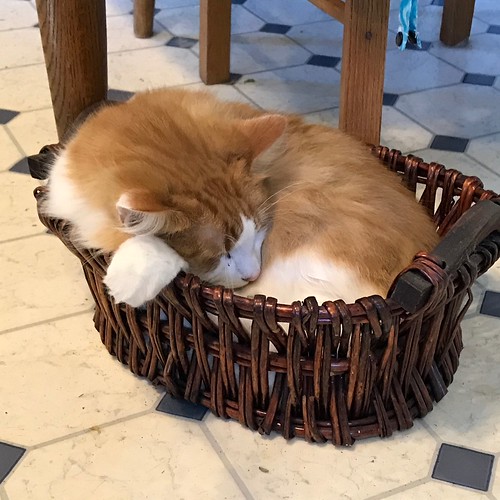
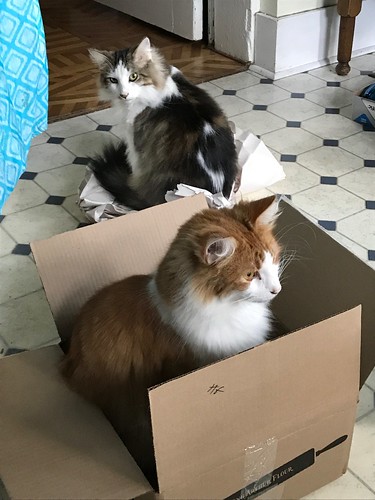
Winston keeps us entertained with his lack of self-control concerning boxes and baskets.

Winston

Winston has no self-control. He cannot resist a box or a basket.

Today it was a box and packing paper…

Untitled

Here’s the menu for the week.

Monday
Alice Springs Chicken
Cauliflower and Broccoli with Cheese Sauce

Tuesday
Cheesy Chicken-Broccoli-Cauliflower Casserole
Garden Salad

Wednesday
Baked Salmon with Lemon and Butter
Sauteed Mushrooms
Garden Salad
Steamed Asparagus

Thursday
Taco Salad

Friday
Homemade Cream of Chicken Soup

Saturday
Pulled Pork Sandwiches
Roasted Brussels Sprouts with Bacon
Garden Salad

Sunday
Chef Salad Bar

We have three Christmas trees up, fluffed and ready to decorate. My sister will be here next weekend to begin our decorating season. It’s that time of year! We will also be starting on this year’s chalkboard tree this weekend. I have the patterns drawn! You can see our five previous chalkboard trees at this link. Chalkboard Christmas trees

~~Rhonda

time for crustless taco pie!

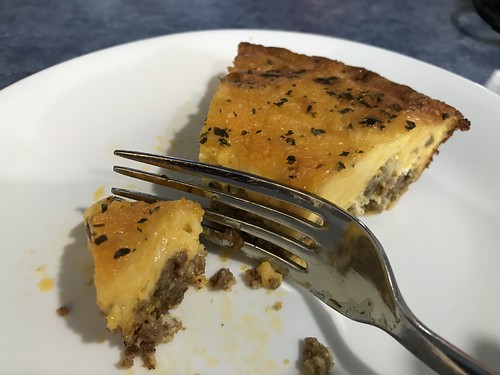
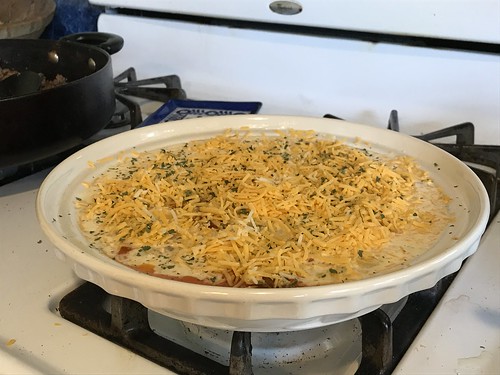
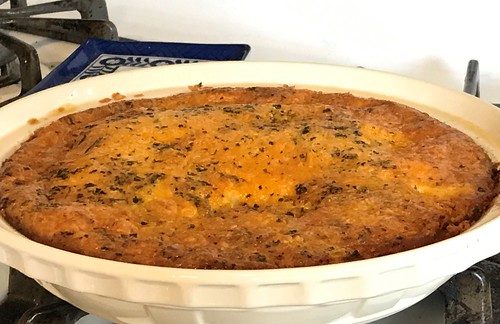
I tried a new recipe this week. It’s called Crustless Taco Pie. I found it on the blog Simply So Healthy. Her pictures are prettier than mine. We didn’t add sour cream or other toppings. It was able to stand alone, though it would be very good with all those extras on top.

Crustless Taco Pie

I changed my version just a bit, so here’s the recipe with a few changes.

Ingredients:

  • 1 pound ground beef (I used chuck)
  • 1.5 T. homemade taco seasoning (link to my mix recipe follows the recipe)
  • 1 T. dry minced onioin
  • 1 T fresh parsley, finely chopped or 1 tsp. dry parsley (or use cilantro)
  • 1/2 cup cherry tomatoes, cut in half
  • 8 drops Tabasco Sauce
  • 4 large eggs
  • 2/3 cup heavy whipping cream
  • 1 cup shredded Mexican blend cheese, divided (or use straight-up Cheddar)
  • 1/2 teaspoon sea salt

Instructions:

  • Preheat oven to 350ºF.
  • Prepare a 9″ pie pan by greasing with bacon grease, butter or cooking spray.
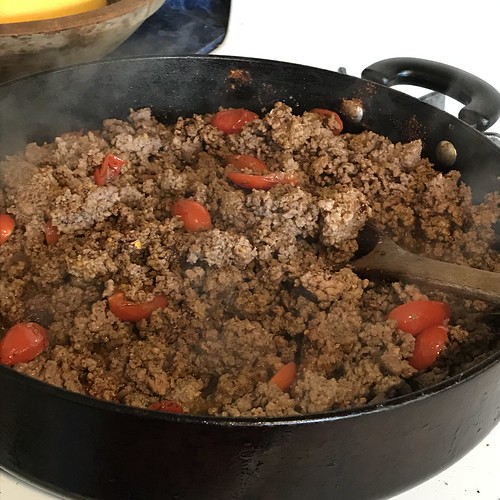
  • Heat a large skillet over medium high heat. When hot, add the ground beef.
  • Cook, stirring and breaking up the larger pieces till almost browned.
  • Add the taco seasoning, dry onion, parsley, cherry tomatoes and Tabasco Sauce. Stir well.
  • Cook a few more minutes until meat is cooked.

I cooked three pounds of ground chuck at once, adding extra spices. I used a third for the recipe, and froze two packages of one pound each for use in taco salad or another taco pie in a few weeks.

Crustless Taco Pie

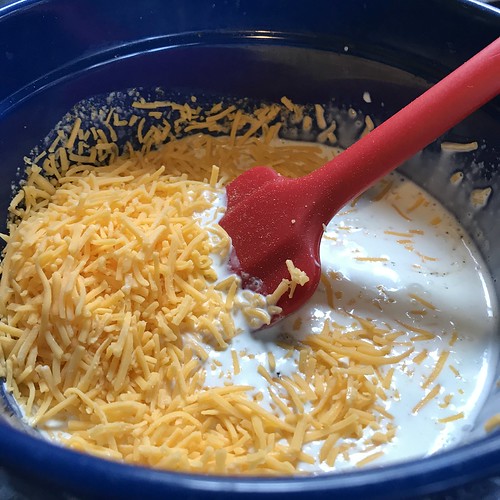
  • In a medium mixing bowl, whisk together the eggs and heavy whipping cream.
  • Stir in 3/4 cup of the cheese and the salt. Mix well.

Crustless Taco Pie

Pour the meat into the greased pie plate.
Pour the cream mixture over the meat.
Use a fork to distribute the cream mixture with meat.
Sprinkle remaining cheese on top.

Crustless Taco Pie

Bake in a preheated oven for 35-45 minutes or until the top is brown and the pie is set.
Allow to cool for 5 minutes before serving.
Serve with your favorite taco toppings.

I sprinkled a little extra dry parsley over the top before baking.

Crustless Taco Pie

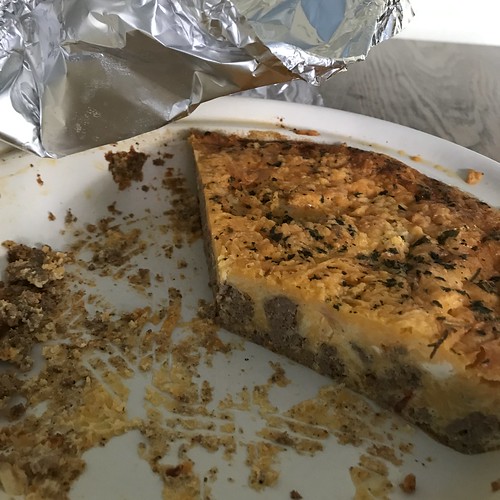
The pie keeps well. It can be refrigerated and then heated before serving. We had leftovers the next day and they were just as yummy as the first go-round. DH loved it!

The next day, it looked like this.

Crustless Taco Pie

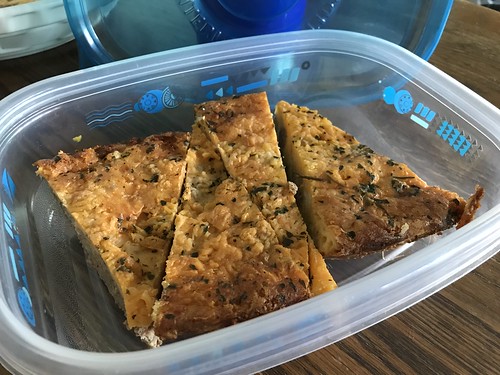
Just enough for two to share for lunch or a quick supper later this week.

Crustless Taco Pie

I make my own taco seasoning mix. You can find the recipe here: Taco Seasoning Mix
Scroll down the page for the mix recipe. The Crock Pot Chicken Taco Chili is good, too!

This can be made ahead and easily reheated in the microwave. It’s easy to slice and store in the fridge so hungry family can help themselves to a slice or two. It holds together beautifully. Experiment with your own ingredients. I may try it with half ground round and half ground sausage. Sounds good!

We will be having Crustless Taco Pie again! Next time with toppings!

~~Rhonda
kielbasa and cabbage…delicious!

We enjoy oven-roasted vegetables, and cabbage is one of our favorites. We often roast slices of cabbage with chopped bacon and olive oil drizzled over the top. Today I made roasted kielbasa and cabbage.

roasted kielbasa and cabbage

Oven-Roasted Kielbasa and Cabbage
Serves 4-6. Depends on if you serve it on its own or add sides.

2 14-oz. packages of kielbasa sausage (We use Hillshire Farms Polska Kielbasa)
1 head of green cabbage
Bacon grease or olive oil or butter
salt and pepper

Line a large cookie sheet with aluminum foil.
Preheat the oven to 400°F.

  • Slice the kielbasa into half inch slices. Or bigger, if you like.
  • Slice the cabbage into 1″ slices.
  • Lay the cabbage on the cookie sheet. Spread it with a few tablespoons of bacon grease or butter, or drizzle olive oil over it.
  • Sprinkle with salt and pepper.
  • Spread the kielbasa slices over and around the cabbage.

.
roasted kielbasa and cabbage

Bake on center rack at 400°F for about 45 minutes, stirring or turning the sausage about half way, if you want to.

Serve warm with some crusty toasted bread or with a side of fresh garden salad. Corn on the cob would be good, too. It stands alone as a filling meal, though, and doesn’t need the extras unless they appeal to you.

This is one of our favorite meals. Delicious for the fall season. Good all winter!

I slice the cabbage horizontally, with the stem in the middle. No need to cut out the stem. After roasting, it is tender and tasty.

~~Rhonda
menu plan monday ~ september 25, 2017

This past week seemed to fly by. I’ve been pretty busy and that always helps, doesn’t it? On Sunday, we drove north to visit my Dad and two of my siblings. We had a good afternoon. The grands enjoyed playing with my brother’s daughter who is four months younger than the twins. They don’t get to see each other often, but when they do, they really enjoy it.

After visiting with family, we drove by the county courthouse to see the cannon my father’s Civil War Round Table restored. It looks beautiful!

two girls and a cannon

The drive afforded some lovely views. The clouds were big, fluffy and white against a blue sky. So pretty! We saw several farmers combining beans. The field in this picture has already been harvested.

early fall afternoon

All in all, a good visit, a nice drive and an end to a full week. Now we begin again. Here’s the menu for this week.

Monday
Fridge Food

Tuesday
Oven-Roasted Kielbasa and Cabbage

Wednesday
Alice Springs Chicken
Steamed Asparagus
Garden Salad

Thursday
Crustless Taco Pie

Friday
Roast Chicken
Broccoli and Cauliflower with Cheese Sauce
Garden Salad

Saturday
Chef Salad

Sunday
Country-Fried Pork Chops with Cream Gravy
Mashed Potatoes
Steamed Asparagus with Lemon Butter
Garden Salad

What’s on your plate? ~~Rhonda
double chocolate hot chocolate mix and chocolate mug cake mix

Middle Daughter is at college and not able to come home for a few weeks, due to commitments there, so Snow White and Rose Red helped me put together a care package for Auntie. We made hot chocolate mix and mug cake mix.

Snow White added the chocolate chips to the hot chocolate mix.

recipe time with the grands

Rose Red added the marshmallows to the hot chocolate. Over time, the marshmallows become dehydrated, but they come back to life when heated in a mug.

recipe time with the grands

When the mixing was done, Snow White wrote out the directions for the mug cake mix and Rose Red ran a taste test on the hot chocolate. She declared it “delicious!”

recipe time with the grands

Double Chocolate Hot Chocolate

This recipe makes a lot. Use a very large bowl to stir the dry
ingredients together.

  • 25.6 oz. box of nonfat dry milk (8 c.)
  • 16 oz. pkg. mini marshmallows (7 1/2 cups)
  • 12 oz. pkg. mini chocolate chips (2 c.)
  • 3 c. powdered sugar
  • 3 c. Carnation Coffee-mate nondairy creamer Lite
  • 1 1/2 c. baking cocoa powder

Serving ~ 3 T. of mix to one mug of hot water or milk.

If you like it sweeter, just add more sugar or sweetener.

This delicious mix makes great gifts for teachers, co-workers, church
staff, etc.

recipe time with the grands

The mug cake mix was pretty easy to make, too. The grands mixed this themselves.

recipe time with the grands

We used the recipe at this link: Chocolate Mug Cake Mix / We doubled this recipe.

    • Mix the dry ingredients together.
  • 1 cup flour
  • 3⁄4 cup sugar
  • 1 1⁄2 teaspoons baking powder
  • 1⁄4 cup dry milk
  • 1⁄4 cup cocoa
  • 1 dash salt

To make a mug cake, measure 4 Tablespoons of mix into a mug. Add 2 Tablespoons of water or milk. Cook in the microwave on full power for 40 seconds. This amount made about half a mug of cake. Vary the amount to find the right portion for your mug. The proportion is two tablespoons of mix to one tablespoon of water. A larger amount than the recipe states may take five or ten seconds longer to cook.

The mug cakes would be delicious with whipped cream or a scoop of ice cream on top.

recipe time with the grands

The grands had a good time measuring and mixing.

recipe time with the grands

And the final verdict was “Deee-licious!”

recipe time with the grands

Enjoy! ~~Rhonda
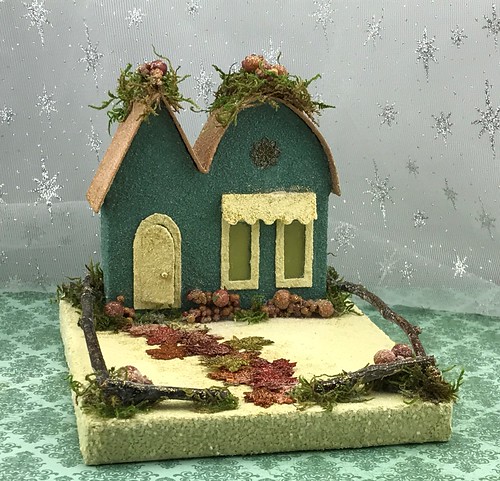
three fall putz houses

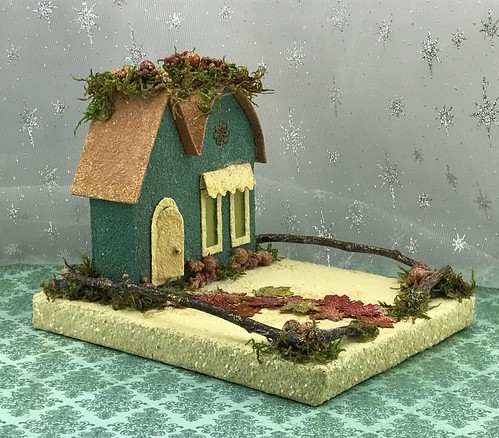
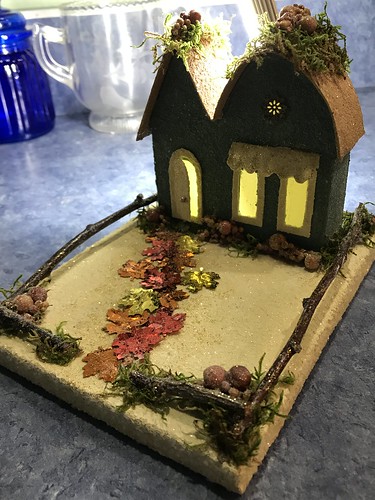
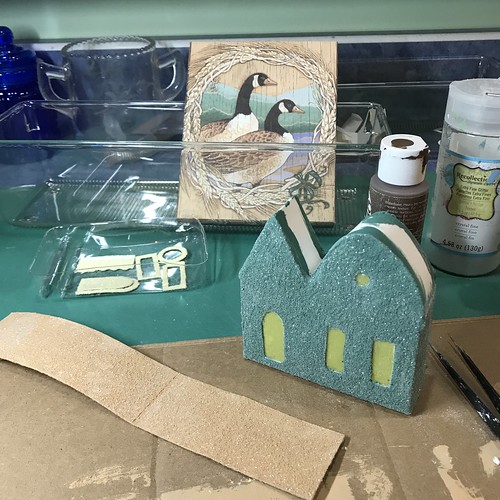
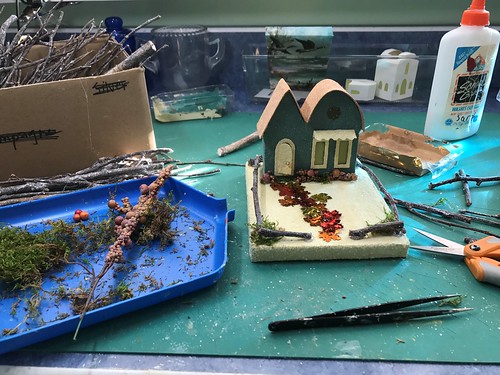
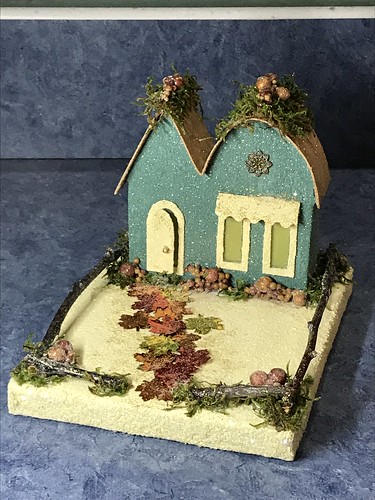
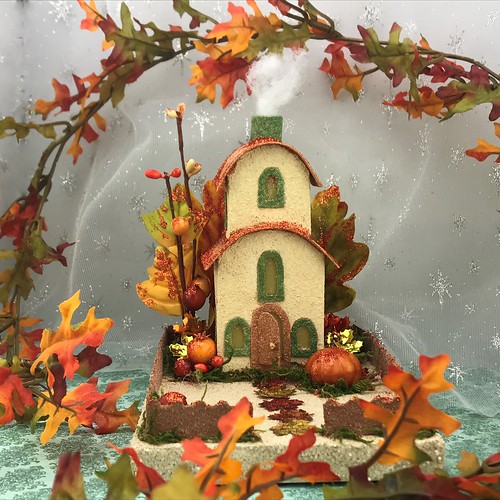
This past week I worked on three autumn Putz houses to place in Mary’s shop, Breath of Eden Country Store. A few finishing touches and a going over for glue gun webs, and they will be ready to send to Mary.

Each Putz is painted to coordinate with the greeting card that makes up the base.

Autumn Putz houses

The church…I love the color. I may have gone a little overboard on the embellishments? I do love the way it turned out, though.

Autumn Putz houses

Pretty on this background…

Autumn Putz houses

The base is from a Father’s Day card that Russell and I sent to Russell’s Dad one year.

Autumn Putz houses

It’s hard to tell in this picture, but the path to the front door is a leaf, like the ones in the back on the right.

Autumn Putz houses

This little, two-story house is one of my favorite patterns.

Autumn Putz houses

The color is closer to the true colors in this picture…before it was completely embellished. I made the little shock of corn from shredded paper (gift packing).

Autumn Putz houses

You can see more Putz houses that I’ve made in my Etsy Shop. ChristmasNotebook.etsy.com

This link will take you to more of my blog posts about Putz houses. Some show completed houses, some show the process. Enjoy! Putz Houses

~~Rhonda

menu plan monday ~ september 18, 2017

I spent last week finishing a custom order for a Putz church. It is done, except for a sign on the front of the base, identifying the church. I make signs on printable glitter paper, and am waiting on that to be delivered. It feels good to have this project so close to completion. I plan to blog the process in a few days. I’ve started the post, but there are a lot of pictures to sort through. I have to decide which ones to use, which ones to leave out…never an easy decision!

Untitled

The front doors of the church are 1 1/8″ tall. I made the tiny wreaths from punchouts, glue and glitter.

Putz church

Clark is amusing. Here he’s taking a call from Younger Son.

Clark takes a call

The Sunday bouquet this weekend was made of Jerusalem Artichokes and Goldenrod. A cheerful bouquet!

Sunday bouquet. Goldenrod and Jerusalem artichoke.

Part of this week’s menu depends on leftovers. We have a lot in the fridge that needs to be used. Just gives me more time in the craft room!

Monday
Lots of leftovers, so it’s fridge food tonight.

Tuesday
Baby Back Ribs
Cauliflower in Cheese Sauce
Steamed Sugar Snap Peas with Butter
Garden Salad

Wednesday
Taco Salad

Thursday
Creamy Tuscan Chicken
Garlic Roasted Asparagus with Parmesan

Friday
Cobb Salad

Saturday
Fridge Food

Sunday
Roast Beef in the Instant Pot
Mashed Potatoes
Oven-Roasted Brussels Sprouts
Garden Salad

Jerusalem artichoke blossom

I hope you have a good week! ~~Rhonda
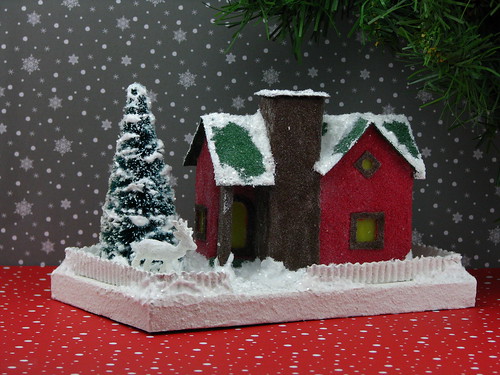
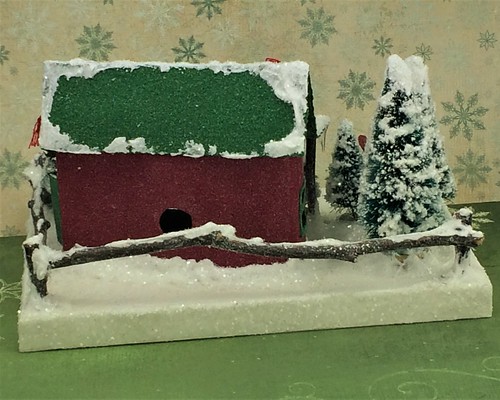
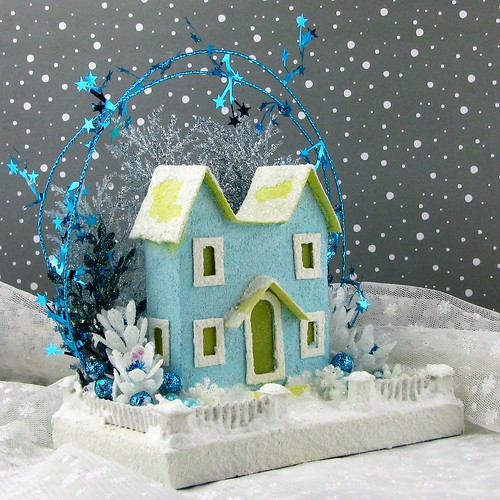
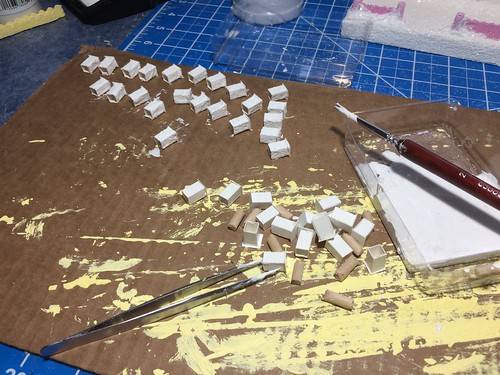
putz Christmas tree lots

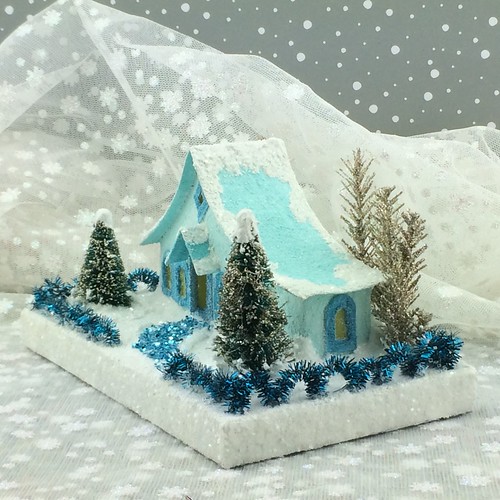
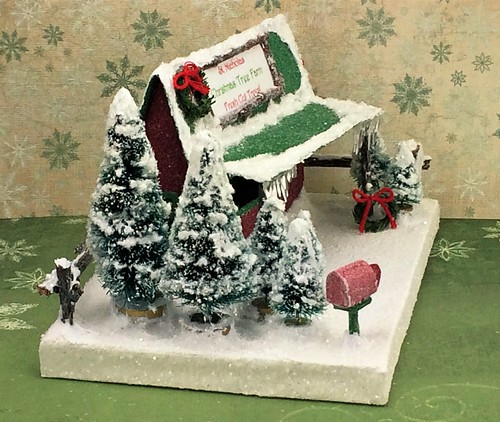
Some of my most favorite Putz patterns are for the Putz Christmas tree lots I’ve made.

This Christmas tree lot has a welcoming snowman…

Santa's Christmas Tree Lot

…and a garland on the snowy fence. And how cute is that corrugated “tin” roof?

Santa's Christmas Tree Lot

This one is in my Etsy shop ~ ChristmasNotebook. I love the details of the Santa mail box, the wreaths and the twig fence.

Putz Christmas Tree Lot

This may be my favorite, though I love them all. It sold to a local friend as soon as it became available.

Noel Farms Christmas Tree Lot

I love the way the Christmas lights frame the lot.

Noel Farms Christmas Tree Lot

Noel Farms Christmas Tree Lot

I am in the mood to make a new Christams tree lot. Any thoughts, ideas? Which one is your favorite?

~~Rhonda
zucchini gratin

I found myself with six small to medium zucchini to use for supper and I came across a recipe to try at the “I Breathe / I’m Hungry” blog site. This was a new recipe for me and I am so glad I tried it. It was delicous. DH complimented it, too.
Click this link to see Mellissa’s version. Easy Cheezy Zucchini Gratin

Here’s my version.

Zucchini Gratin

5 or 6 small to medium zucchini, sliced 1/4″ thick, peel left on
2 T. butter
1/2 c. heavy whipping cream
2 oz. regular cream cheese
1 T. dry onion
1/2 tsp. garlic powder
1 tsp. dry basil
1 tsp. dry parsley flakes
1/2 tsp. salt
1/4 tsp. freshly ground pepper
1 1/2 to 2 cups shredded cheddar cheese

In the microwave, melt the butter in a small casserole dish. Mine was about 8″x10″. It would work in a pie plate, too.

Use the melted butter to grease the dish, then add the remaining ingredients to the casserole dish, except the zucchini and the cheddar cheese, and heat in the microwave for about a minute, until the cream cheese is soft enough to mix the ingredients together with a fork. Pour the resulting sauce into a measuring cup or small bowl.

Line the casserole dish with half the sliced zucchini. My dish made three rows with halved slices down one side to fill the gap.

Zucchini Gratin

Put half the cheese on top the zucchini. Pour half the sauce over the cheddar cheese. Repeat: zucchini, cheddar cheese, sauce.

Zucchini Gratin

Bake in a 375º oven for 45 minutes, uncovered.

We ate is without thinking to snap a picture of the finished product. I will add a picture next time I make this recipe, which will be soon, I am sure.

I had planned to have hamburgers to eat with this dish, but DH was about an hour later than usual getting home from work. At that point, the casserole had been in the turned-off oven for about 45 minutes past the cooking time, and DH was hungry. Didn’t want to wait on hamburgers. The casserole was still great and actually made a filling meal. It’s good to know it will do fine waiting in the oven till needed.

Notes:

The sauce may seem to be too little, but the zucchini will give off some moisture as it bakes and that will increase the amount of sauce.

Also, if I had fresh basil and fresh parsley on hand, I would have used that instead of dry. I do have to use dry onion as DH is allergic to fresh. You can substitute fresh, sliced onion to place between the zucchini slices, as suggested on “I Breathe / I’m Hungry,” if desired.

And, finally, this would be delicious with some cooked, crumbled bacon sprinkled over the cheese layers. Next time!

~~Rhonda