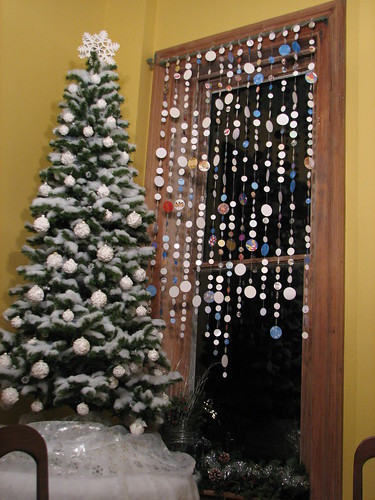
Last year, I came across a blog with a Christmas tree garland made from waxed paper punched into circles. Click the link to see the garland she made. She glued her paper pieces to the string. Sounds like a long and frustrating job to me. I sewed mine together. Worked great. She put hers on the Christmas tree. I put mine in the window.
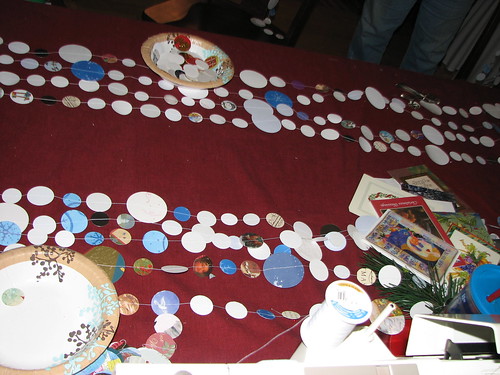
While I really like the look of the waxed paper garland, I thought it might be a troublesome paper weight to work with, so I decided to make a garland with punched circles from old Christmas cards and scrapbook papers. I used a couple of sheets of silver card stock (scrapbook paper) to give the garlands some shimmer and flash as they turned in the breeze. I have a large collection of used Christmas cards. If you don’t have access to many, you can use scrapbook paper, magazine pages (lighter weight, but would work), or even construction paper, if you don’t mind it being solid colors. Using the Christmas cards was fun because it made the garlands interesting to look at. As it twirled in the breeze, you could see all sorts of Christmas related pictures.
I used four different sizes of circle punches. The smallest was three-quarters of an inch, the largest was 2″ across.
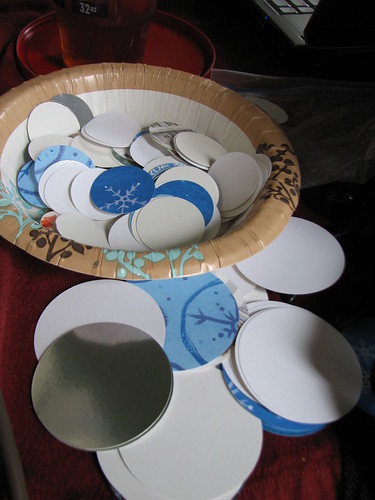
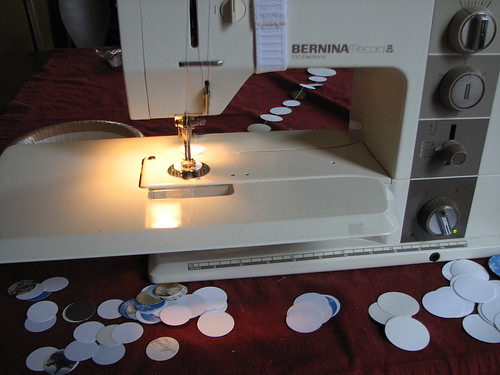
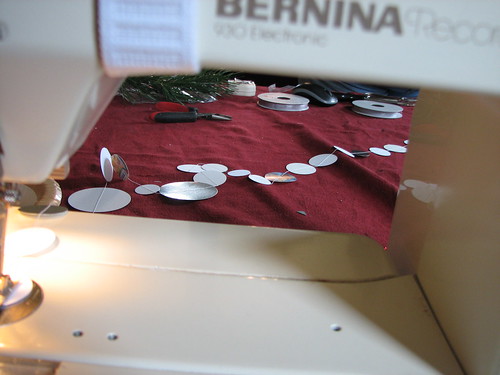
I kept the different sizes separated in paper bowls. That way, I knew what kind I needed more of as I made the garlands. Using a regular straight stitch and a regular needle, I sewed through each circle to make four to five foot lengths, leaving a small amount of space between each circle. They can be made into any length you like, of course, but this length was easy to work with. The strands could be tied together if they had to be longer.
I found it easiest to pull six or eight circles from each pile, set them on the table in front of the machine and randomly pick them up for sewing together.
I made sure to sew some with the picture to the front and some with the white side to the front. Doing that prevented having all white sides when they were hanging from the curtain rod.
DH put them up for us.
I left them at different lengths, but it would be easy to trim them all to the same length, or into a scalloped effect, after they were hanging. The slightest breeze from the furnace made the circles spin and twirl. So pretty!
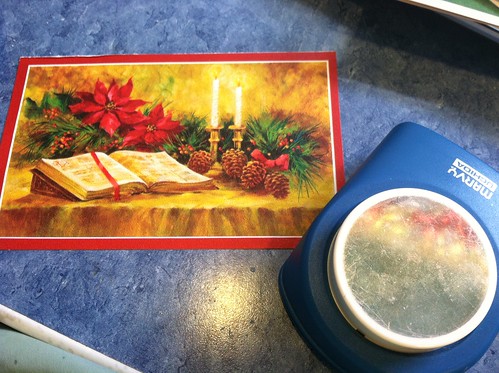
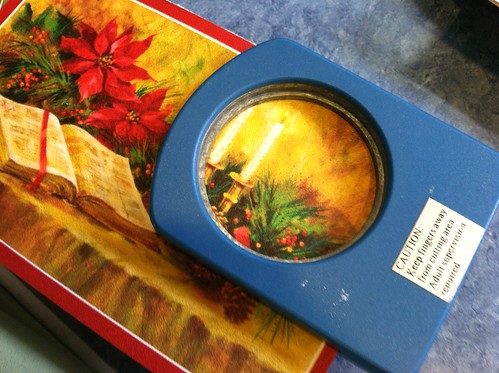
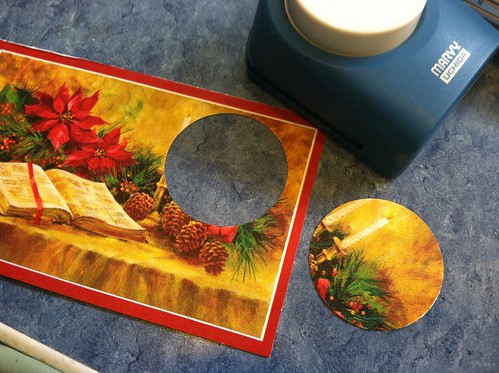
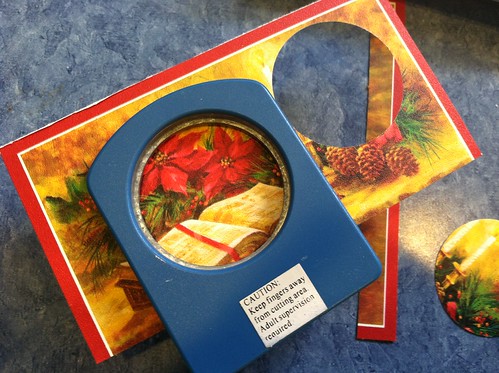
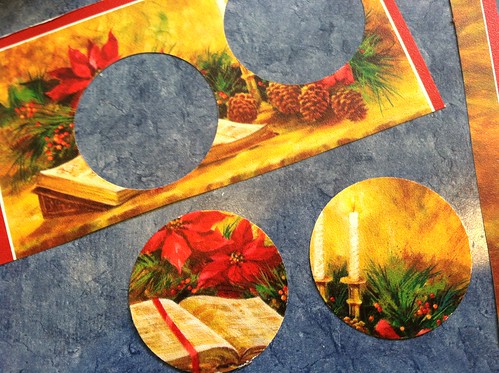
Here are a few photos of making the circles. Most cards can give you a couple of large circles. And smaller circles can be punched from the leftover spaces.
Turn the punch upside-down so you can see exactly what you are punching.
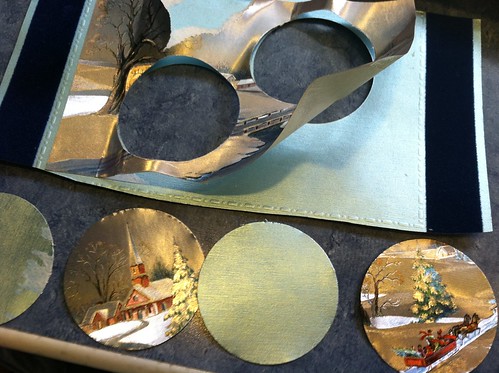
This card had a picture over foiled card stock. A two-for-one punch.
A very easy project, but it did take longer than I thought it would. I punched a lot of the circles over time, as I watched TV or a movie. But even with punching them ahead of time, I didn’t have enough. Of course, I was making garlands to hang from three windows and that took a lot. If you are making a garland to hang from one end of a mantle to another, it won’t take long. If you are making enough to hang as I did, or to circle a Christmas tree, it’s going to take several hours or more. Just FYI.
We saved the garlands by stacking the circles on top of one another, then clipping the whole thing with a clothespin. Then they were stored in a box and put away with the Christmas decorations. We’ll see how that worked when we get them out this year!
~~Rhonda


4 Comments
Thanks for the directions, Rhonda. Only question, they aren’t two-sized? In other words, you didn’t put two pieces back-to-back before sewing? So when hanging, one side is the picture while the other is the white (or plain) side of the picture piece?
That’s right, Barb. Mine were white on the back. You could easily make them with color or pictures on both sides, if you wanted to. I used them in the dining room and the decorating theme for Christmas in that room is “snow” so I wanted a lot of white. ~~Rhonda
very nice!
So Beautiful !!!!