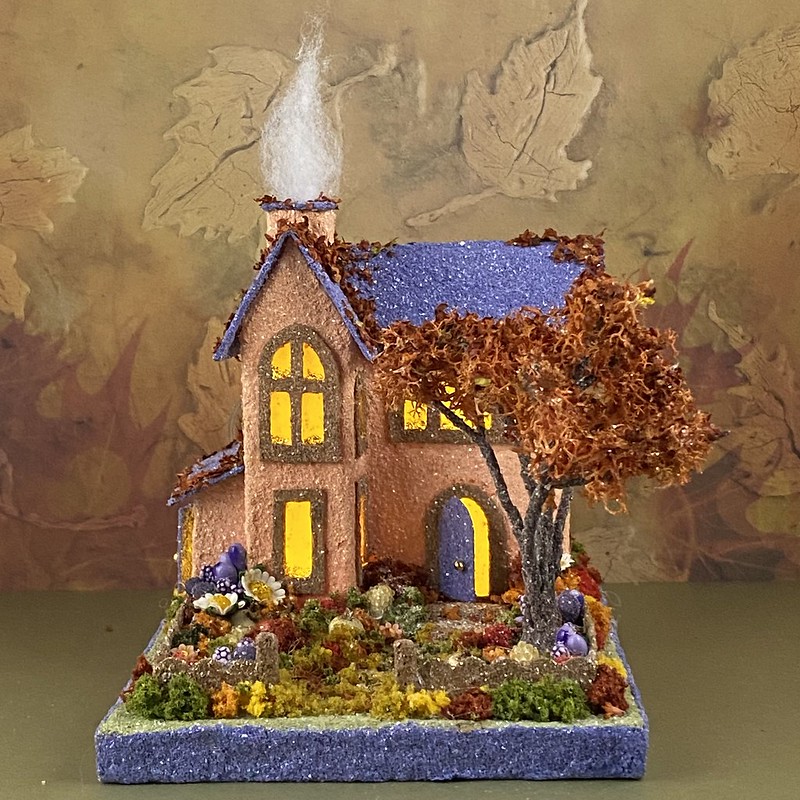
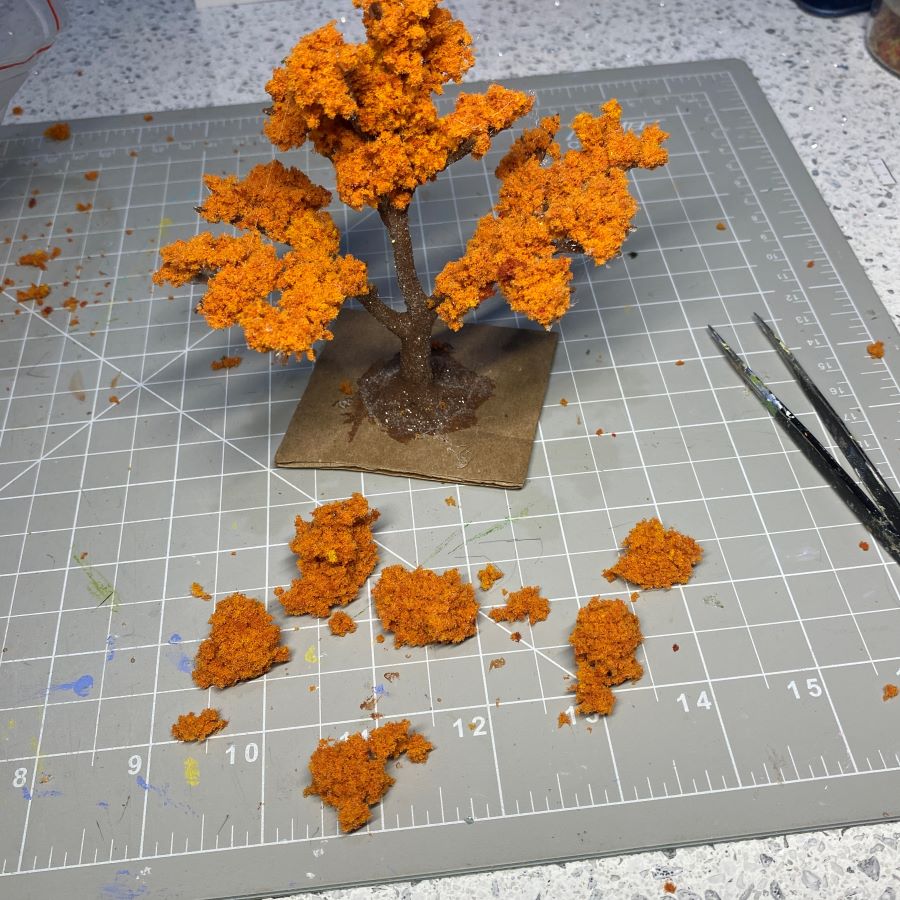
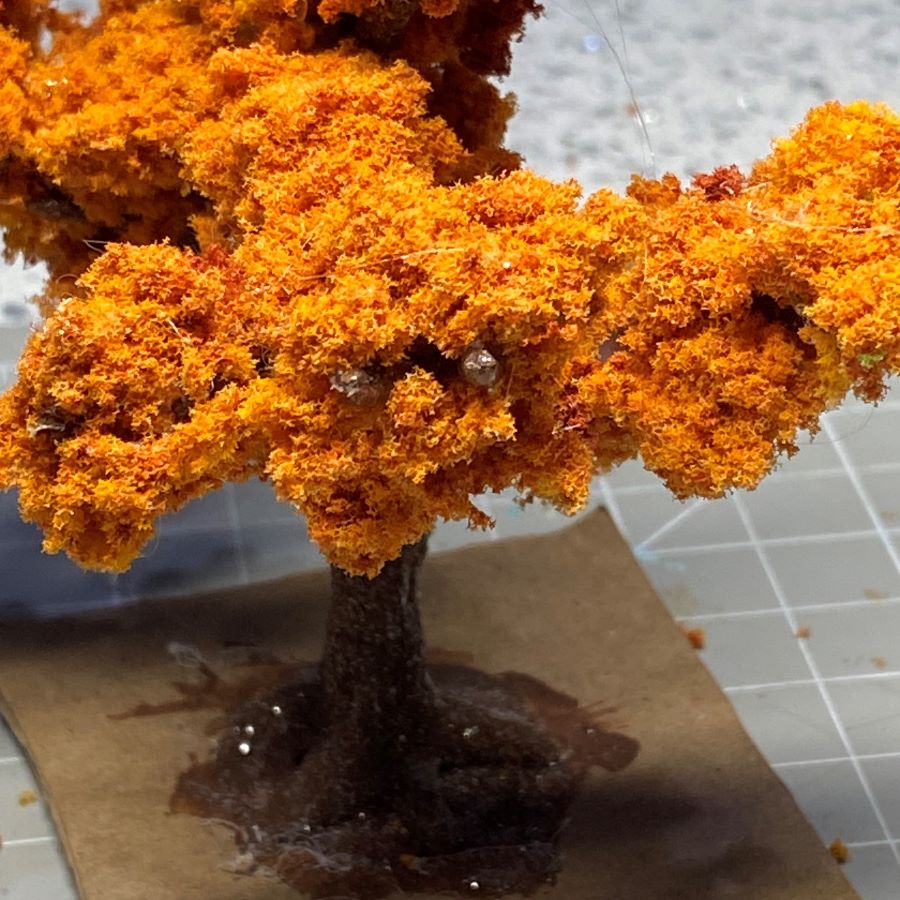
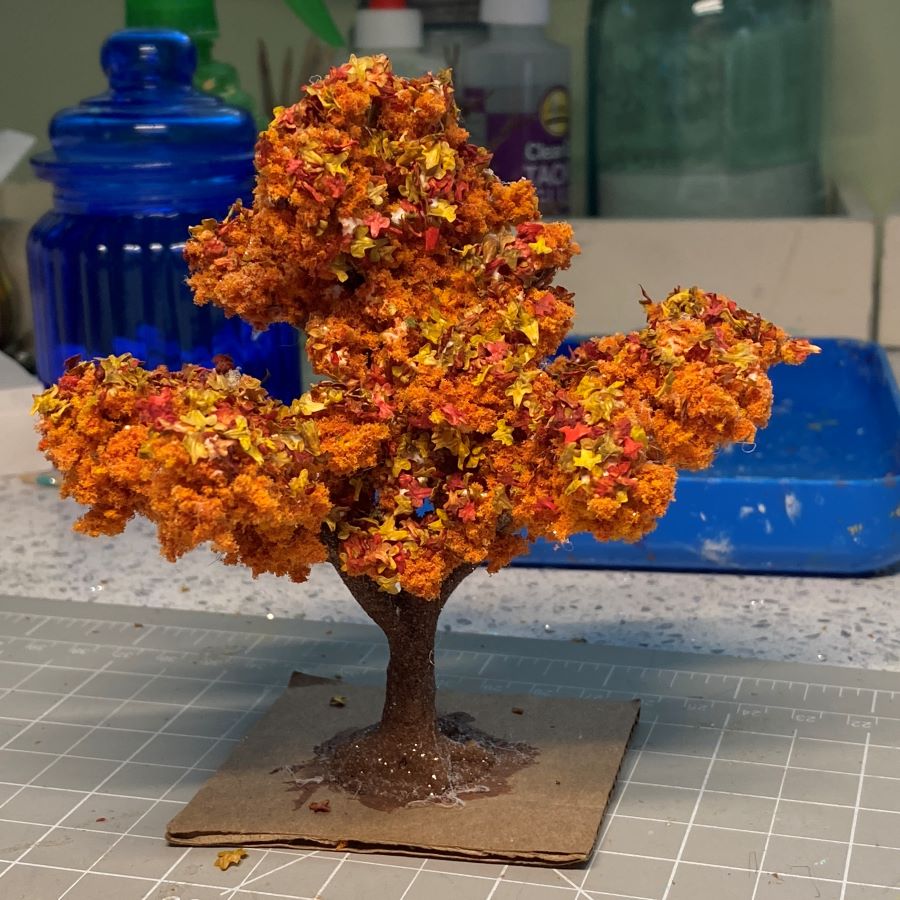
In this tutorial, I will explain how to make autumn trees using sponge clump foliage, as shown below in the first picture. Also note the way the sponge material is used as shrubs in all four pictures.


I will publish a second post explaining how I use preserved lichen. The second picture above, and two pictures below, show lichen trees. Lichen gives a lighter, airier appearance. I have one disclaimer regarding lichen. I have used it for just over two years. So far, it remains soft and pliable. I don’t know if it will remain that way over time.
May 2026 / UPDATE re: lichen. I looked over the lichen stored in my craftroom. It’s the same batch I used for this post. It is still as soft and pliable as when I first used it. No loss in color, either.

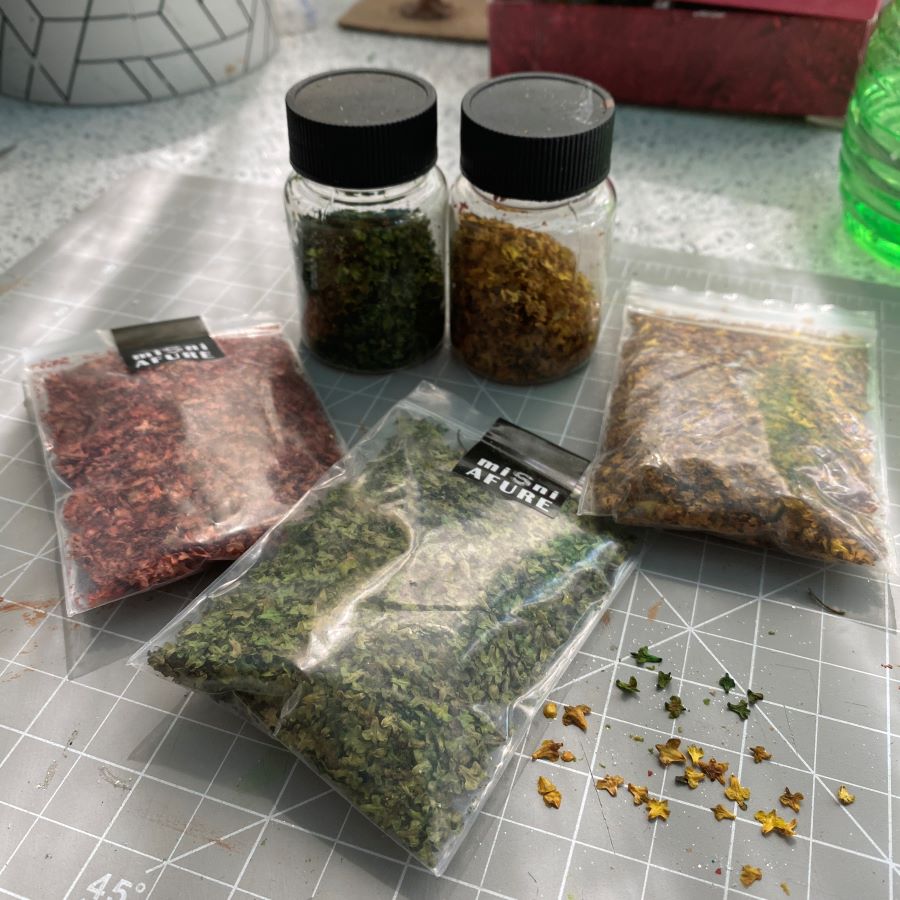
Sponge clump foliage, lichen, and leaf litter come in several autumn colors. I used two boxes from Christmas cards to make trays for sorting the sponge flock. In the top row are bits and pieces of autumn embellishments that were left over from other projects, black-green sponge, red, and yellow. The bottom row has medium green, a mix (not sure why…) red and rust. The yellow is more yellow than it shows in the photo. I store these in my flock drawer and can quickly pull out an assortment of colors when needed.
The leaf litter is made from the dried, dyed scales of birch tree seed pods. They make great tiny leaves. Check different sources for different shades of greens, browns, reds and oranges. Some are brighter than others. If you have a silver birch, you can make your own. I don’t know if all birch trees make the same kind of seed pod. Silver birch is the only one I’ve seen mentioned online for making leaf litter. Making Miniature Leaves from Birch Seed Pods

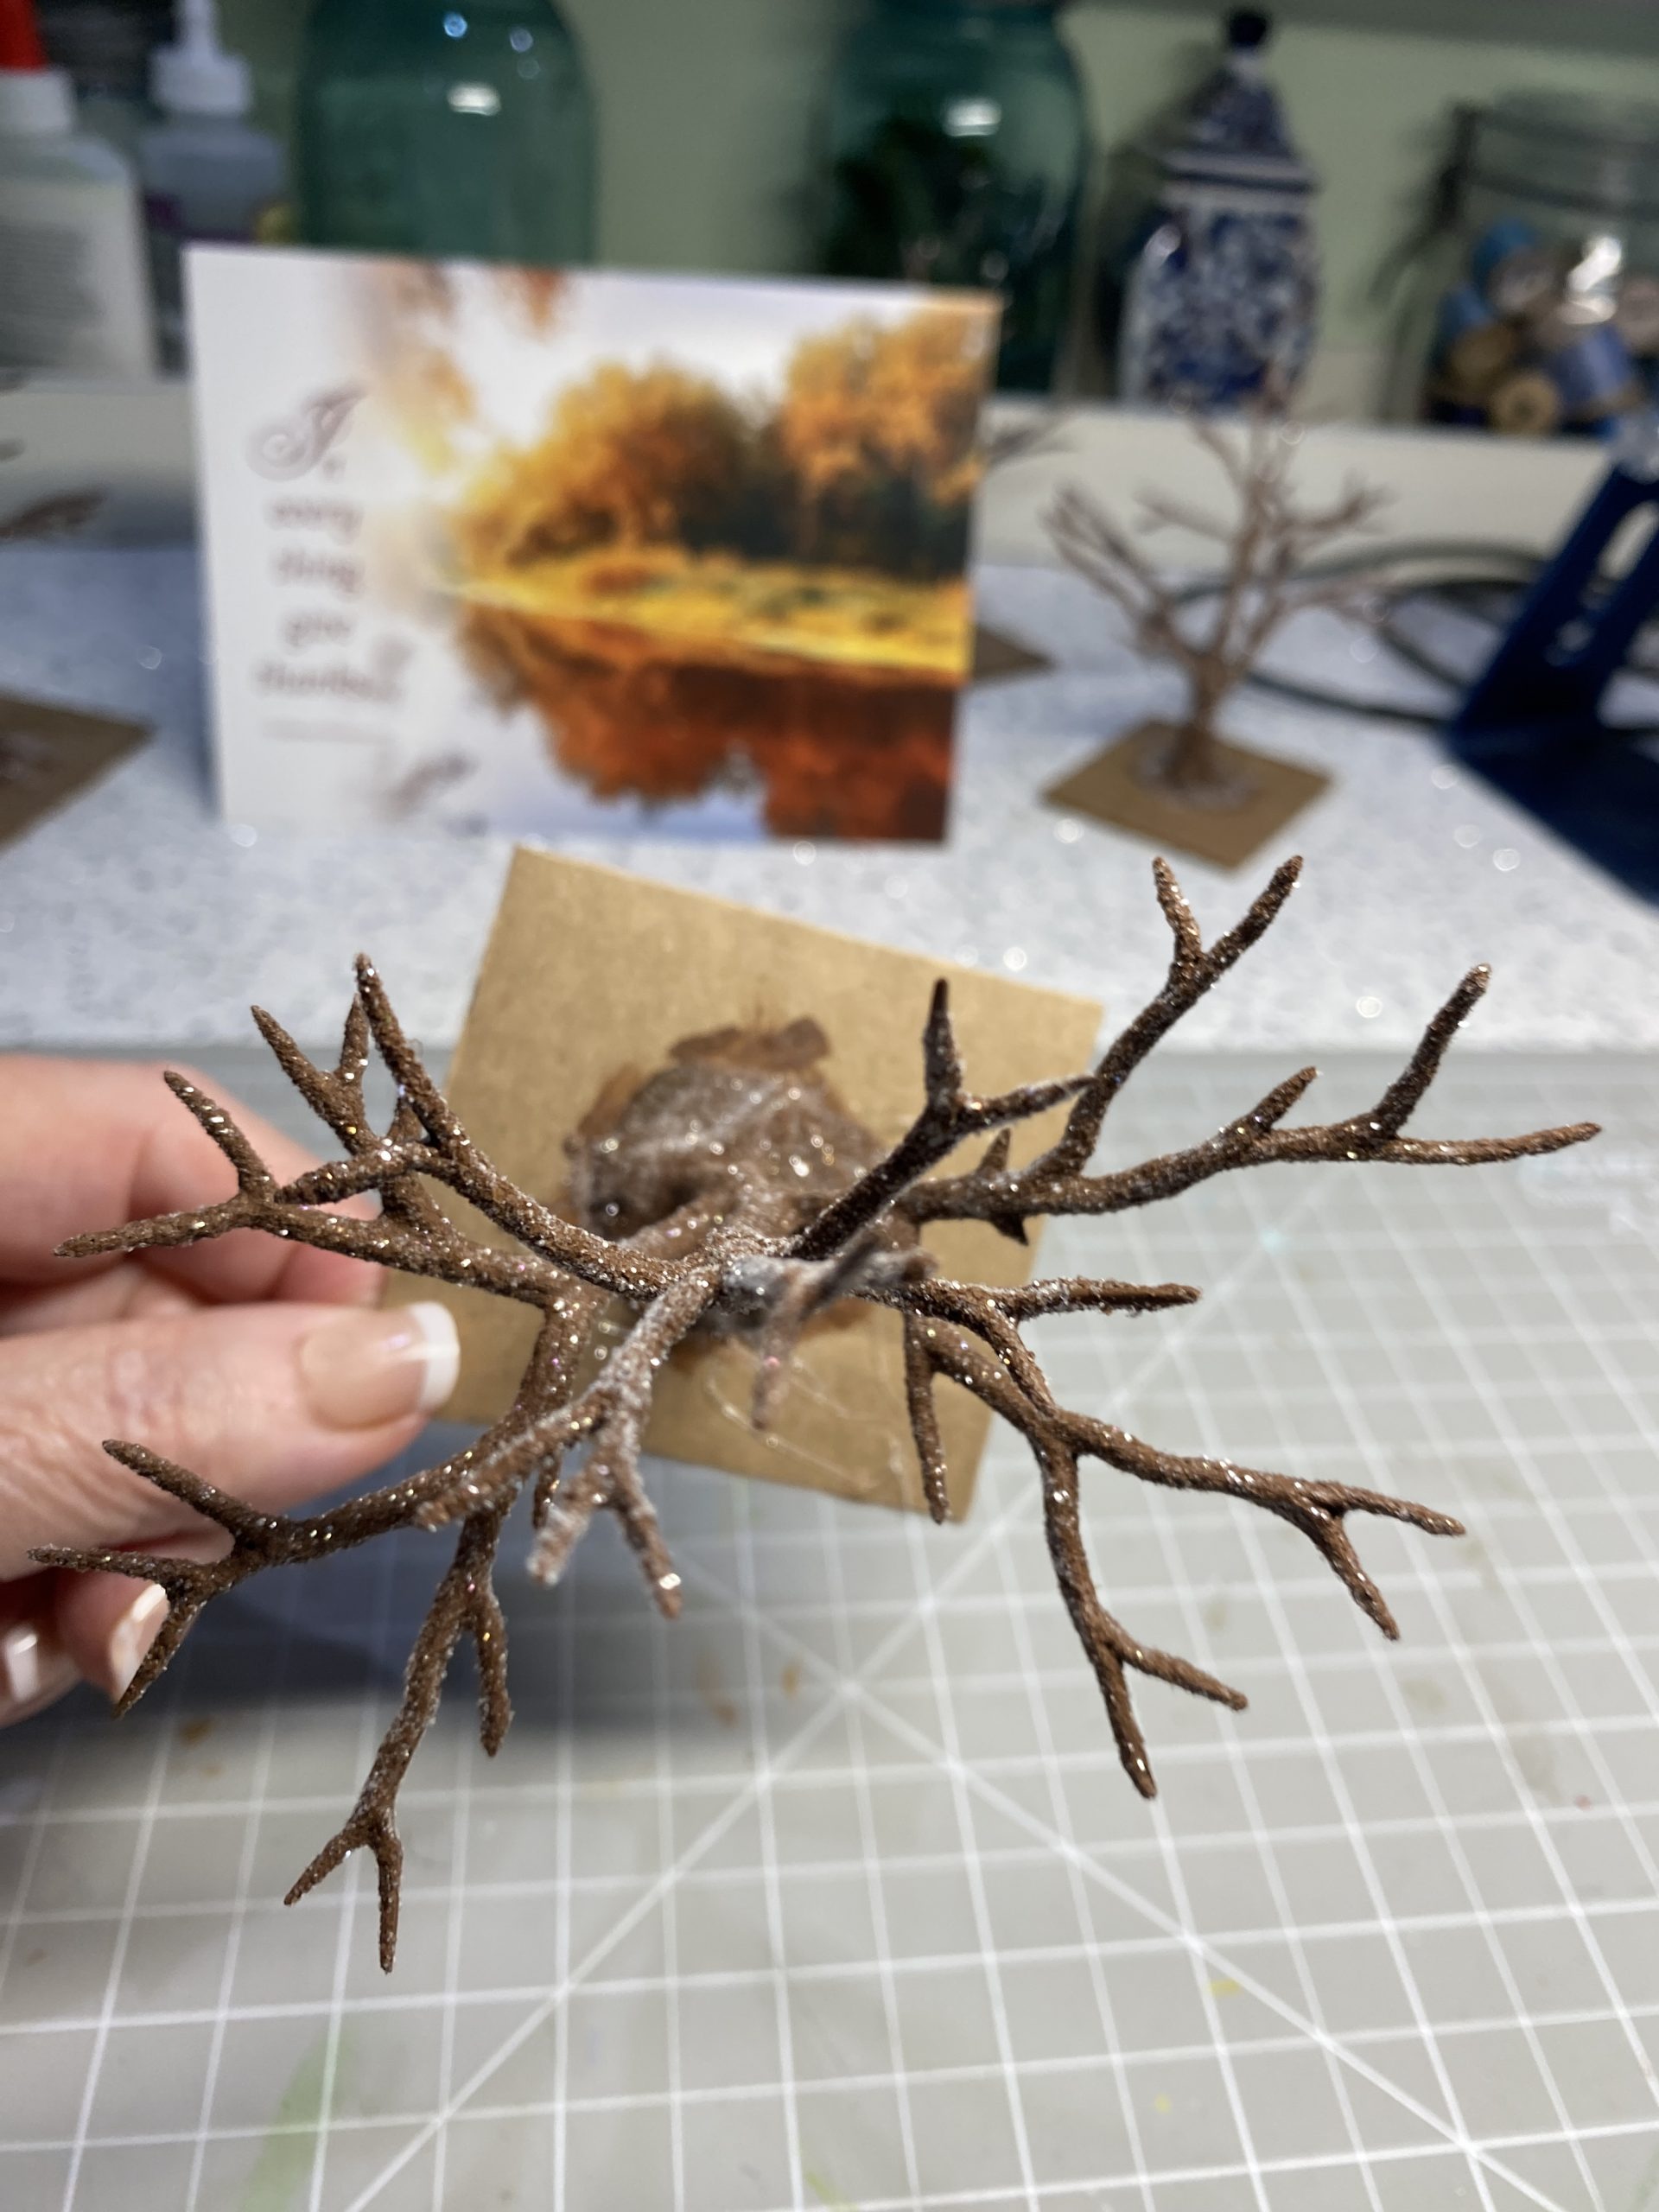
To prepare the trees (trunk and branches) for the autumn trees, see this tutorial.
tutorial / make leafed trees using armatures, part 1
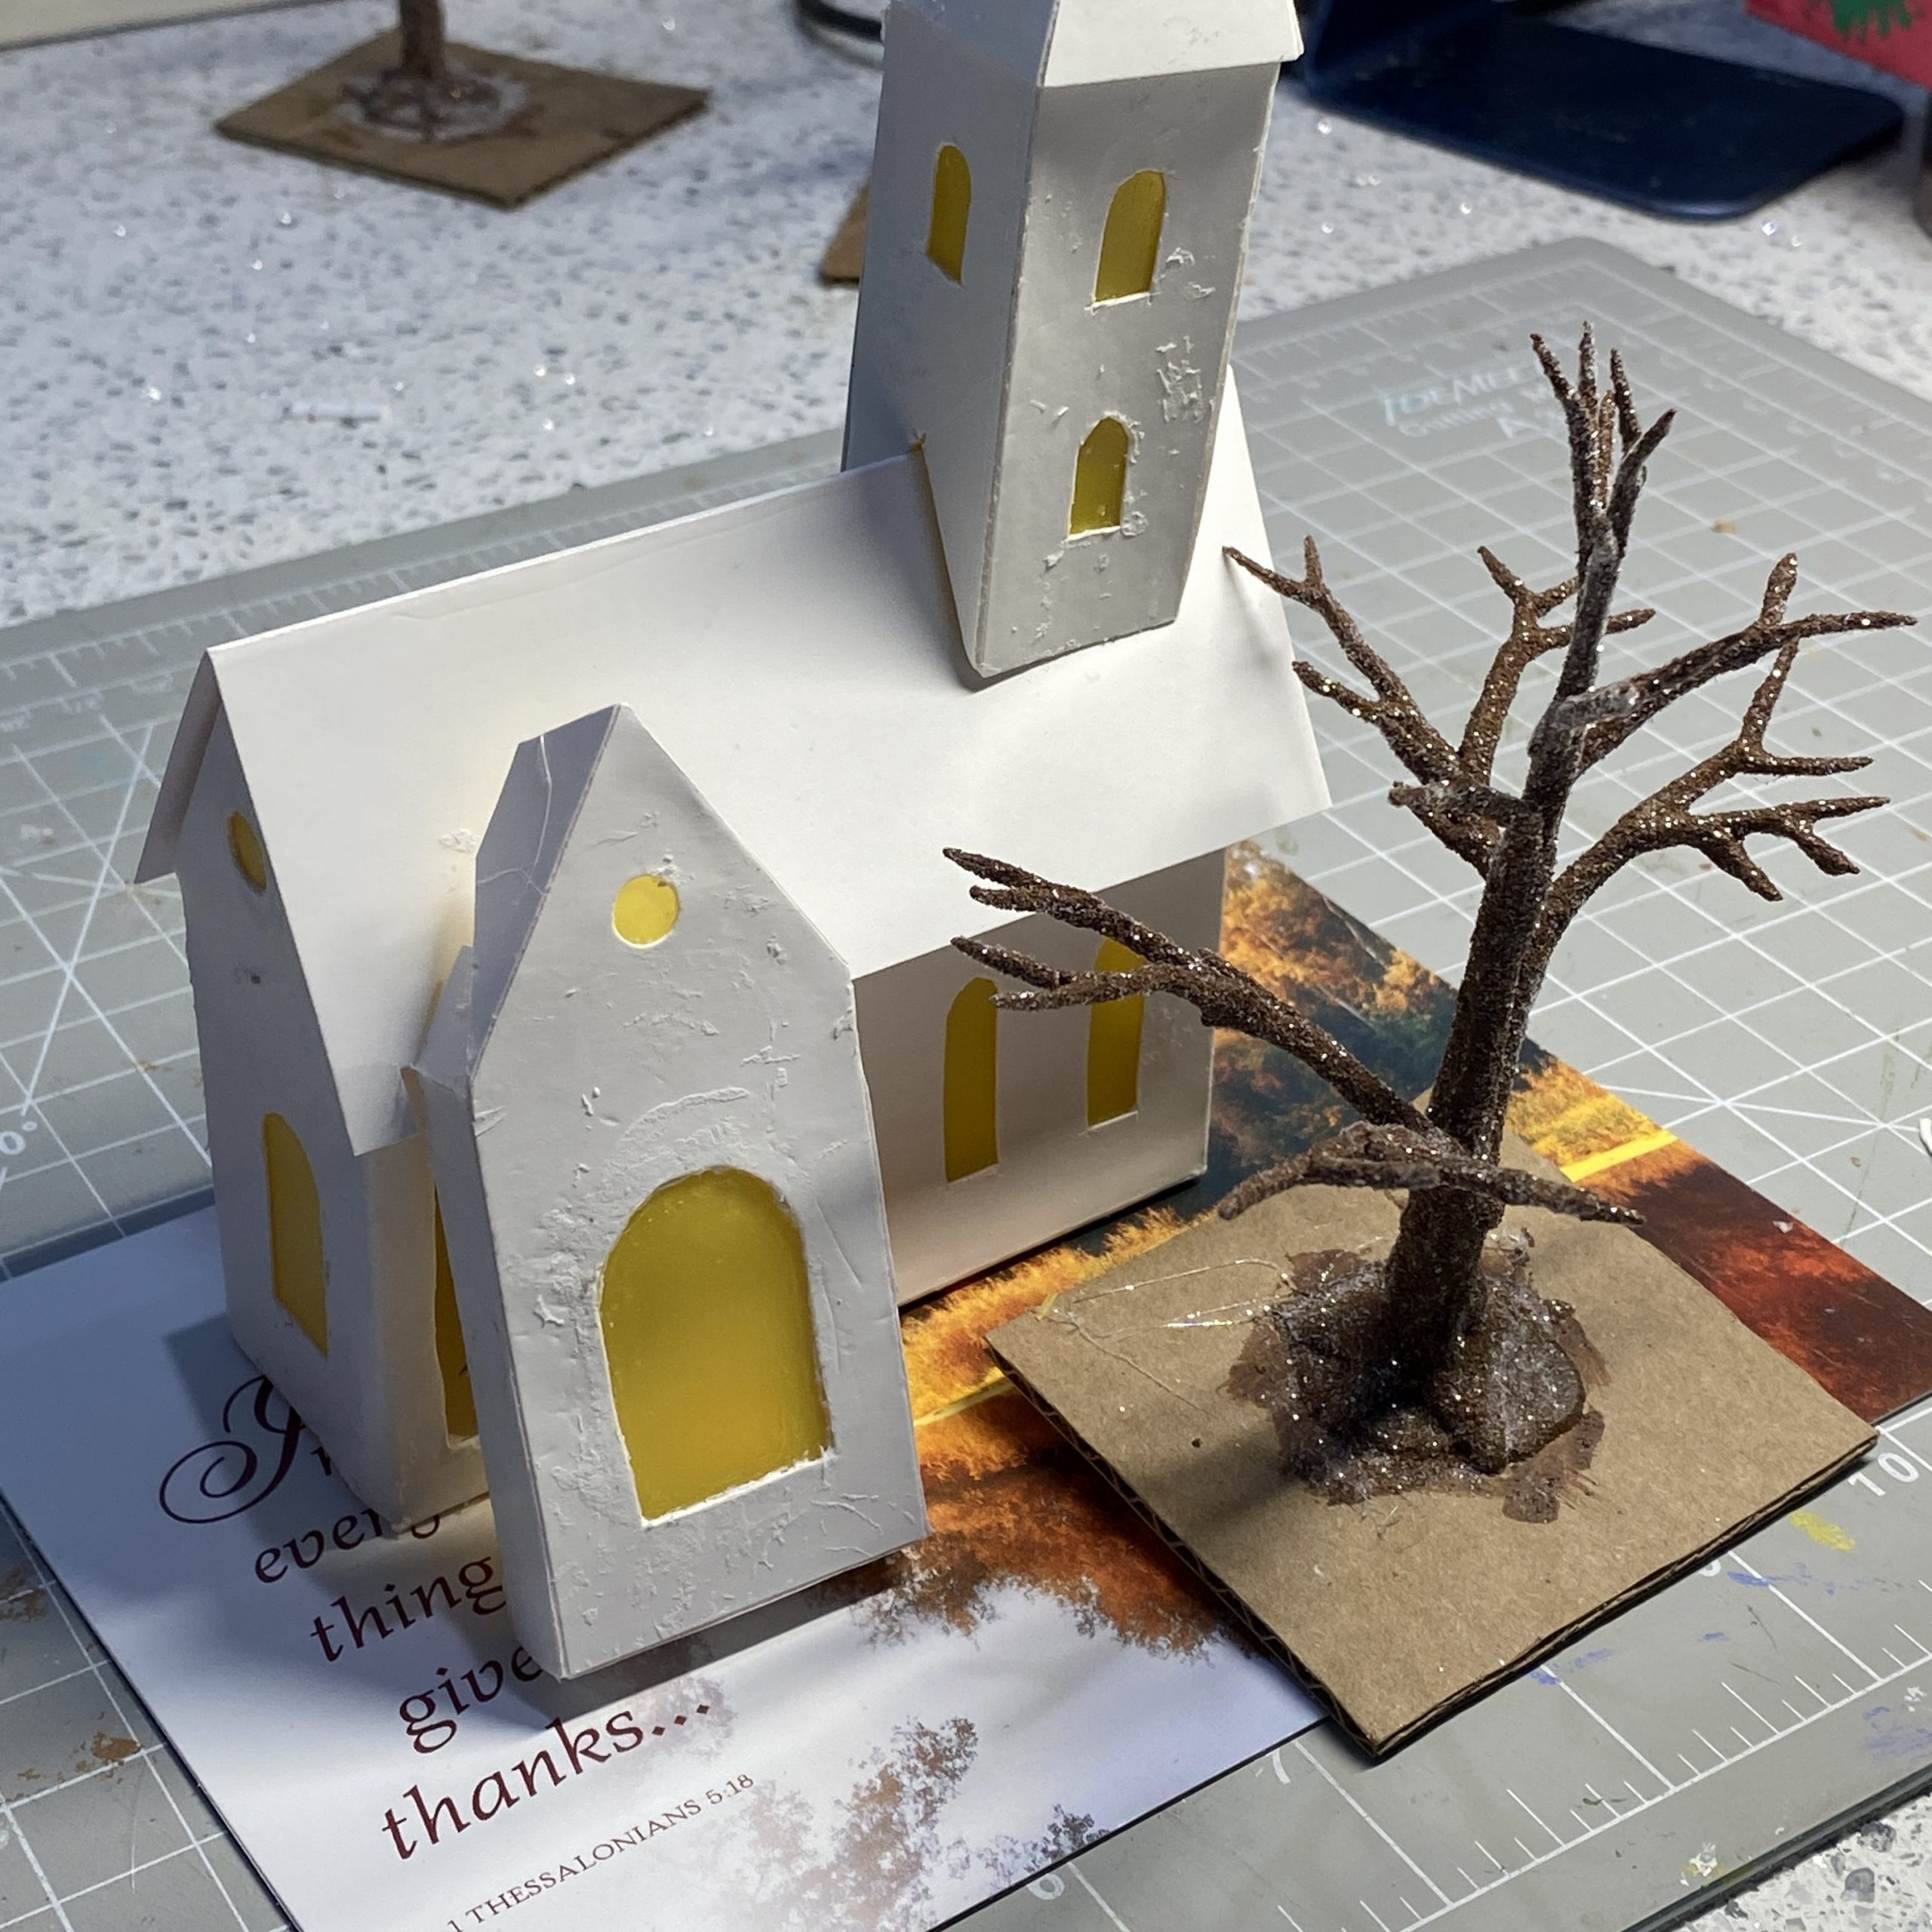
When making a tree for a particular house, set the tree on the base next to the house and decide how it will fit. With a smaller base, the branches of the tree may need to be moved to fit the space. The branches can be gently bent, even when painted and glittered. In most cases, the branches shouldn’t touch the house. Remember there will be leaves added and the tree will be a bit larger than the bare branches are. If making a Halloween house, you may want bare branches to brush against the roof for a spooky effect.
In the left picture below, with the church set straight on the base, there isn’t enough room for the tree branches. They are touching the church. In the second picture, the church is set an angle on the base at and that allows enough room for the tree.
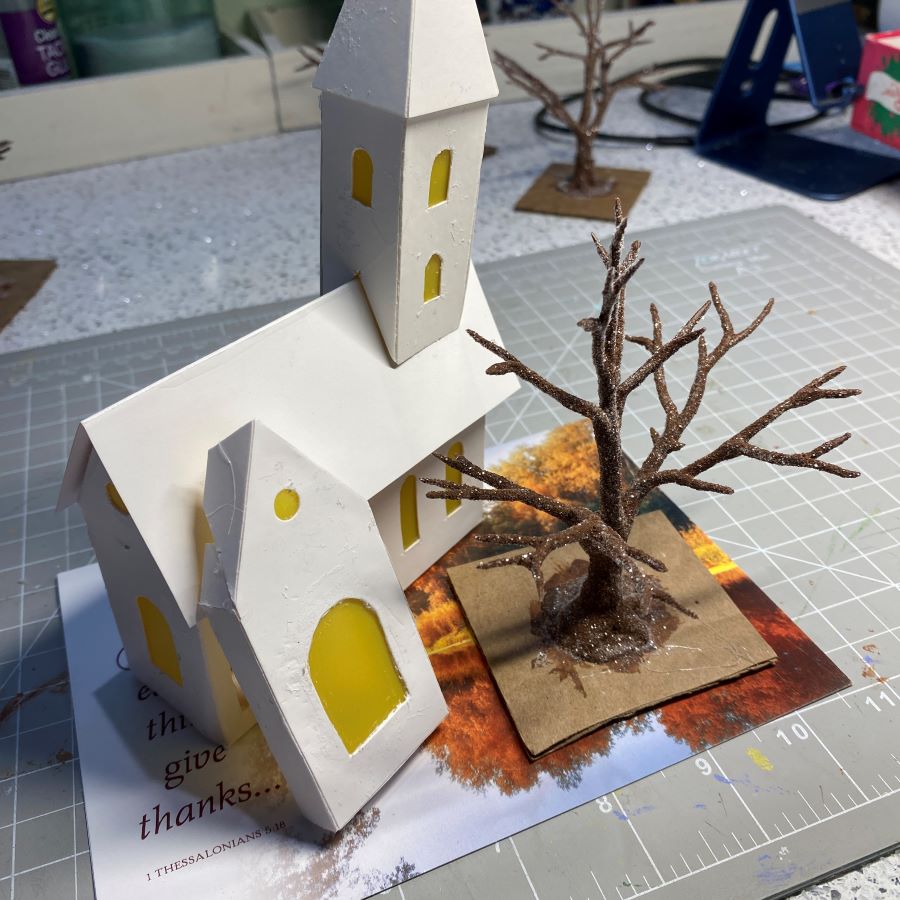
In the picture below, note how the branches on the back of the tree (top side in the picture), have been moved toward the front (bottom side in the picture), which makes it easier to fit the tree close to a building without touching the building. If you have a tree that won’t fit, another option is to make another tree, with a smaller size armature. Or make a larger base.
To make an autumn tree, you will need the following supplies.
- finished armature / See tree tutorial Part 1 to make the armature.
- hot glue
- Woodland Scenics CLUMP FOLIAGE, FALL MIX or Lichen Bag, Autumn Mix
- needle-nose tweezers / One of my top 10 must-haves for putzing.
- scissors / I prefer these small 6″ Fiskars for delicate jobs.
- autumn leaf litter / Just green leaves are available, but the other colors are great for autumn trees.
- glitter tray / optional but useful
- clear tacky glue, or white that dries clear
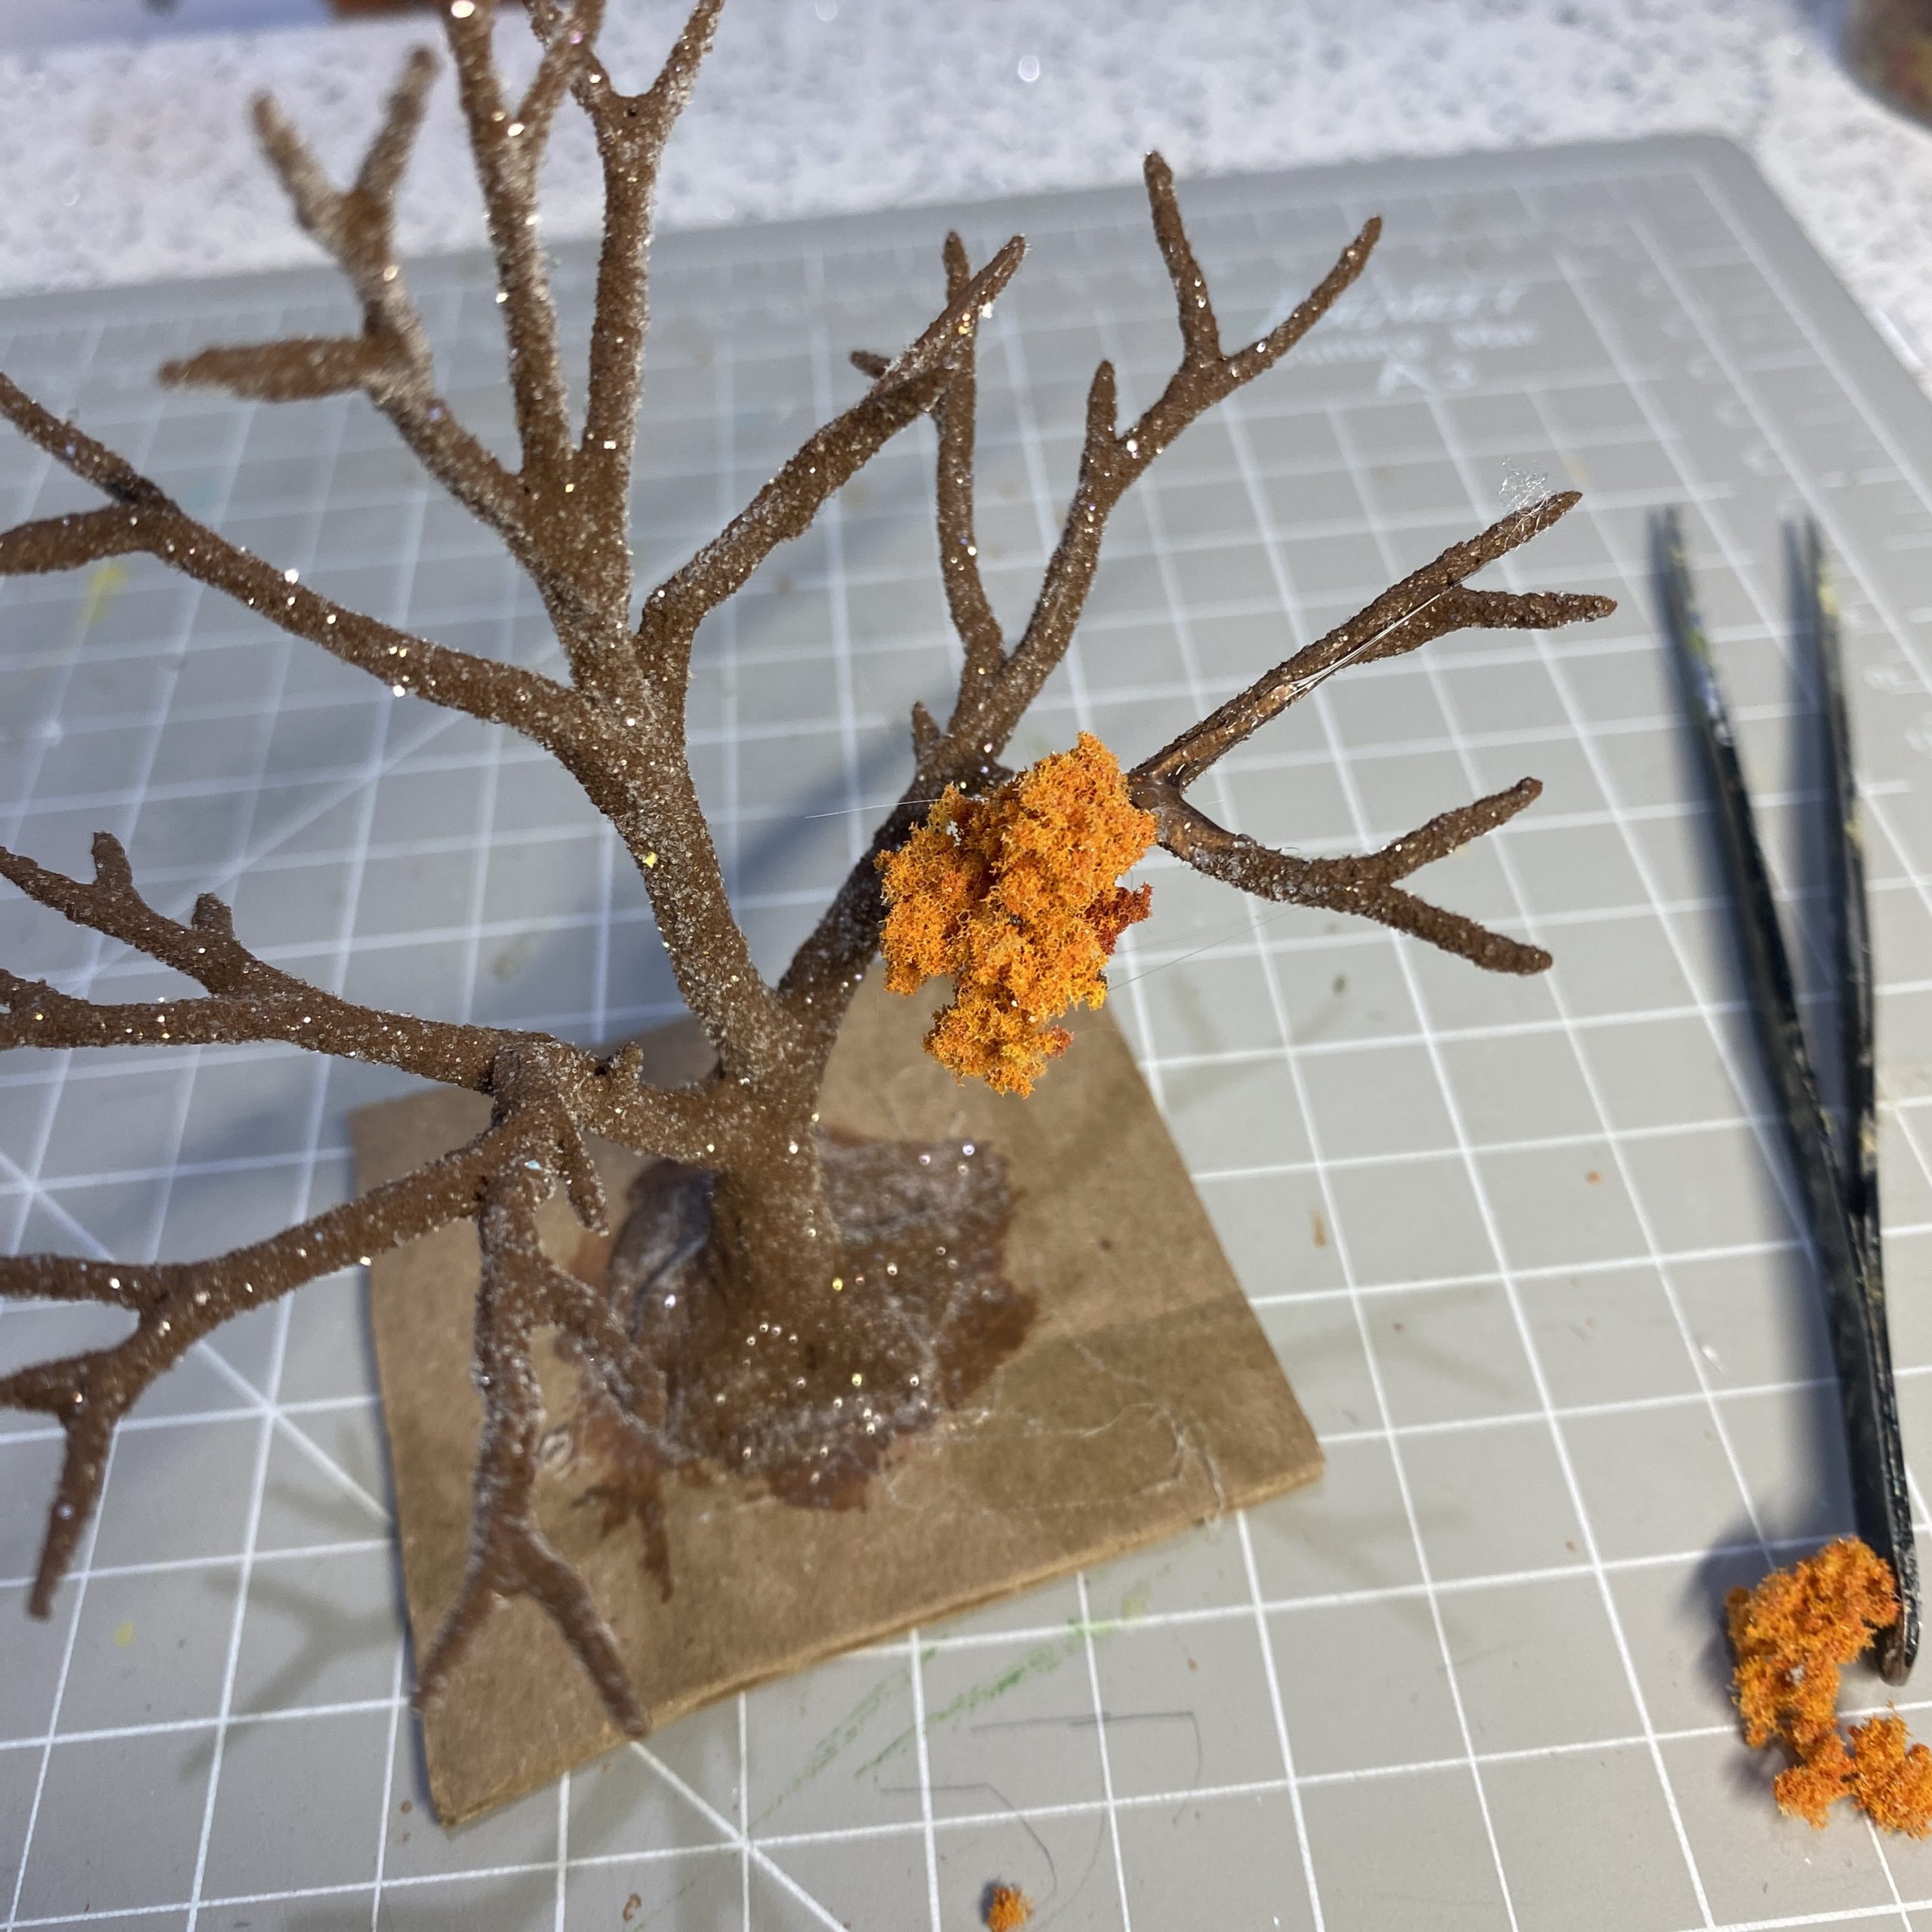
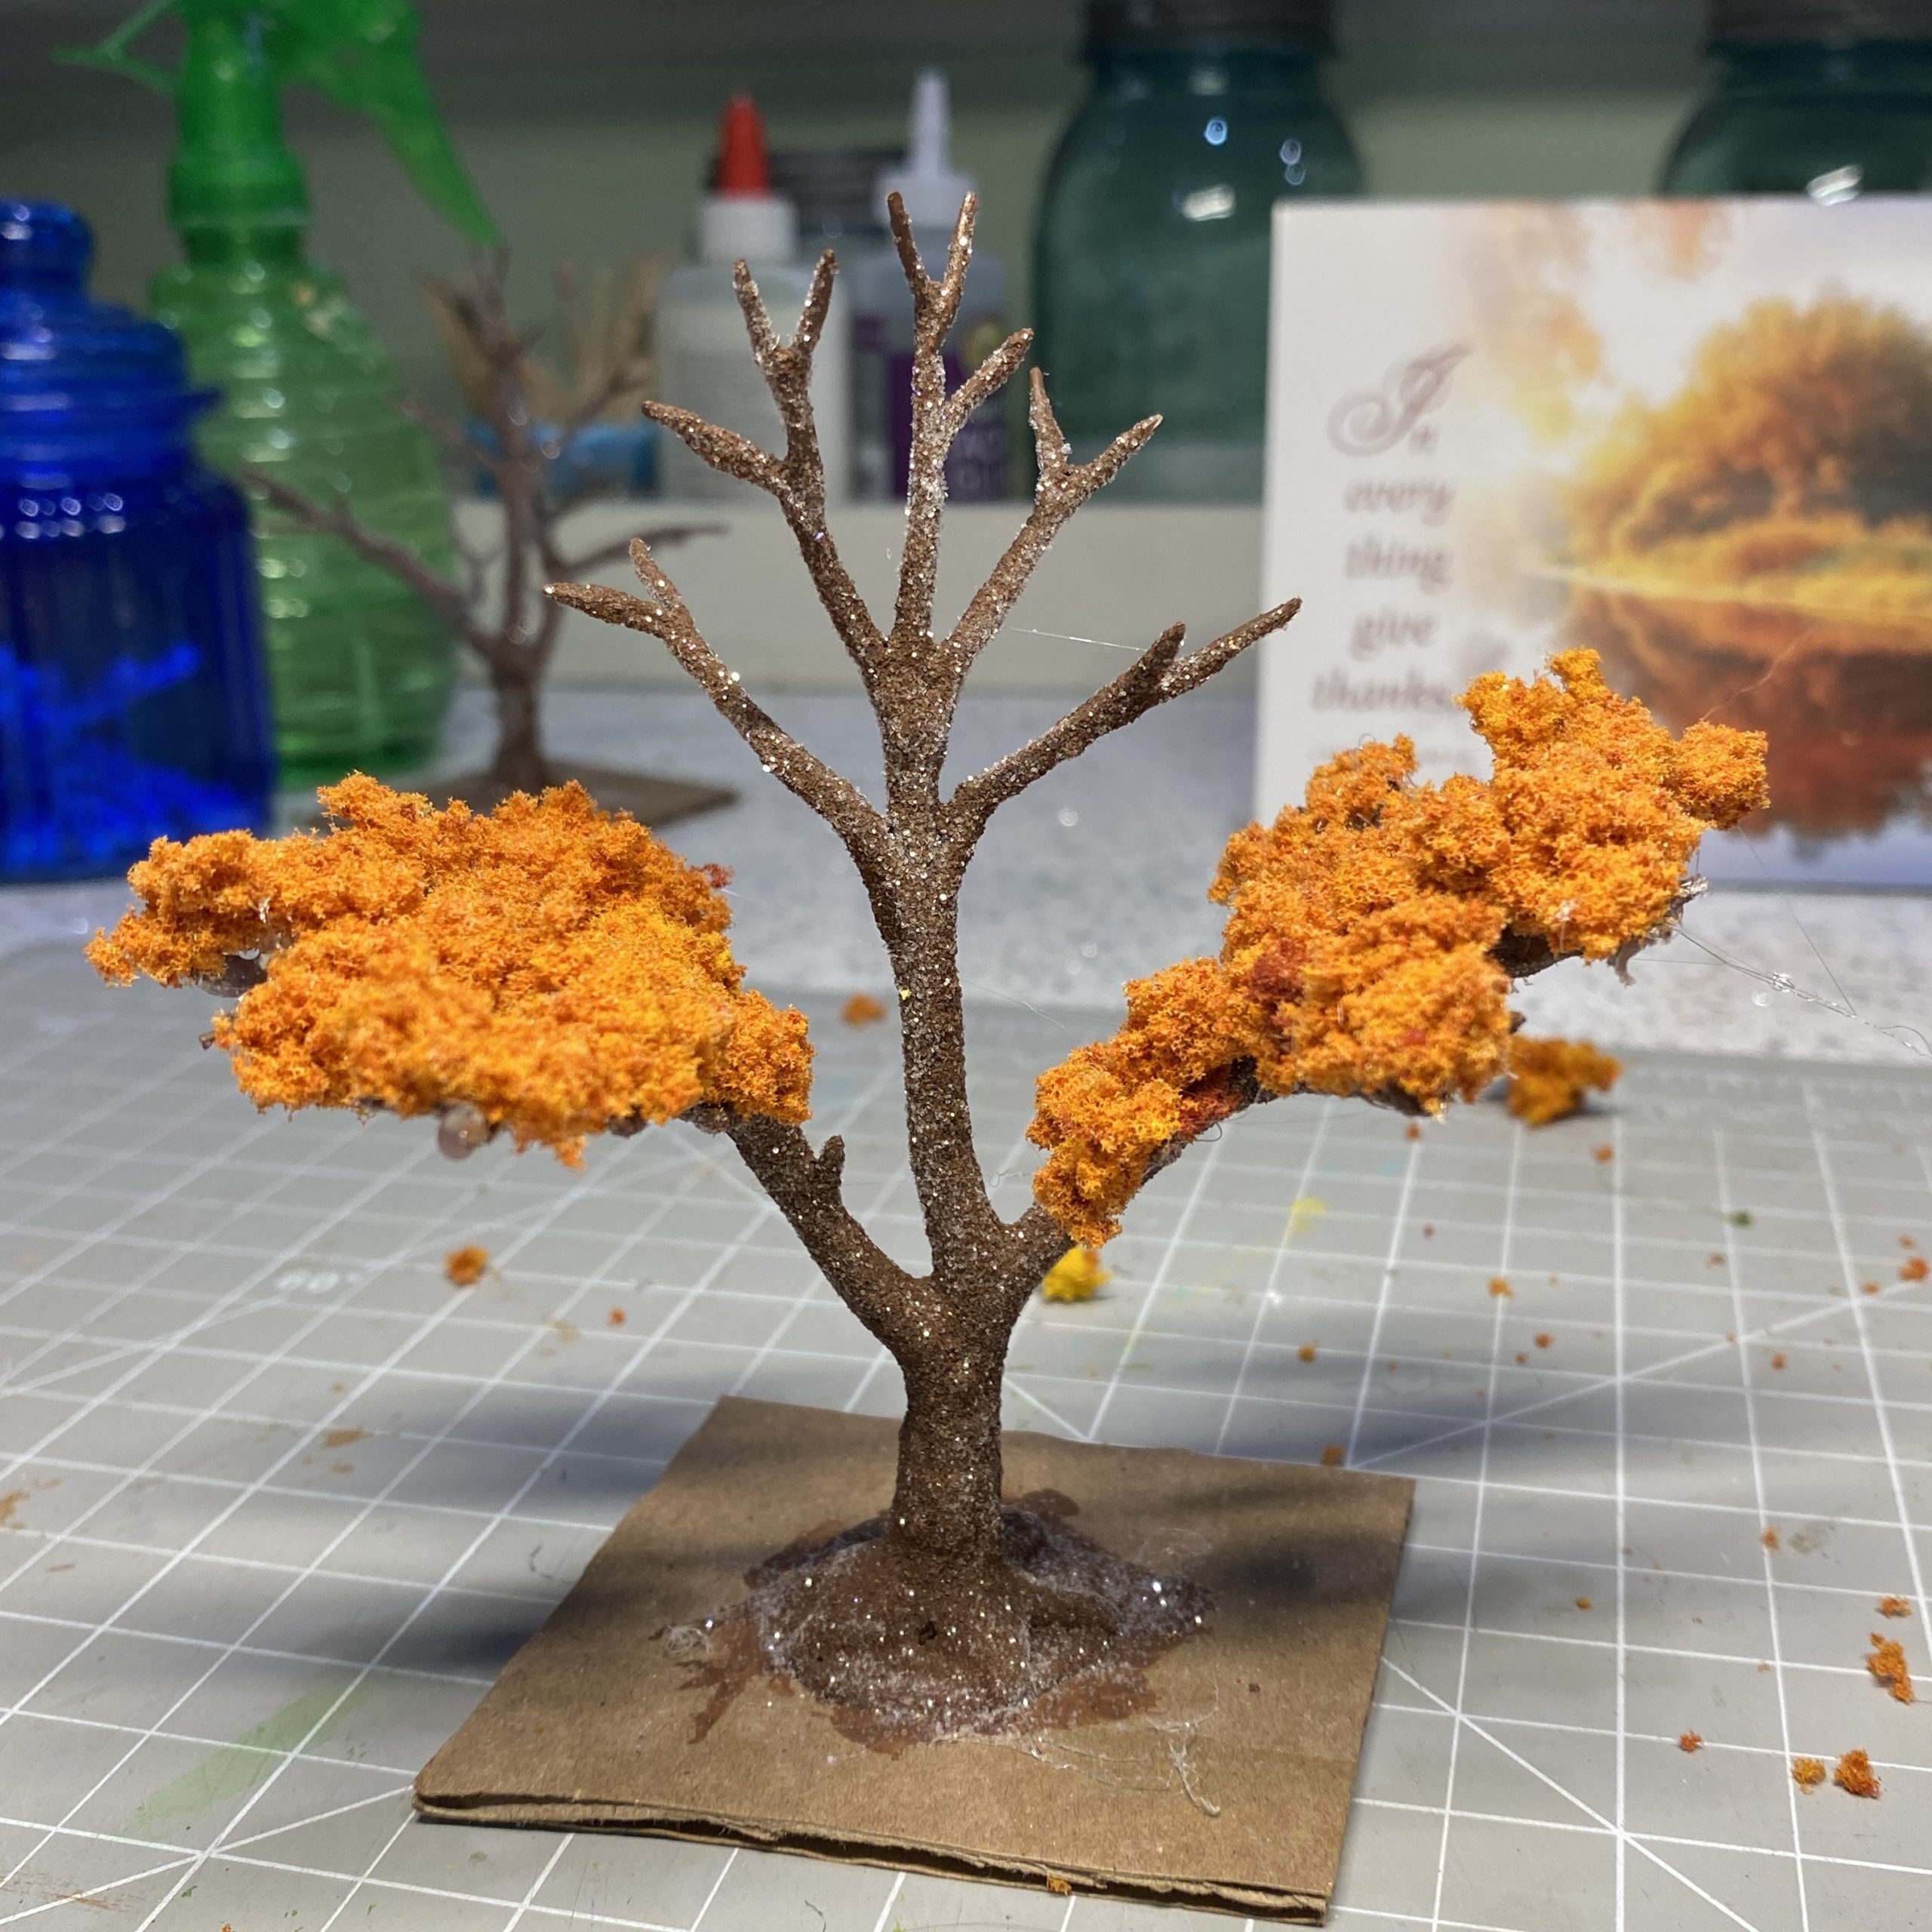
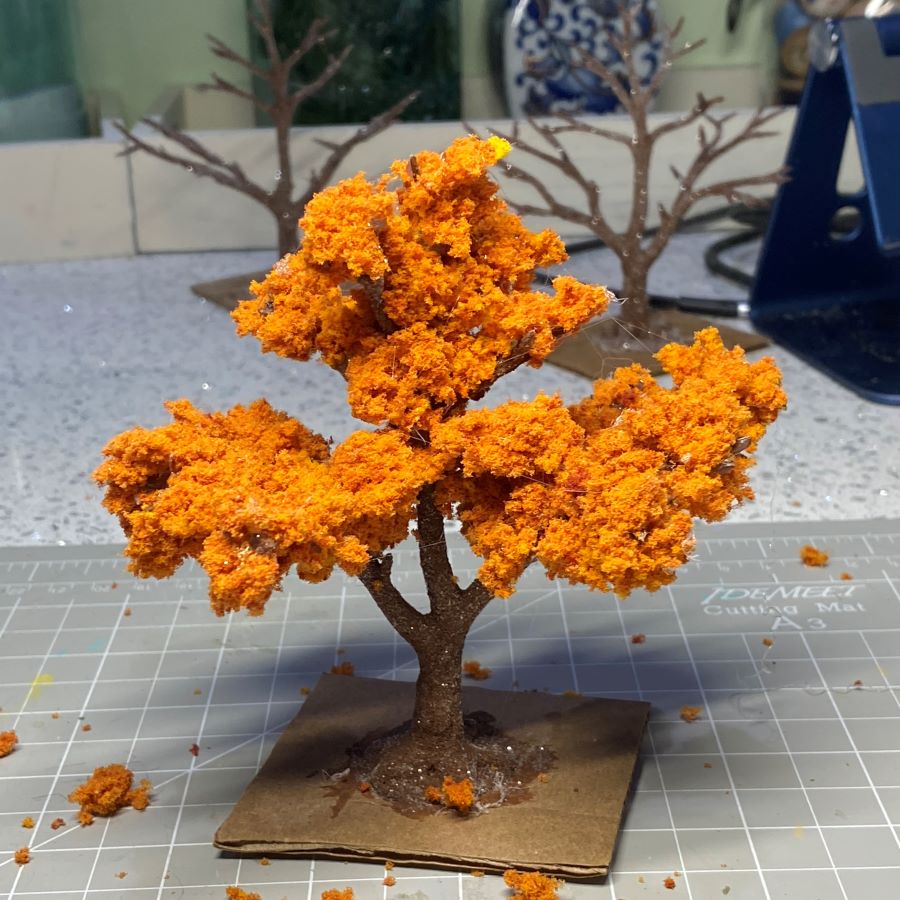
I am using orange as the base for my autumn tree. Yellow would have been a good color, as well. I like to use the colors of the greeting card I am using to make the base to choose colors for my putz house and landscaping.
I start with larger bits of sponge clumps to begin at the bottom of the tree and work my way up. Choose the clump and have it ready before putting hot glue on the branch. It cools quickly while searching for the right size piece to use. Place glue only where it will be covered by the sponge. Finish the tops of all the branches.


The first photo below shows all the bottom tier branches covered with clump foliage. The second picture is the tree at the same stage and photographed from the side. It shows how the branches are bent to a more horizontal angle.
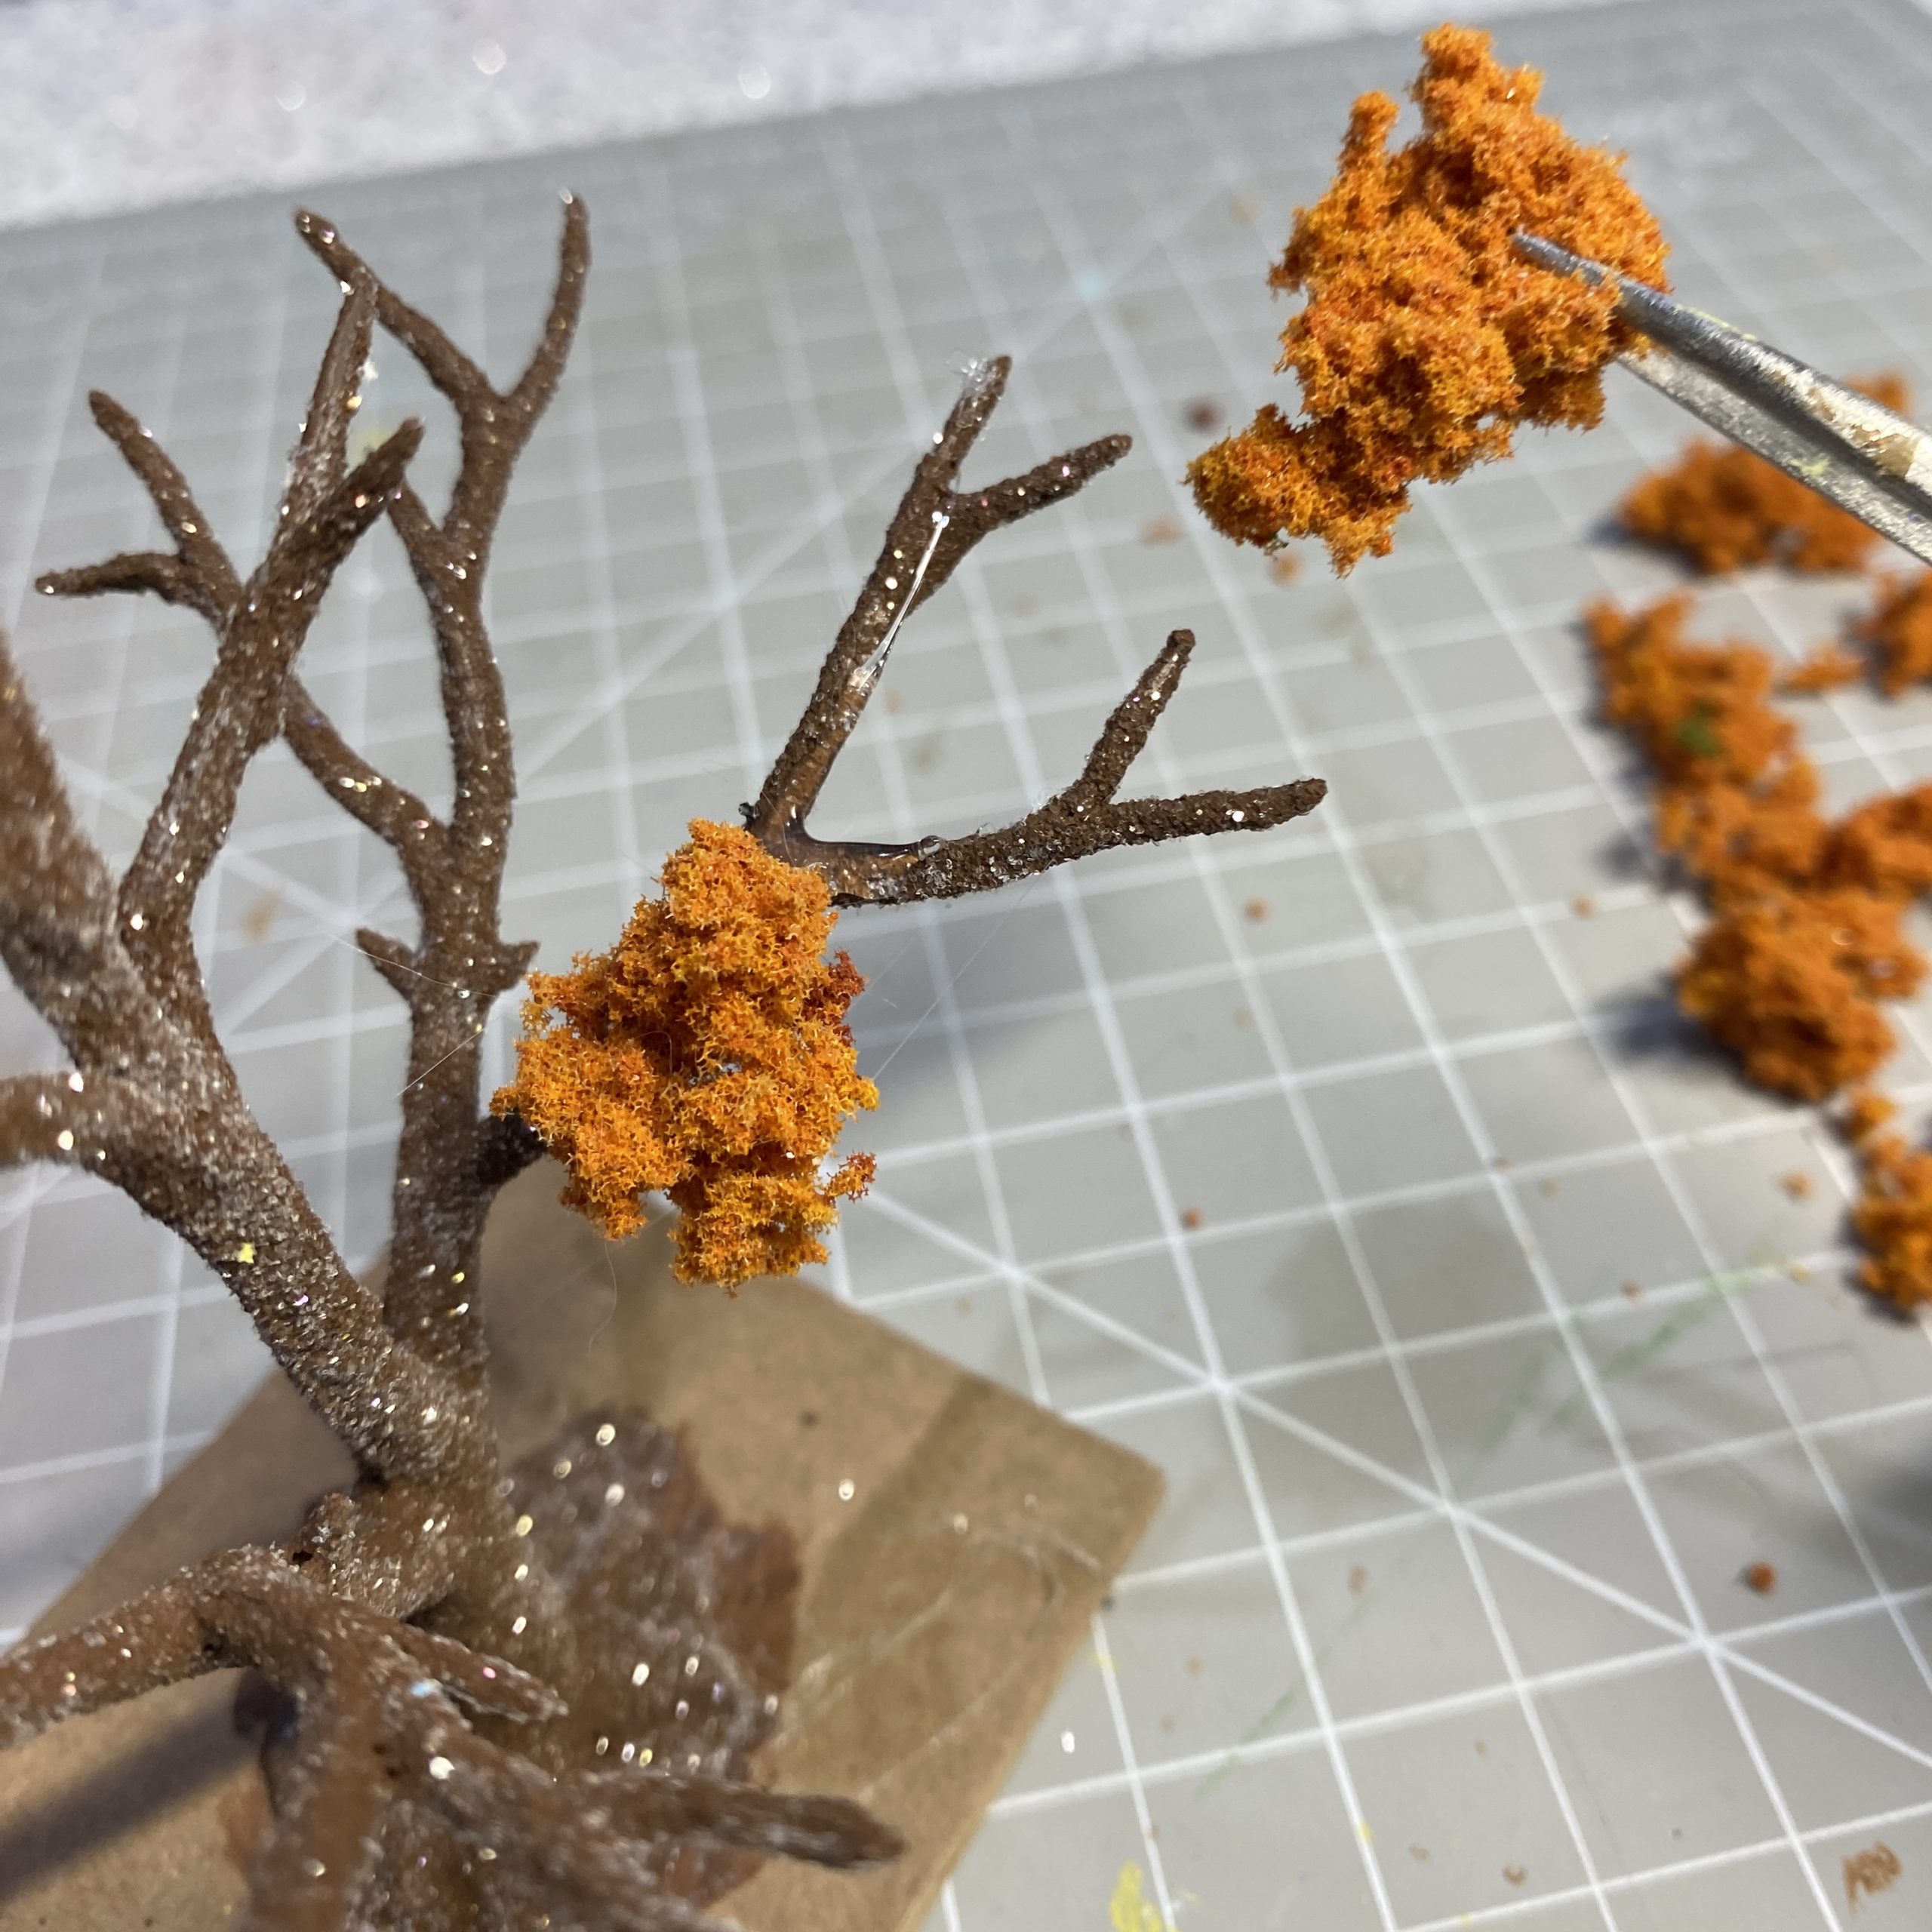
When starting on the top layer of branches, I like to glue clumps into the angle between branches. Then I cover the branches with smaller clumps.
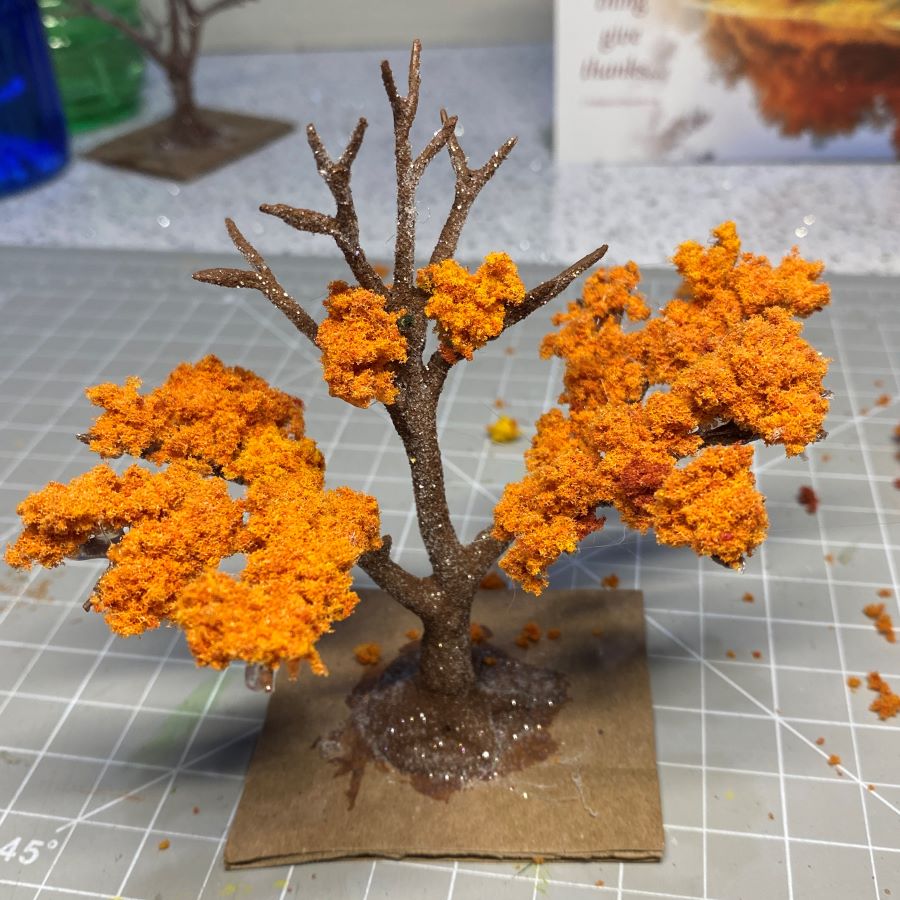

The next step is to cover the backs of the branches at the top of the tree. I use smaller clumps toward the top. The first picture shows the hot glue applied. The second picture shows the branches covered.

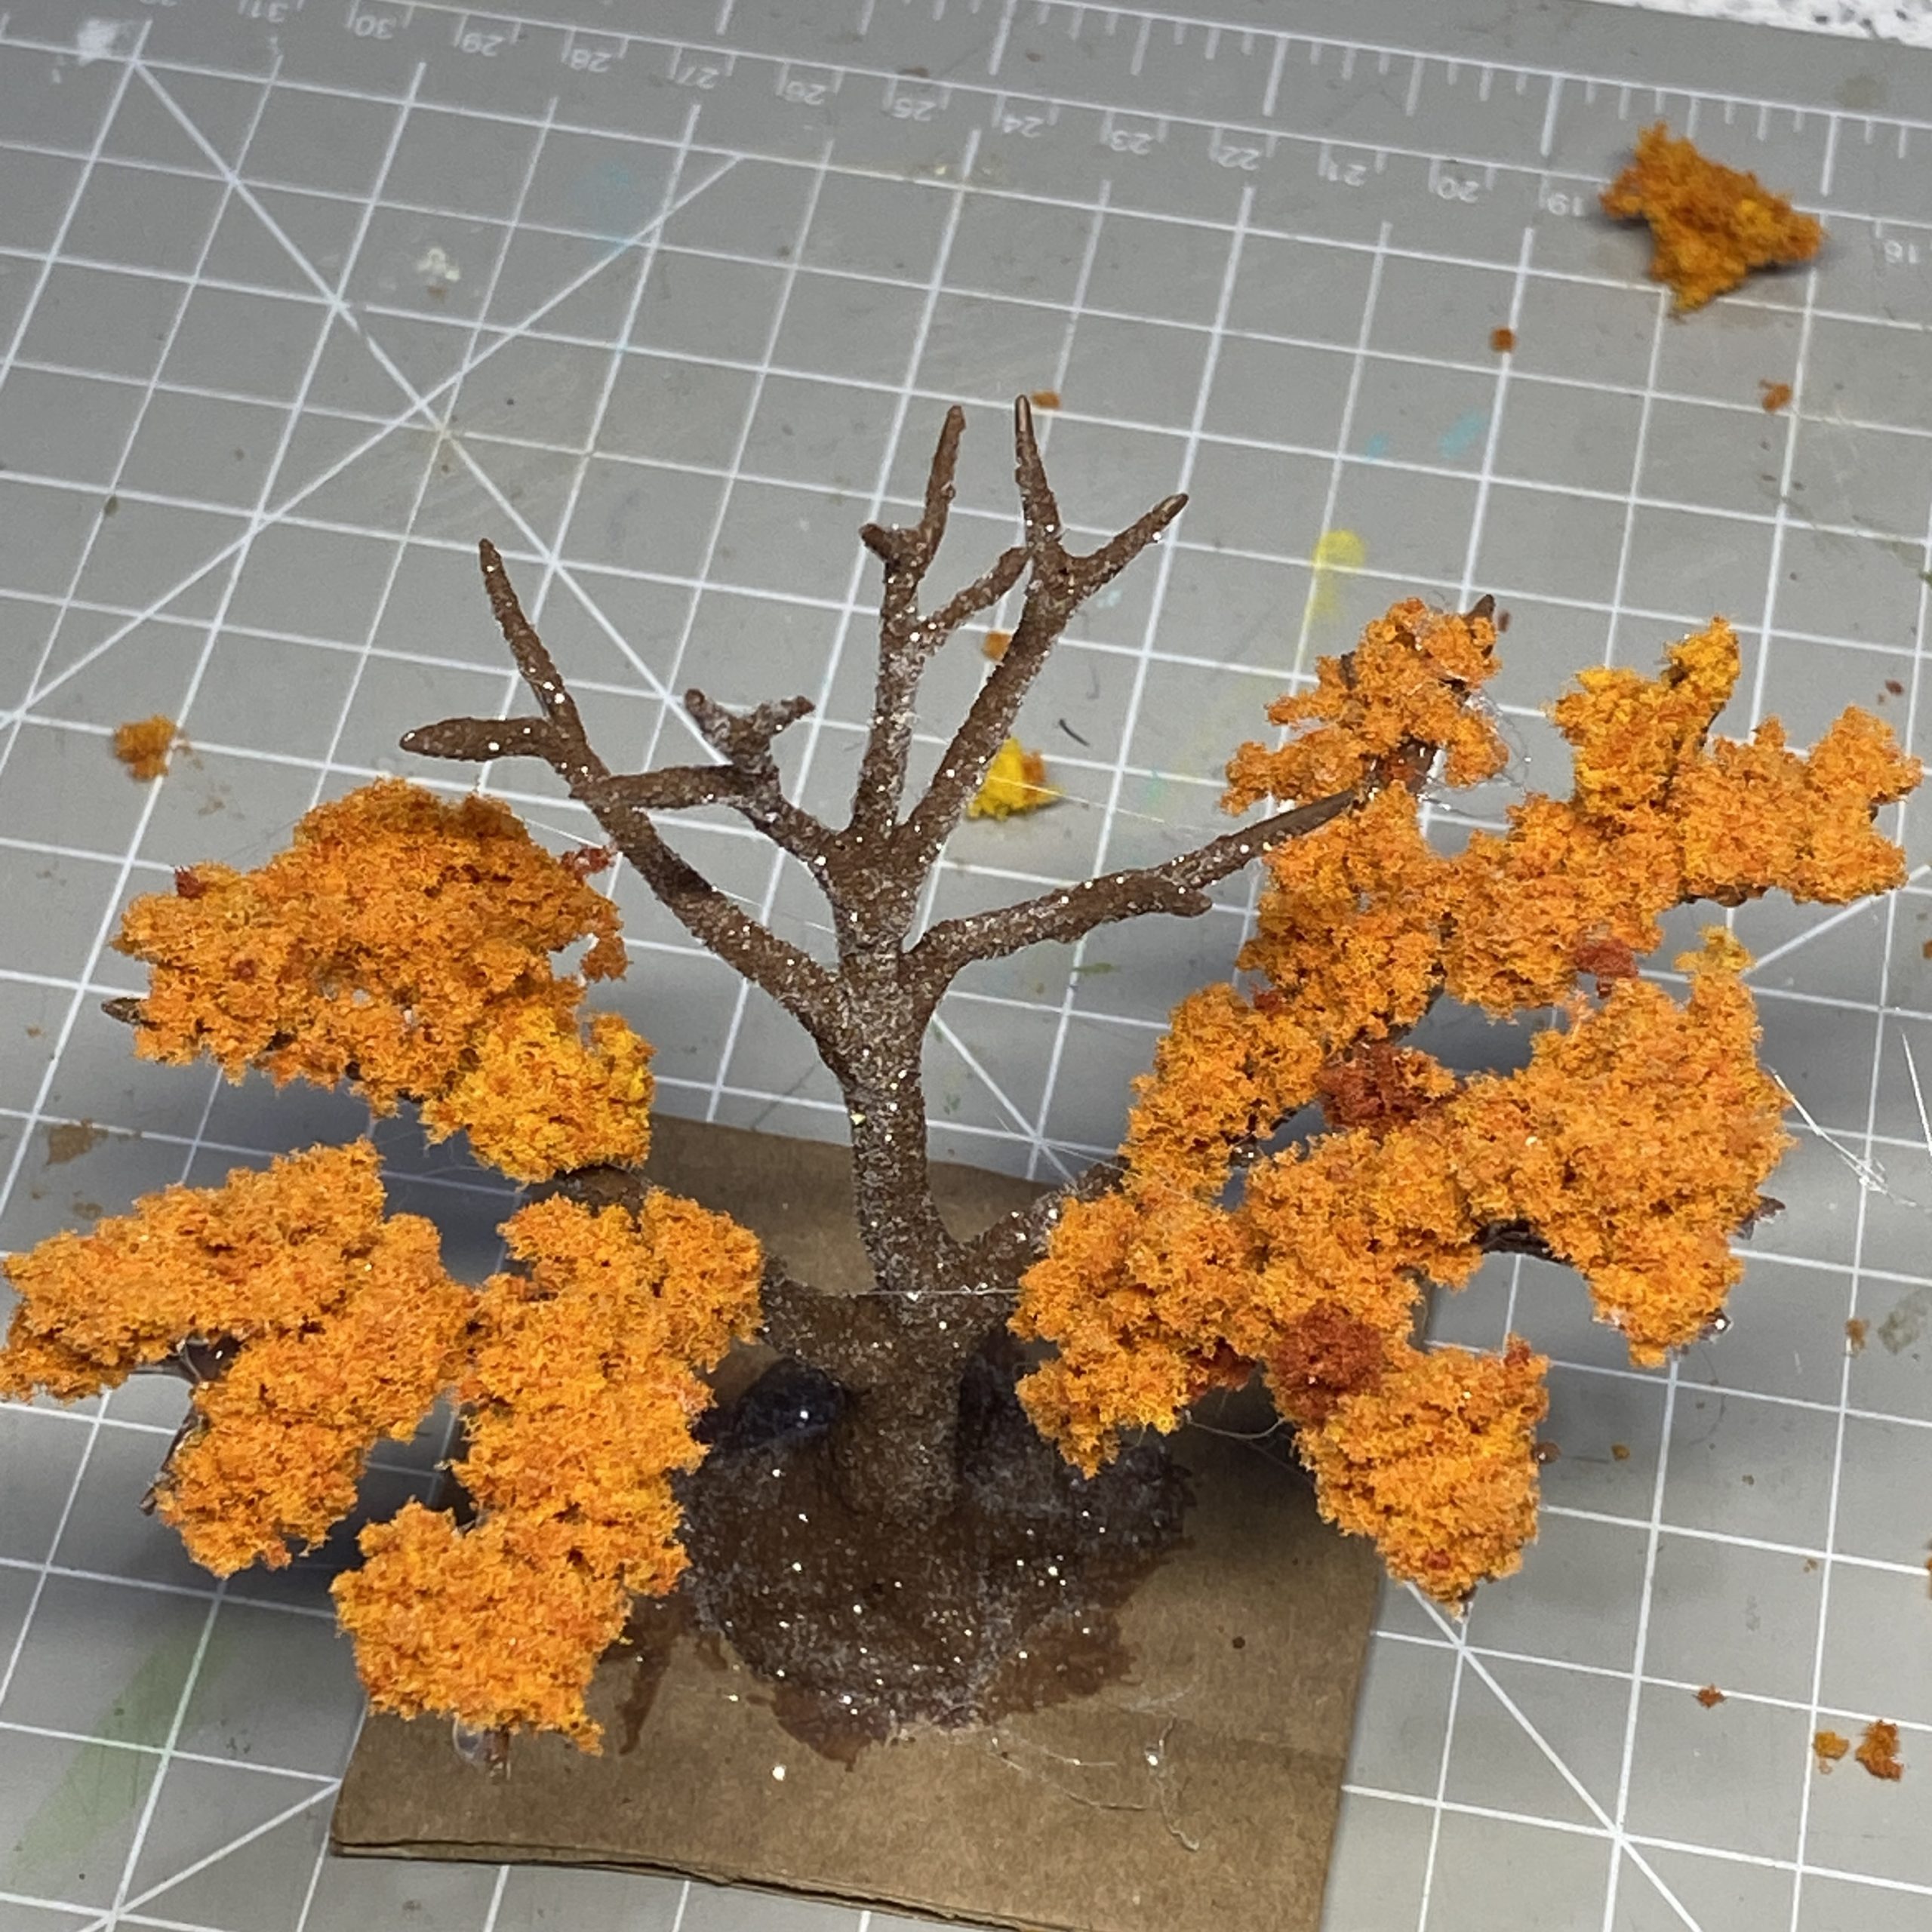
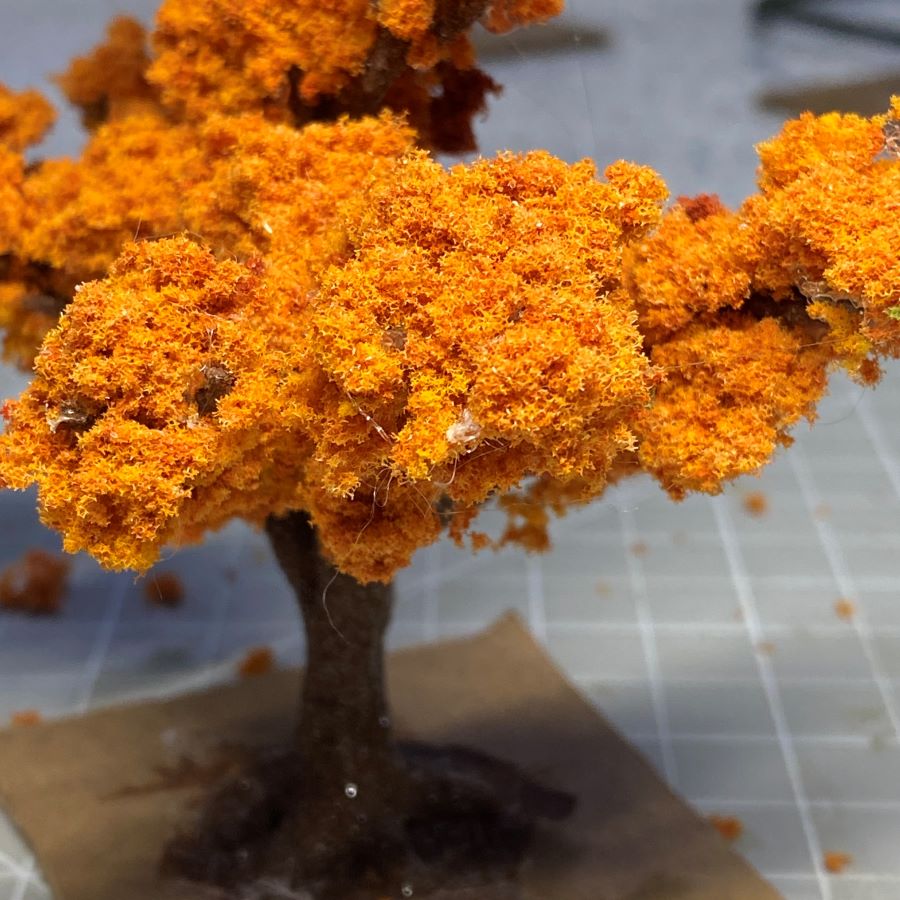
The next step is to fill in large gaps with large clumps. Place clumps between the branches above the place where the lower limbs join. I leave open space beneath the large clumps. The filler clumps will make the tree look fuller and will make a connection between the lower branches and the top of the tree. When that is done, cover the bottoms of the branches. With the clumps already glued to the top the branches, you will make a clump, branch, clump sandwich. I use medium to small clumps to cover the bottoms of the branches. That helps keep the tree from looking overloaded.
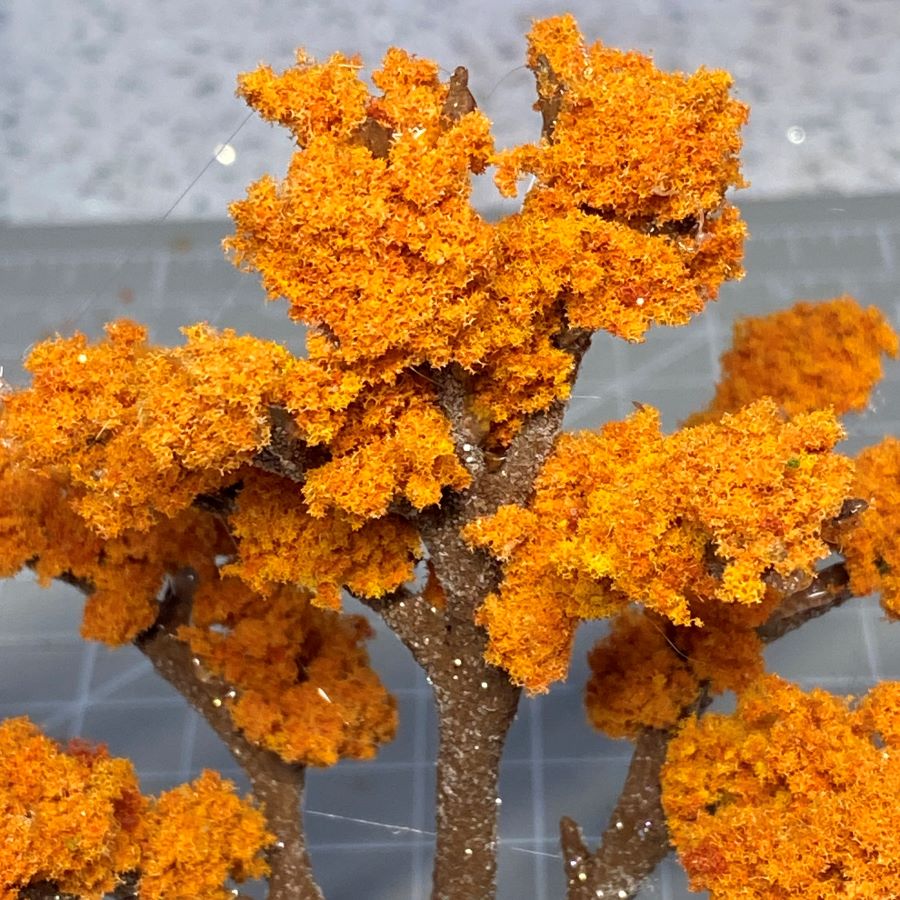
Turn the tree and look for places that need a clump to fill gaps. Clumps can be glued directly to other clumps or to exposed branches.
When you like the way the tree looks as a whole, look for little things that need tweaking. I put a little dab of hot glue on the ends of any branches that are visible. The ends of the branch can be seen in the first picture. In the second picture, I have covered them with a small bit of sponge.
Look for exposed, hardened clumps of glue. Cover them with sponge. Sometimes the clump of glue can be pressed with the hot glue gun nozzle to melt it a bit. Quickly press a small clump onto the glue. If it doesn’t stick, add a drop of hot glue and cover it.
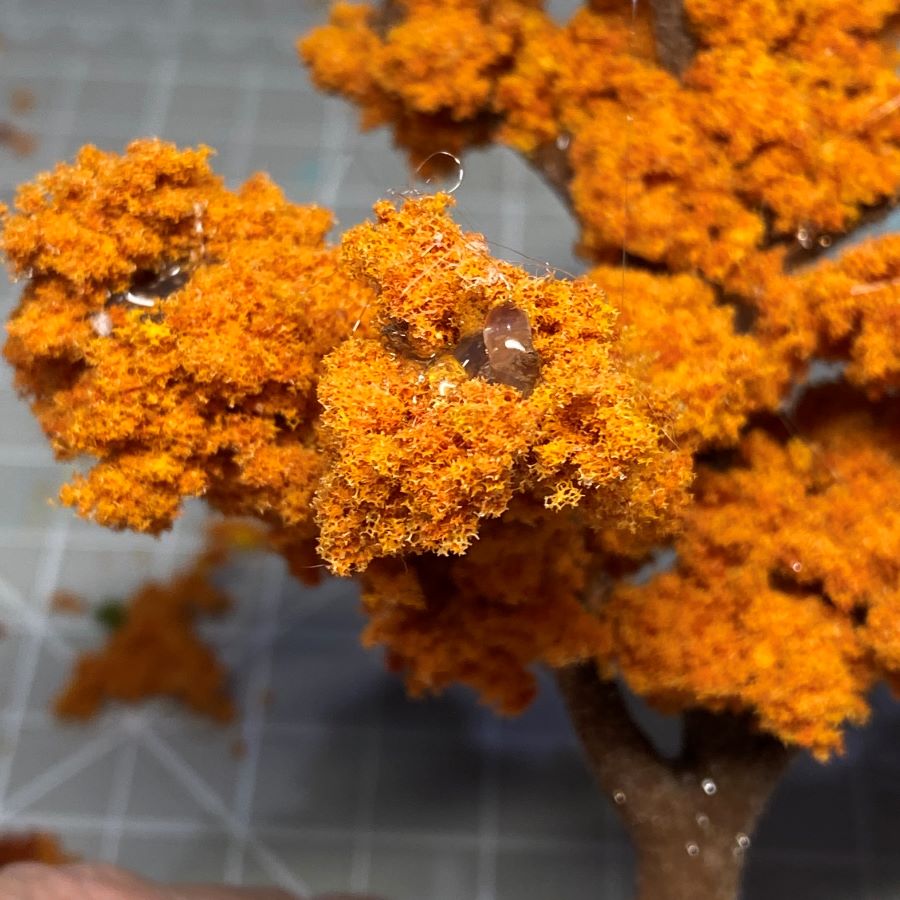
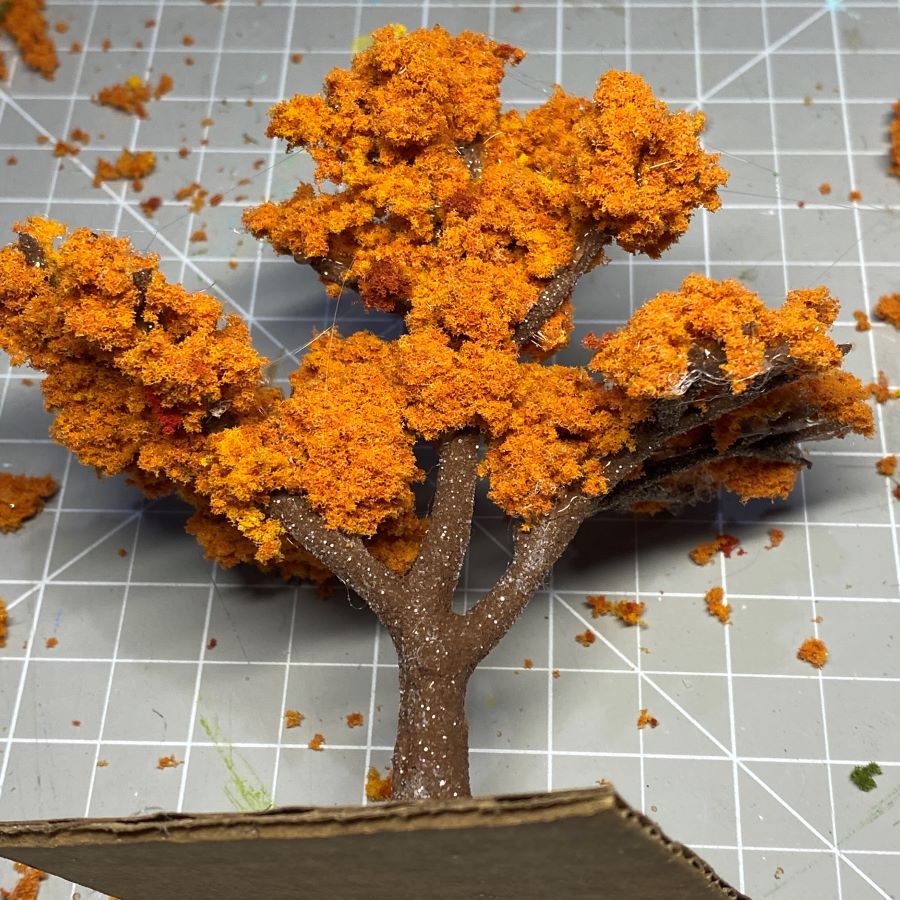
Look for dried clumps of glue and hot glue strings. To find small bits of glue, I use my phone camera to zoom in tight. It shows me things I wouldn’t notice otherwise. To find strings of hot glue, I hold the tree close to my desk lamp and turn the tree so the light catches the strings. You will be surprised how many you find. I use the needle-nosed tweezers to pull these off the tree.


Using sponge can make a mess on the desk top. I keep a Dustbuster handy and use it several times during the process to pick up the bits and bobs.

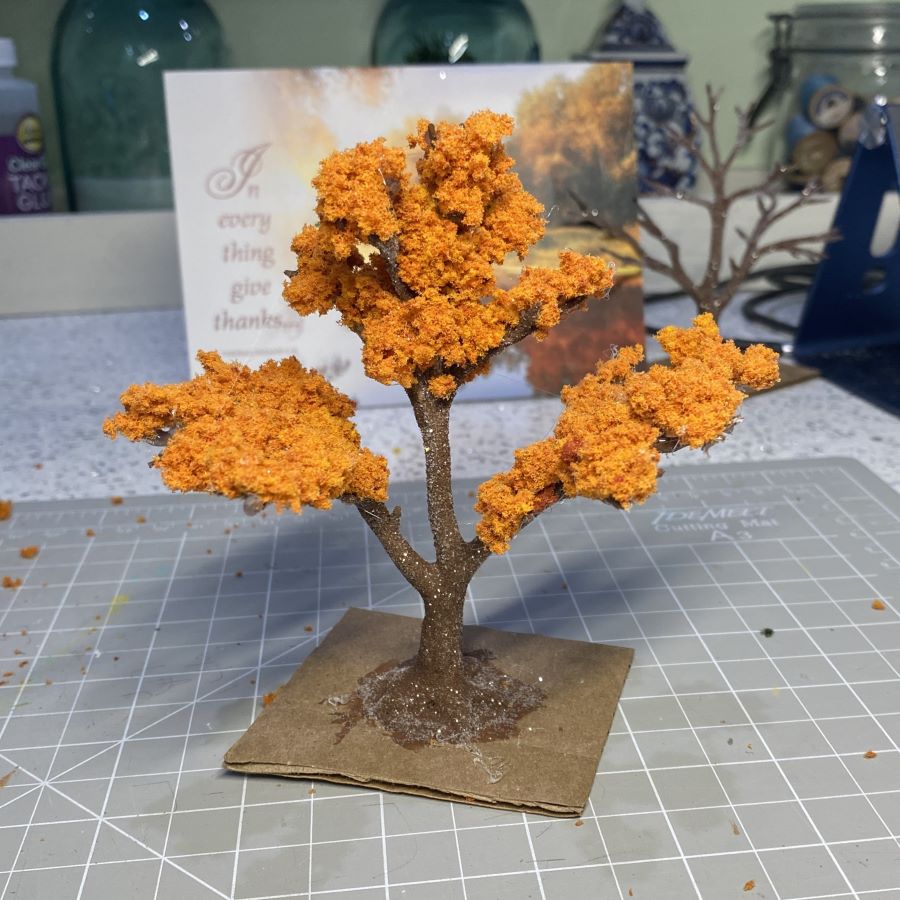
The last step is to add the leaf litter. I mixed red, orange and yellow for this tree.

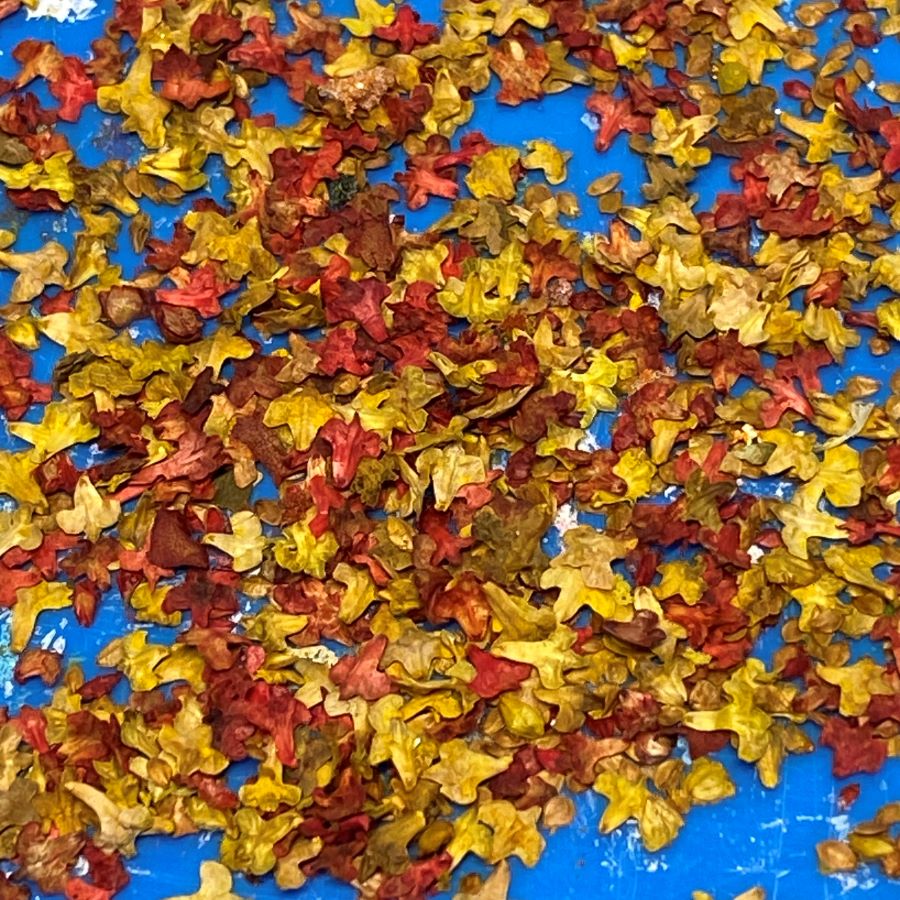
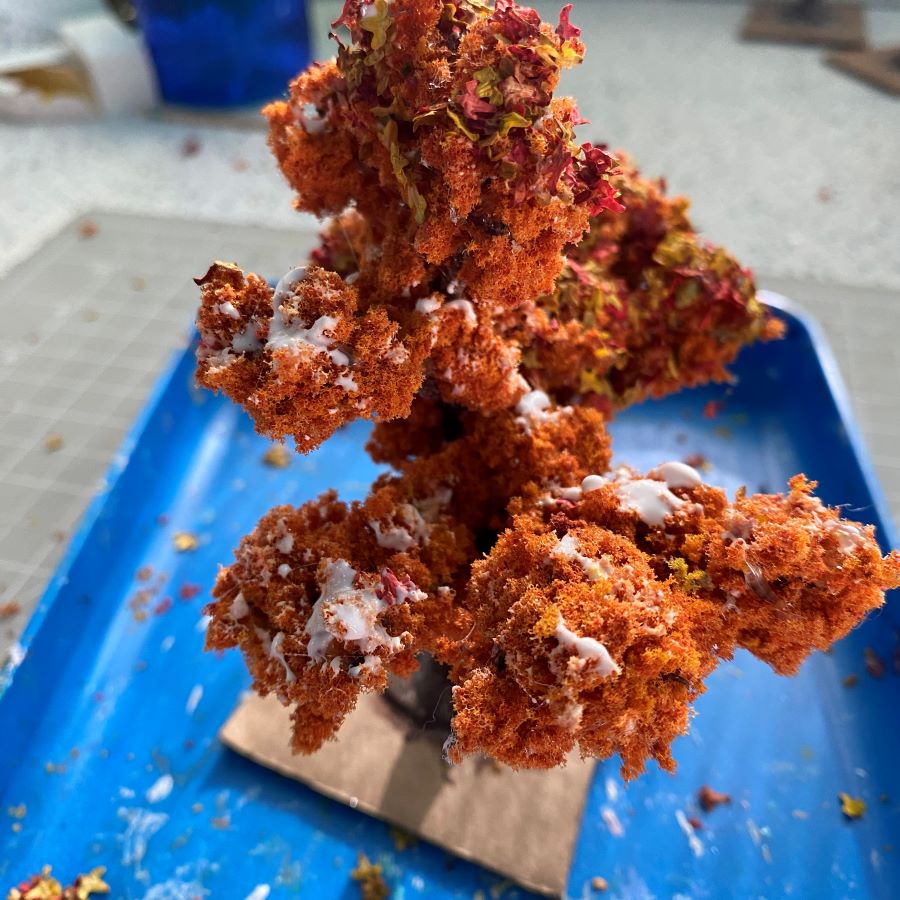
I use clear tacky glue for applying the leaves, but am using white, tacky glue here, so it’s easier for you to see what I’m doing. I use a small paintbrush and dab on the glue. It doesn’t need to be spread out.
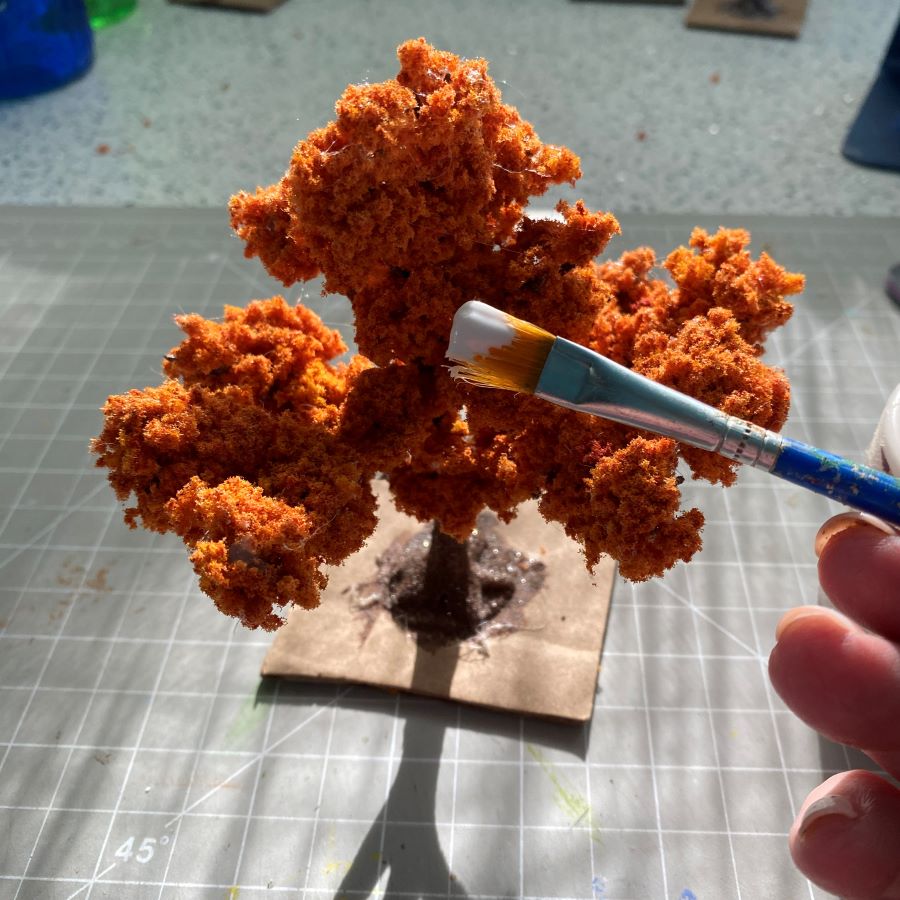

Pour the leaves over the glue. Gently press them into the glue with your finger. Shake the tree to remove loose leaves. I shake the tree over my glitter tray, but a piece of paper works fine.
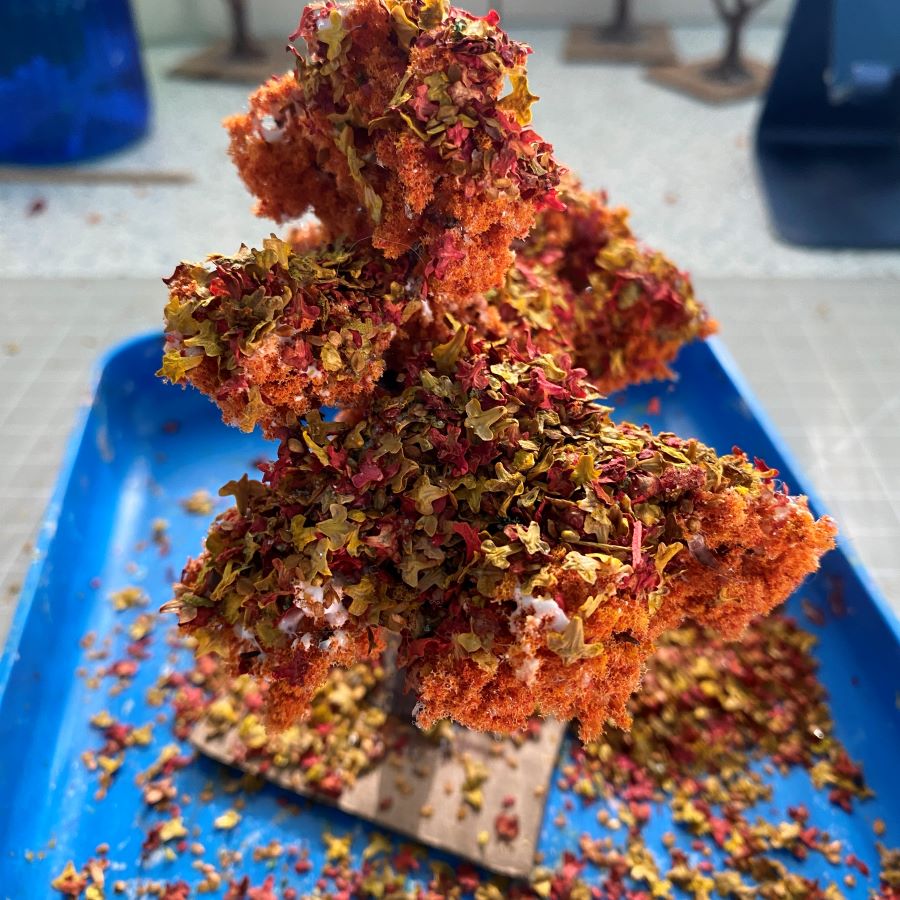
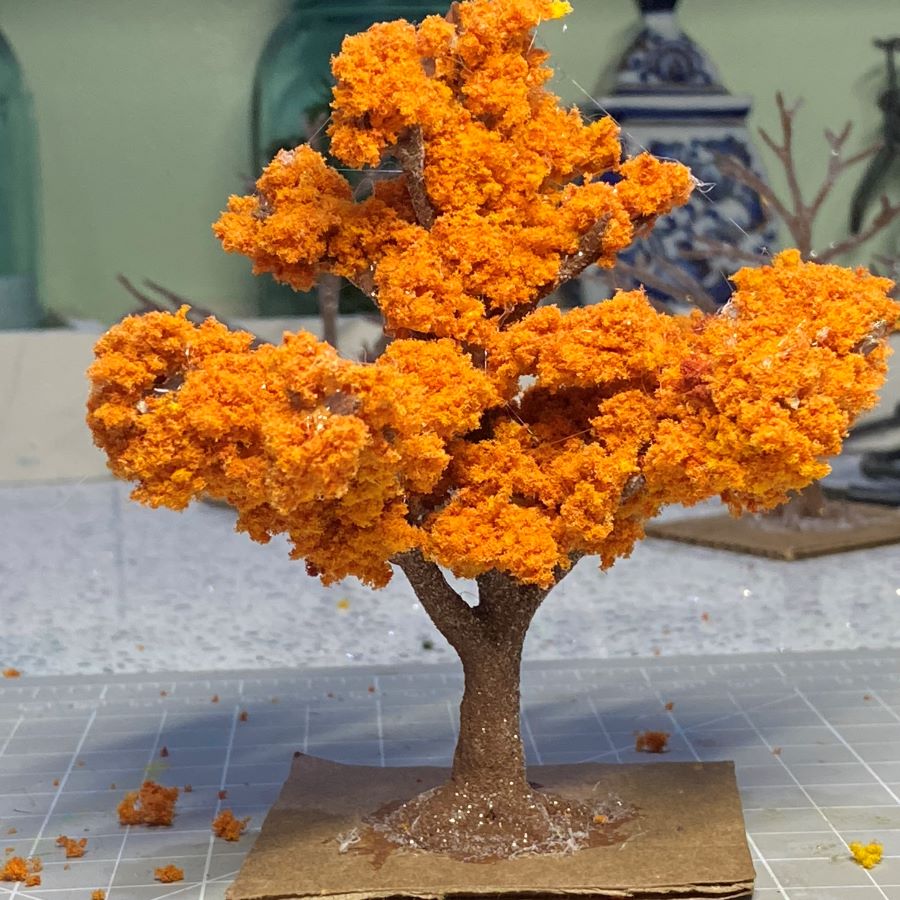
Finish the rest of the limbs. I don’t do the bottoms of the branches, but it’s fine if you want to do that. Check the tree for dangling leaves that didn’t stick. Look over the tree for any wet glue that needs to be covered with a few leaves. Looking at the tree below, left, I realized I had missed leafing the middle branch near the trunk. I fixed that and now the tree is ready to be removed from the cardboard for use with an autumn putz house. To remove the tree, I slide a palette knife under the roots. It pops right off.

If you have any questions about the process of making an autumn tree, please ask!
If you would like to see more of my Putz houses, as well as Christmas ornaments I have made from upcycled holiday cards, please visit my Etsy shop.
If you are interested in crafting Putz houses of your own, check out my Putz tutorials for more information. Putz House Tutorials
I am always happy to answer questions about the process. Please ask, if you are wondering about the details of putzing!
All proceeds from my Etsy shop benefit Kenya Mercy Ministries. They work with the urban poor of Nairobi, Kenya, particularly the children and their families who live in Kibera, the largest slum in Africa. Thank you for your part in helping these children when you purchase items from my shop!
~~Rhonda 🙂