blue and cream Putz house

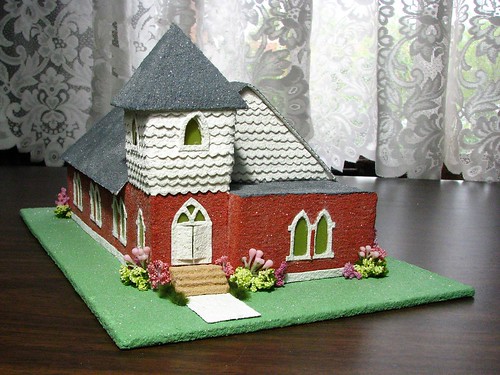
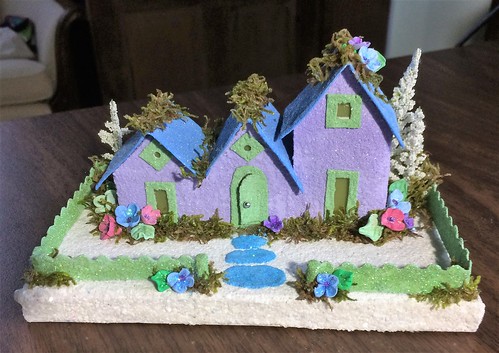
I so like the way this blue and cream Putz house turned out that I may have to keep it for my own collection.
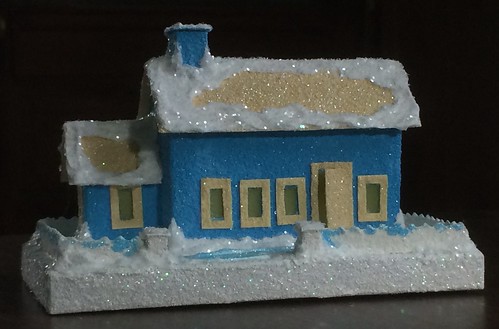
Blue and cream Putz house

I love the combination of colors. The blue is Apple Barrel 20716 Pool Blue. The cream color is Apple Barrel 20505E Antique White. The colors do darken a bit when painted. I don’t know if that’s because I add white glue and sand to the paint or not. You can see in this picture that the blue on the bottle cap is lighter than the blue of the house. It is very evident in person.
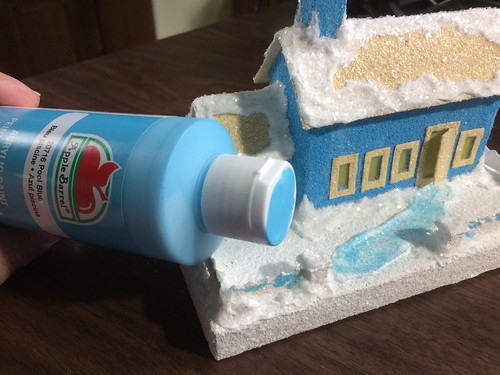
Apple Barrel "Pool Blue"

In case you’re wondering why I put a dab of paint on the lid of the paint bottle… They are stored in a drawer and when I open it, I can easily find just the color I want. The row at the bottom is glitter. I also put the color on the glitter lids. If there’s no color on top, it’s white. The Mason jar with the zinc lid is my jar of white sand that I add to the paint for texture. This is a file drawer, so it’s deep enough to store most of my Omnigrid rulers on the side (at the top of the picture).
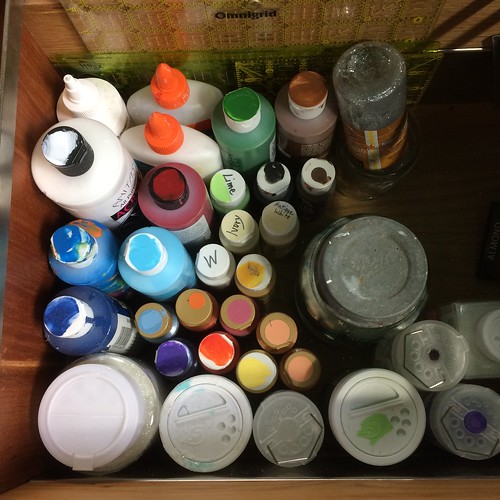
Paint drawer

Currently I am working at my downstairs craft desk instead of in the upstairs craft room. Up there, I have a huge drawer full of paint. These are just the ones I’ve used downstairs on projects in the past few months. When I open either drawer, it is so much easier to grab the right color when they are all painted on top the bottle lid! A real time saver.

Back to the blue and cream house! This is the paper mock-up of the pattern. I like to do this before I begin cutting a new pattern from poster board. It shows me if there are any problems that need to be fixed, if the pattern is marked correctly and if the proportion is correct. I make a copy of my master pattern (on regular printer paper) and use that to make the house. If you look at the addition on the left, you can see that the window isn’t centered. I fixed that on my master pattern.

Putz house

Then it’s cut from poster board. I use a light weight poster board that is available at Walmart. The roof is not glued down yet. I paint the roof and the house separately and glue them together when dry.
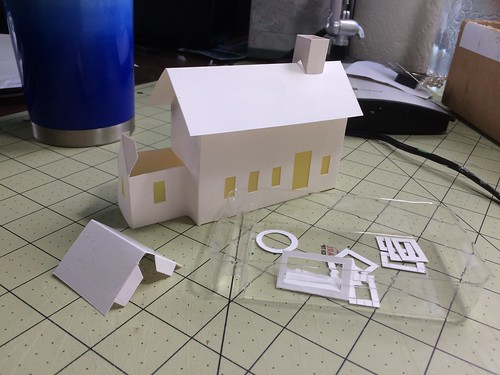
Putz house

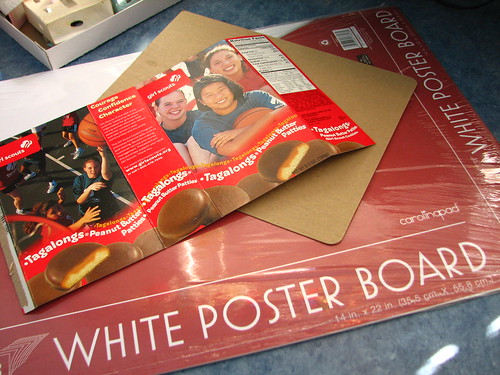
This is the kind of poster board I like. You can see in the picture that I also use other kinds of cardboard. Cookie, cracker and cereal boxes are a great weight. But my preference is the white poster board. That’s probably due to my tendency to be obsessed with details. I want it to be “just right.” Sometimes that’s good…sometimes, not so much!
building a base for Putz houses

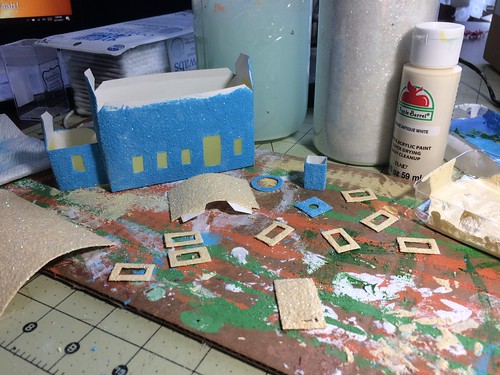
The pieces of the Putz house have been painted and are ready to glue together. I like to use the flaps of cardboard boxes to cover my cutting mat while I’m painting. I use them over and over till they are so full of sandy paint that I can’t stand it any longer. Then I pitch them and start fresh. Using a cardboard piece allows me to leave the wet pieces on the board and move them elsewhere to dry so I can work on something else. Really helpful when I’m working on several Putz houses at one time.
Putz house

You might note in the above picture that the roof pieces are bowed. The wet paint does that to them. Because they are scored on the fold lines, I can fold them when they dry and the bow comes out of them. Not a problem.

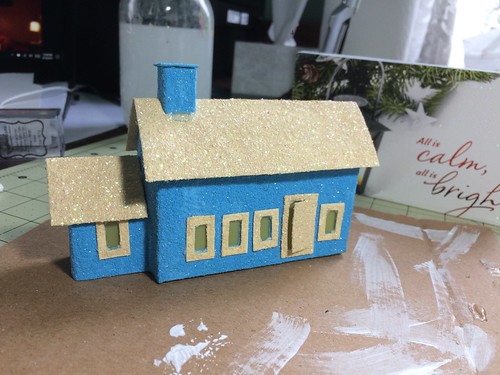
Glued together. I must have pitched that well painted cardboard flap… In the background you can see the Christmas card on the bottom of the base for this house. There is a lantern in the picture that matches the cream color on the house.
Putz house

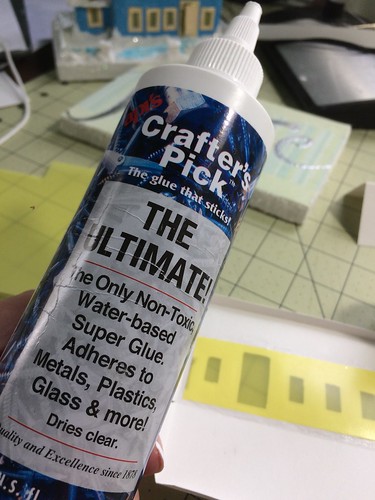
I use hot glue for a few places, but most often use white glue. Crafter’s Pick is my favorite. It holds so well and dries quickly. I use only this kind when it’s time to put plastic panes over the windows, as you can see in the background. They never pop off. Using Elmer’s, which I do use a lot for other things, I had some pop-off problems now and then. Crafter’s Pick works much better with the plastic window panes.
Putz house

The next step is to glue the house to the base. Then the snowing fun begins. This house has had the snow placed all around the base of the house. I use hot glue to fix the house to the base. I go all around the base of the house and run a tiny bit up each corner. That helps adhere the house tightly to the base and the snow covers all the glue.
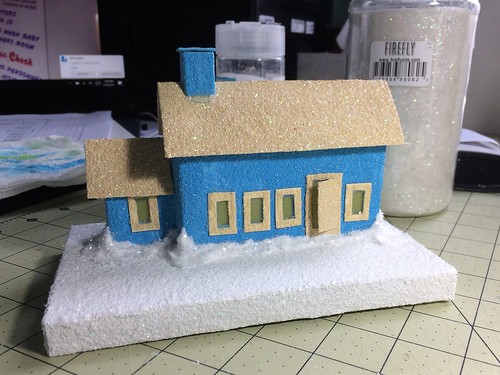
Putz house

I like to use Aleen’s Glitter Snow. I started with Aleen’s True Snow, then noticed on Amazon that the glitter snow was a bit cheaper. I have to say, it does not glitter. But that’s fine. I add my own glitter to the “snow” before it dries. Other than the glitter it professes to have, it seems to be the same as the True Snow variety.
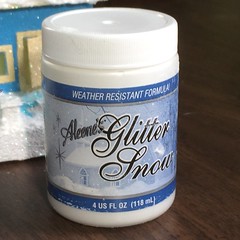
"Snow" for my Putz houses "Snow" for my Putz houses

I store the “snow” in a squeeze bottle which makes it easier for me to use. The bottle came from a cooking/baking supply aisle somewhere. I put the snow in it and then store it upside down in the middle of my old, but wonderful Pampered Chef tool-go-round. Mine has different size compartments which is nice. They call it a tool turn-about now. Did they ever call it a tool-go-round? Maybe I’m disremembering that…anyway, the “snow” doesn’t harden in the bottle and I can squeeze it around the base of the house or on the roof and then use a palette knife to spread it a bit.

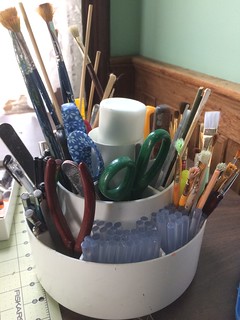
"Snow" bottle Tool-do-round

The snow on the roof really sets if off, doesn’t it?
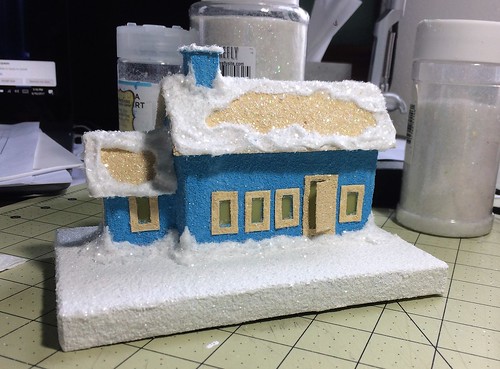
Putz house

Time to glue down the fence. Click this link for a tutorial on making Putz fences.

Putz house

Click this link for a tutorial for making fence posts.
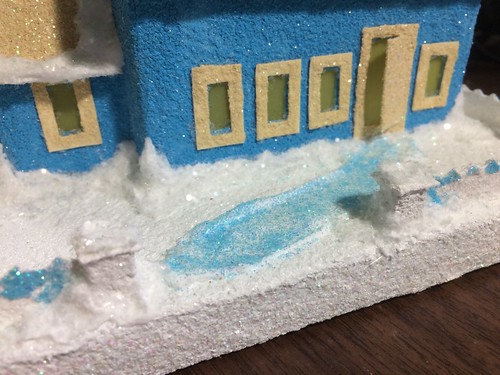
Fence posts

The house is ready to be embellished. Perhaps some silvery glittered “trees” in the background and a couple of snowy, glittering bottle brush trees in the front yard…we’ll see how that turns out another time.
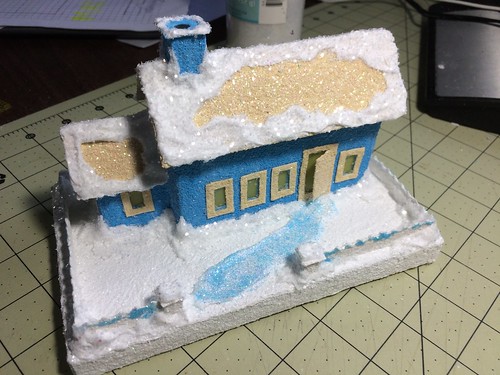
Putz house

Here are links to some of my tutorials for making Putz houses.

Making bases for Putz houses

Making fences for Putz houses

Making fence posts for Putz houses

Making Putz house ornaments from Christmas cards

If you would like to see more of my Putz houses, as well as Christmas ornaments I have made from upcycled holiday cards, please visit my Etsy store.

ChristmasNotebook.etsy.com

Thanks for stopping by! ~~Rhonda

daylily season

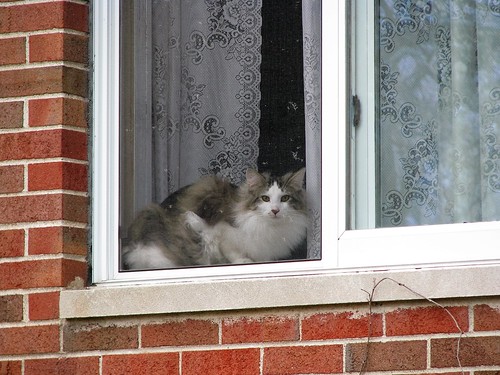
We have been blessed with several days of beautiful weather, enjoying highs of 80 or less. Saturday was perfection with blue skies, a breeze and low temps. I actually got chilly sitting on the front porch at 11:00 a.m. Unheard of for this time of year. Today is the last of that, though. An expected high of 78 and a low of 57 tonight. Tomorrow the temps start to rise and the windows will be closed and the air conditioner will be turned back on. Our kitties will not be happy. They’ve really enjoyed their view of the great outdoors and all the fun an open window brings. Kind of like television to them…or smellavision…Clark loves an open window.

Clark enjoys the spring breeze

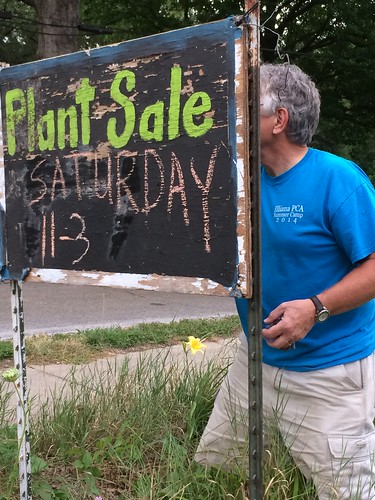
Last Wednesday and on Saturday, we had plant sales to raise money for the scholarship fund for our presbytery’s summer camp. Looks like it’s time to update that sign…we painted it with chalkboard paint so it’s easy to change. Seeing it in a picture makes me aware how it has aged over time!

plant sale

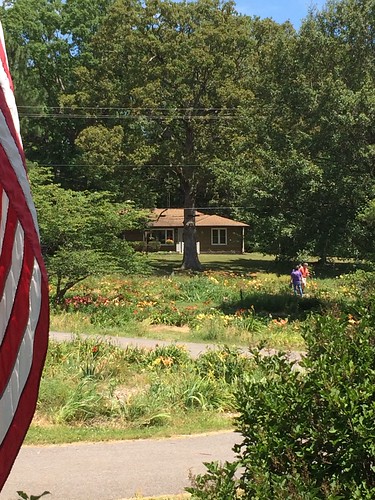
Wednesday was hot, but Saturday was so pretty! I was on the front porch, ready to take care of customers. DH was in the garden digging orders. You can’t tell it from this picture, but there is a street between us and the neighboring house in the background.

plant sale

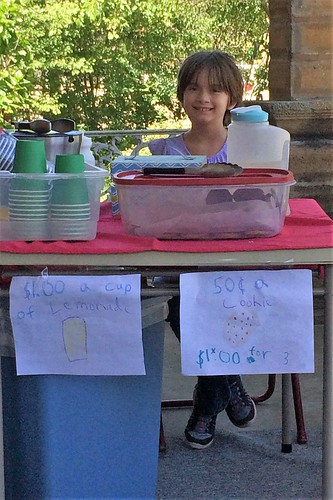
Snow White was ready for customers, too! She was selling lemonade and chocolate chip cookies to make money to donate to a homeless shelter. Special thanks to our friends who bought a dozen cookies from her! That was so sweet! It really made her day.

plant sale

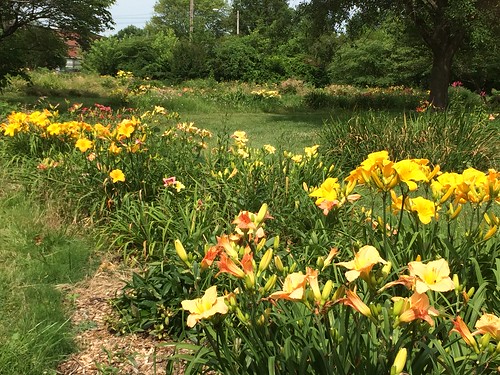
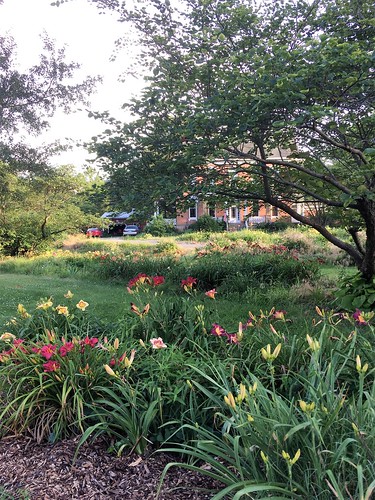
I love daylily season. The garden is washed with color. DH and I go out every evening to look for FFOs (first flowers out).

plant sale

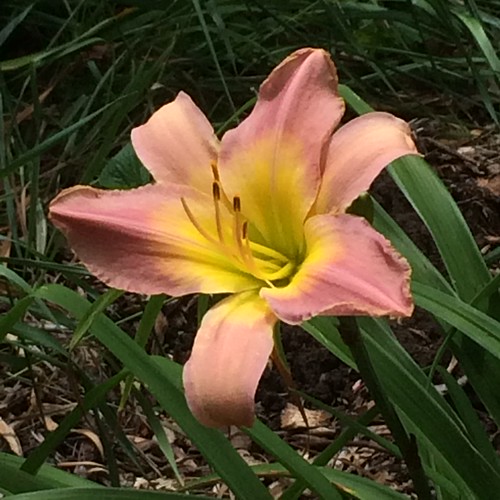
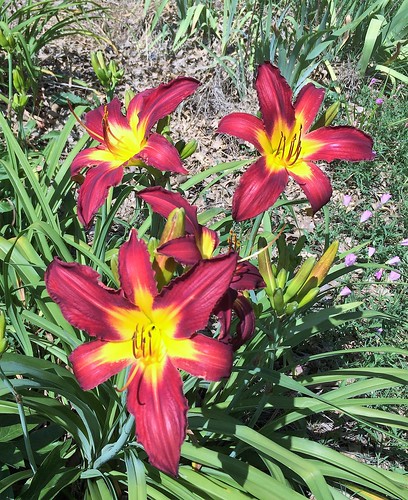
This daylily is one of my top favorites. Don’t ask me to rank my faves in order! It’s too hard!
‘Wayne Johnson’

'Wayne Johnson'

So many orange daylilies, but this is one of the best.
‘Refiner’s Fire’

'Refiner's Fire'

More subtle, but no less beautiful.
‘Egyptian Ibis’

'Egyptian Ibis'

Another gorgeous daylily. This picture does not do it justice!
‘Spider Man’ (Yes, two words in the name.)

Spider Man

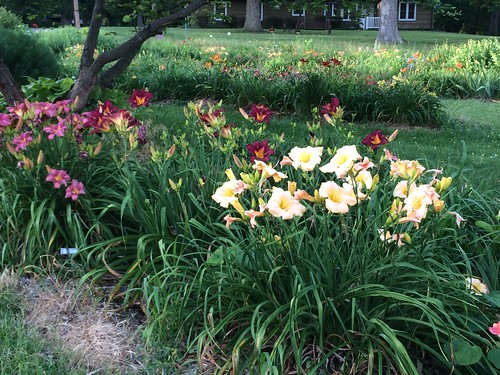
daylilies in the front yard

daylilies in the front yard

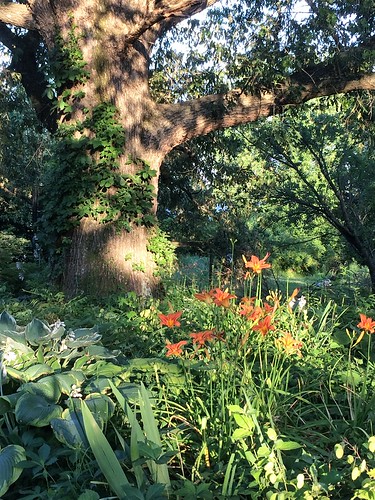
Even the common “ditch lily” daylilies are beautiful. Around here, some people know ditch lilies as “Tiger lilies.” This is a picture of the big oak in our backyard that I took one evening while the girls were toasting marshmallows for S’Mores.

the big oak in the back yard

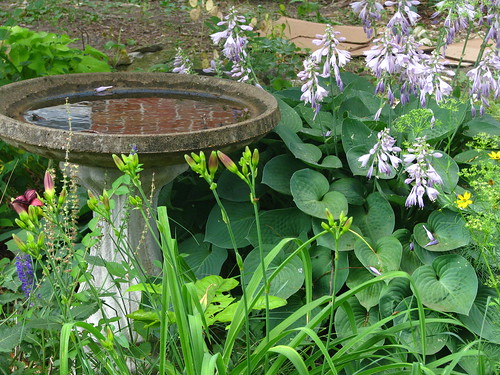
The hostas are blooming, too. So pretty! This is ‘Blue Cadet’ which sits by the birdbath at the kitchen door. The daylily that’s ready to bloom is ‘Little Grapette.’

birdbath at the kitchen door

I have some letter writing to do and some Putz houses to paint, so I’ll quit here. Be back soon!

~~Rhonda

menu plan monday ~ June 26 , 2017

Hello, again! I have taken a long leave of absence from my blog. But now I am ready to start up again. I’ll begin with Menu Plan Monday. I have been working on a couple of new Putz patterns and will share those in another post. Yesterday DH and I celebrated our 40th wedding anniversary. CanNOT believe it has been that long. He grilled enough meat yesterday for us to eat for several more days! The weather was beautiful both Saturday and Sunday. We had a great time checking the daylilies in the garden. So nice to be outside without too much heat and humidity. Here’s the view from the front porch. The sky really was that blue!

front yard

Monday
Grilled Pork Steak
Parmesan Roasted Brussels Sprouts
Green Salad

Tuesday
Grilled Chicken
Bok Choy Stir Fry with Garlic
Pan Seared Summer Squash

Wednesday
Hamburgers with Cheddar Cheese
Asparagus
Garden Salad

Thursday
Pizza

Friday
Pork Short Ribs in the Instant Pot
Broccoli
Garden Salad

Saturday
Fridge Food

Sunday
Turkey Roast in the Instant Pot
Cauliflower
Sauteed Sugar Snap Peas with Cherry Tomatoes
Garden Salad

It’s always so helpful to have a menu plan in place at the beginning of each week! I hope you have planned one for you and your family!

~~Rhonda
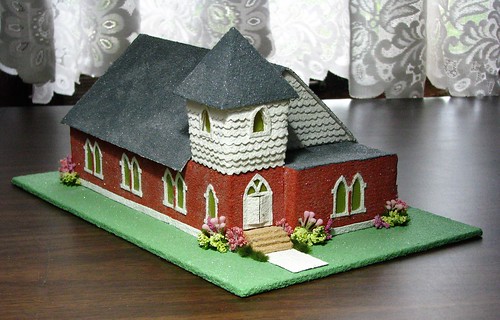
local church celebrates 150 years

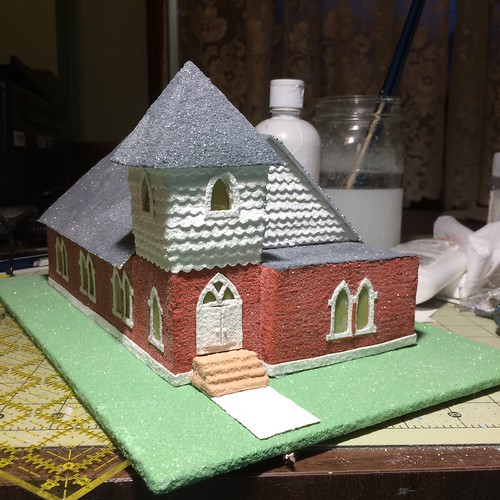
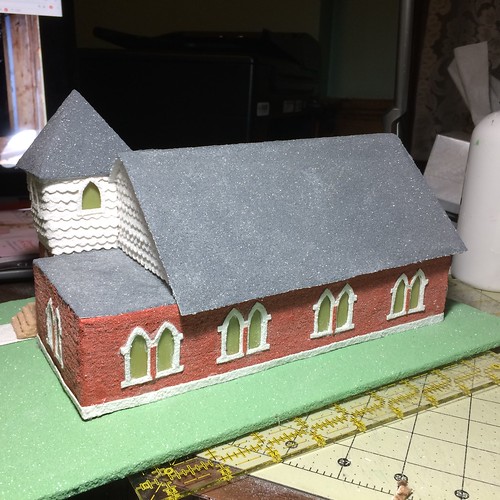
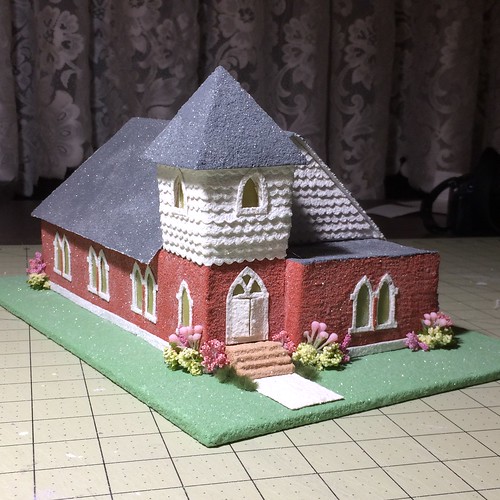
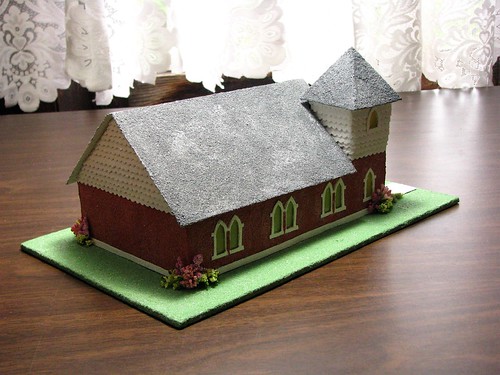
The church my husband grew up in is celebrating their sesquicentennial this weekend. A friend (and member of the church) asked if I would make a Putz-style replica of the church for the celebration. It sounded like a fun project and I am glad to say that I am happy with the way it turned out. There are a few things I wish I’d done differently or wish I could change, but I am very happy with the outcome.

When first asked to consider this project, I decided to replicate the original church building without the two additions to the church. It gave a better proportion to the finished piece and also emphasized the early days of the church.

Putz Church

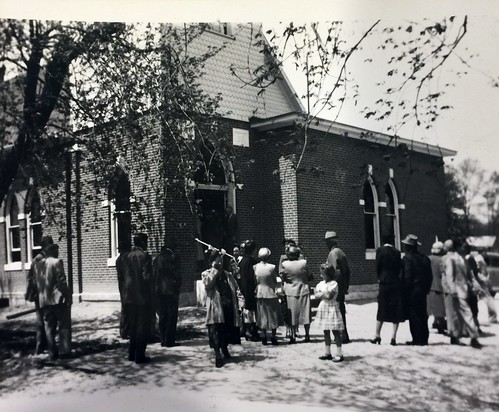
My friend sent me a few pictures she had taken of the church, and also sent me this vintage photo from 1962. DH thinks this may have been taken the day ground was broken for the first addition to the church. This photo helped me a lot with some design details, including the style of the original door.

Putz Church

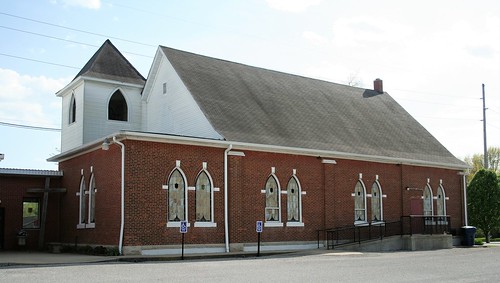
As I began the project, I realized I would need more reference photos and some measurements would be handy, so DH and I went over one day and did just that.

Putz Church

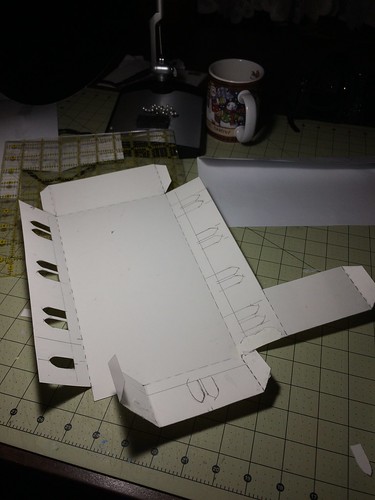
The project was a bit different than my usual Putz house. It was going to be larger and it was duplicating an actual building, so that made the project more complicated than creating a simple design from scratch. It took me a while to figure out just how I would construct the building. I finally came up with a large pattern that included a floor and the walls. The bit sticking out on the right is the flat roof of a portion of the church. It folds up and over the walls.

Putz Church

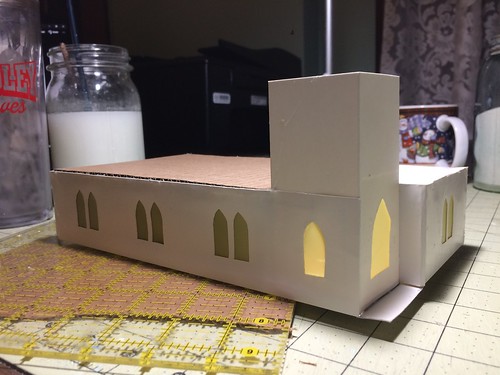
I added a corrugated cardboard “ceiling” to this part of the pattern to give the building stability and strength.

Putz Church

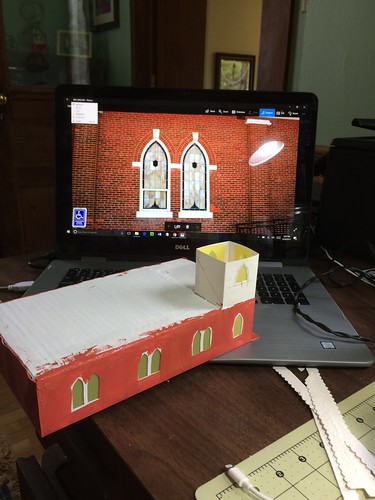
After adding pale yellow plastic window panes, I mixed some paint to achieve as close a color match as I could to the bricks. I used a picture on my computer for comparison.

Putz Church

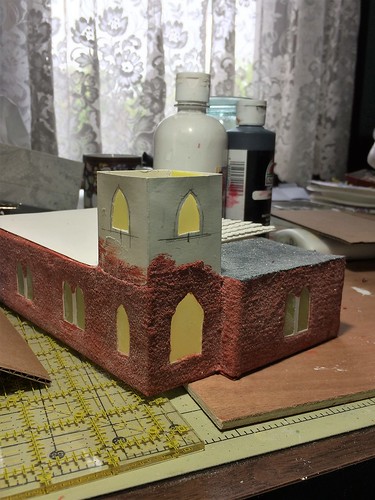
Adding sand to the paint gives the building a nice Putz-like texture. I painted it on side to side to get some lines in the paint for a more brick-ish look.

Putz Church

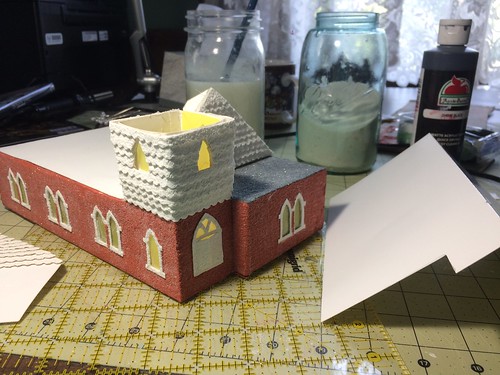
The vintage photo from my friend showed me that the original clapboards were scalloped in a fish scale design.

Putz Church

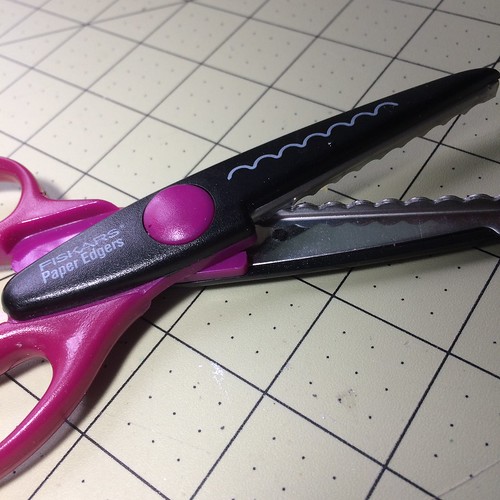
The fish scale pattern was easy to replicate with scallop scissors which, thankfully, I had on hand.

Scallops

I wish I had taken more pictures of the process of construction. I usually get so involved in a project that I forget to take enough pictures, and that certainly happened during this project! At this point, the structure is done and it is ready for a few embellishments.

Putz Church

Putz Church

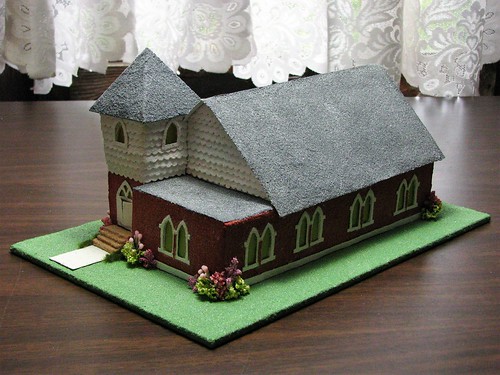
I wanted to keep the embellishments very simple so they wouldn’t detract from the church building.

Custom order for the 150th anniversary of this United Presbyterian Church.

The finished size of the building is 9.5″ x 5.5.” The base is a piece of 1/8″ finished plywood.

Putz Church

Putz Church

I have many friends in this church congregation and I am happy I was able to contribute to their celebration of 150 years as a local congregation. May God grant them many more years in which to serve Him.

Putz Church

~~Rhonda

springtime putz houses

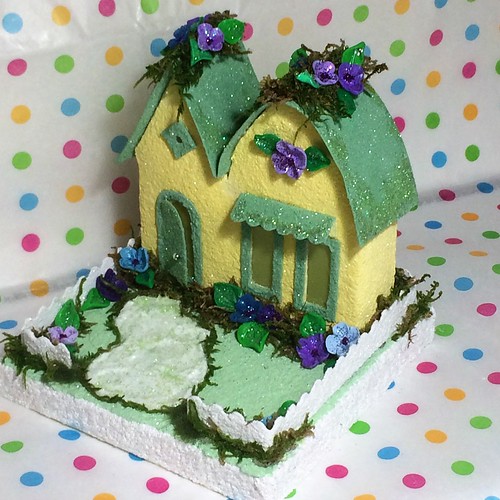
I have been working on some springtime Putz houses. Here are a few that I have finished already.

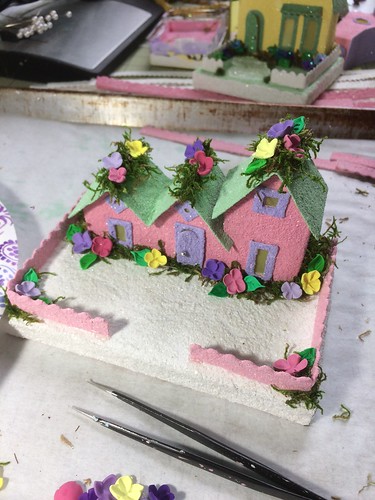
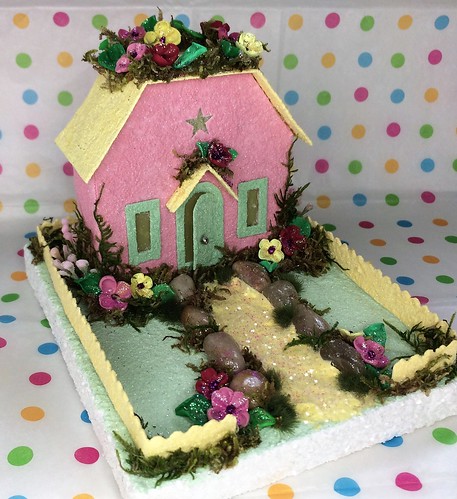
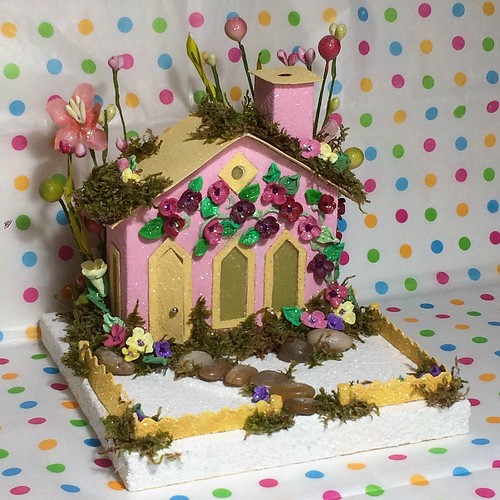
The pink cottage. Looks like a fairy house, doesn’t it?

Pink springtime Putz cottage

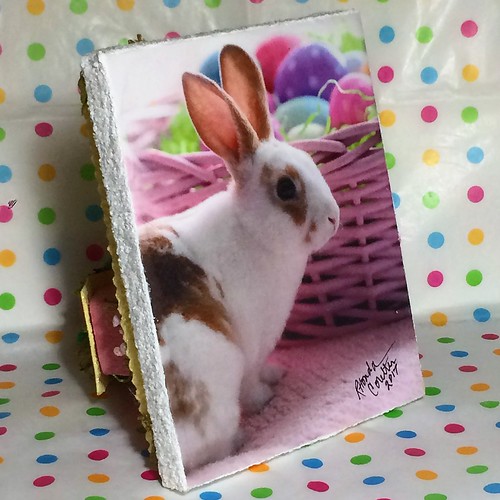
It has a bunny greeting card on the bottom of the base.

Pink springtime Putz cottage

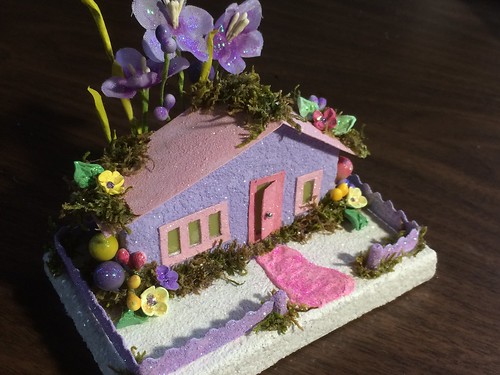
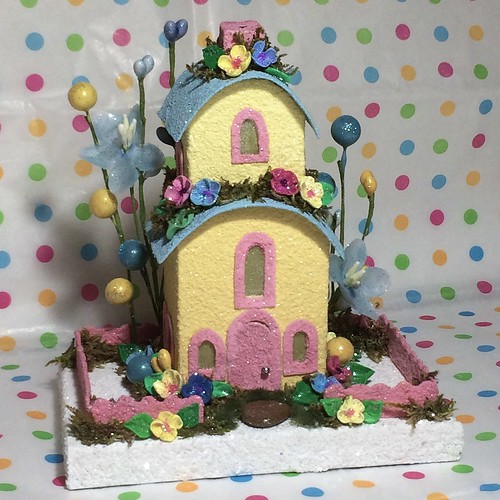
The houses are embellished with my first attempt at using polymer clay. I made the flowers and their leaves.

lily of the valley Putz house

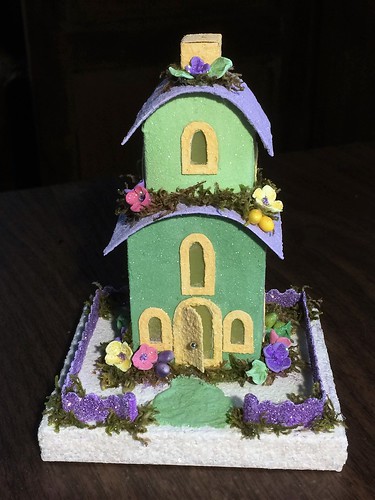
I love this little double-decker design.

double decker springtime Putz

The vine covered cottage…too much or just right? I can’t decide. I do love the pebble walkway, though.

pink springtime Putz

This one is almost done.

in progress

The following three are available at a local gift shop called “Breath of Eden Country Store.”

Springtime Putz house

Springtime Putz house

I almost kept this one for myself…

Springtime Putz house

With the exception of the last three, the others are (or soon will be) in my Etsy shop. ChristmasNotebook.etsy.com

This week I am finishing a custom order. More about that next week!

~~Rhonda
springtime

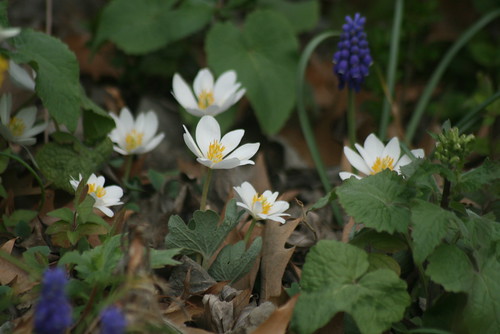
Spring is my favorite season. Here are a few pictures from our yard. The first set is from a few weeks ago. The bloodroot was blooming alongside the grape hyacinth.

spring garden 2017

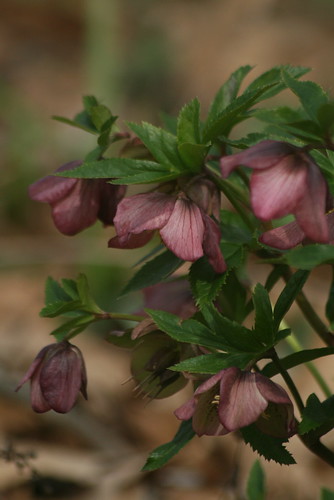
The Lenten Rose was beautiful.

spring garden 2017

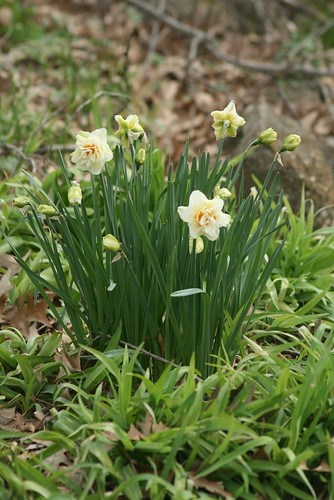
Daffodils were blooming all over the garden.

spring garden 2017

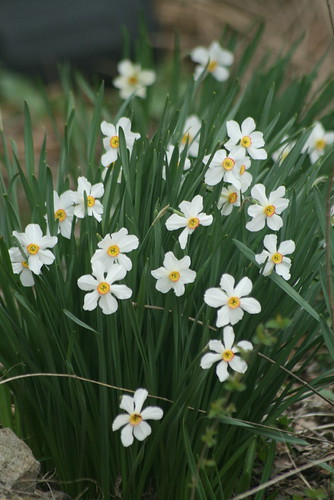
Poet’s daffodils are some of our end-of-the-season daffs.

spring garden 2017

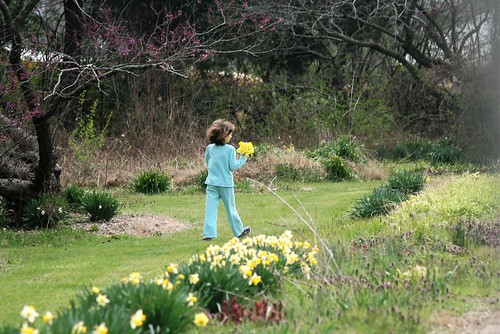
Snow White kept coming in with more daffodils. She loves to pick them!

spring garden 2017

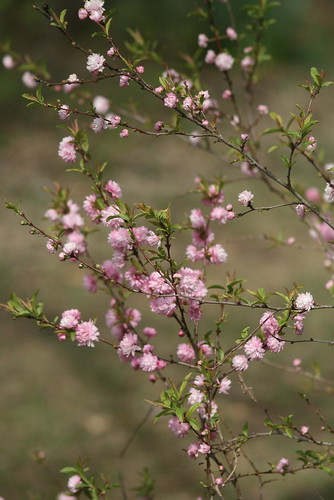
The flowering almond came from DH’s family farm. We have several starts of it around the yard.

spring garden 2017

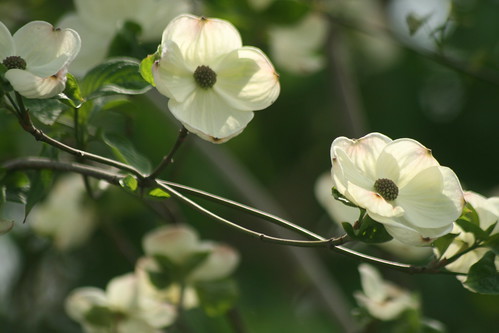
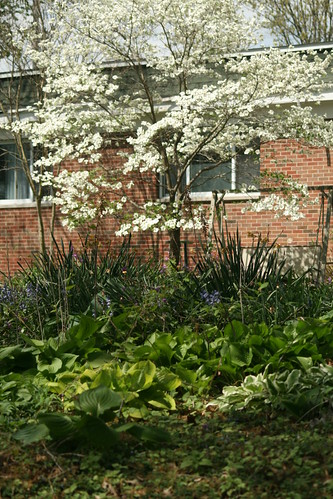
Currently, the following flowers and shrubs are blooming. Dogwood…

dogwood

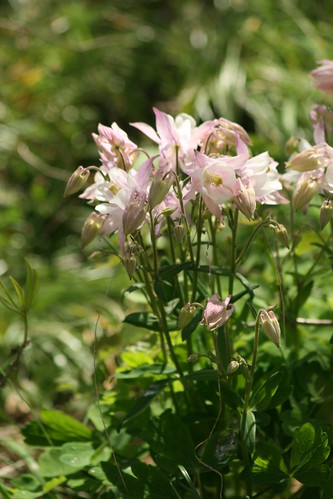
Columbine.

columbine

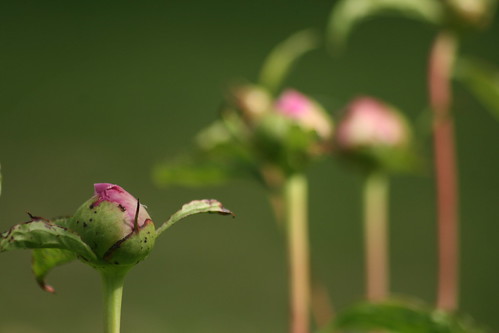
Peony buds.

peony blossoms

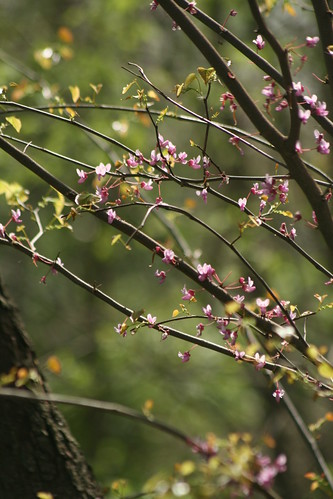
Redbud tree blossoms

redbud

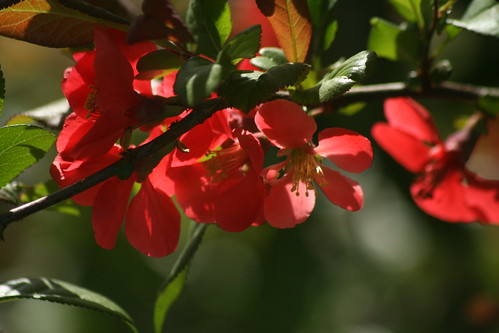
Quince blossoms. The first round of blossoms froze. We were surprised to find a second round blooming. They are larger and darker than usual.

quince bush

Our pink dogwood has sported a branch of white blossoms. Must be from the root stock. We’re trying to decide if we will leave it or cut it off. I think we’re leaning toward leaving it.

white and pink dogwood

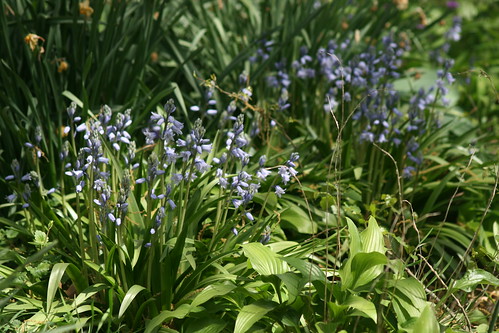
Spanish bluebells.

Spanish bluebells

The white dogwood behind the house.

dogwood

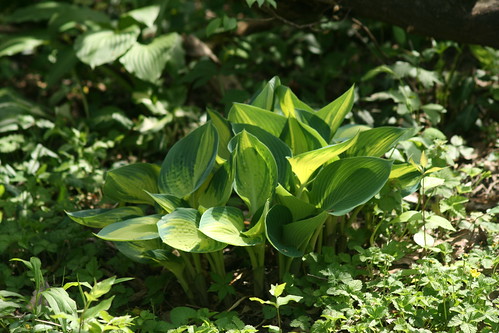
My favorite hosta ‘June.’

Hosta 'June'

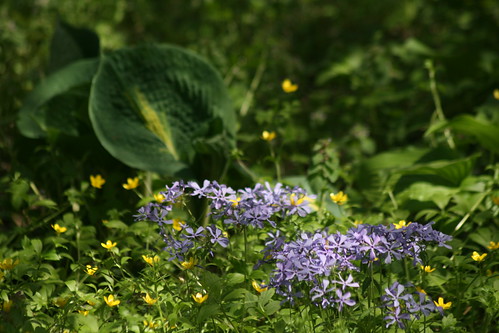
Sweet William in front of the hosta ‘Thunderbolt.’

Sweet William

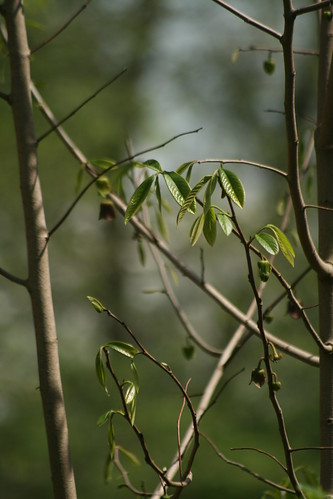
The pawpaw tree is blooming.

pawpaw tree

I hope you enjoyed the quick tour. I’ll be posting some springtime Putz houses I’ve been working on in the next day or so. Check back!

~~Rhonda
menu plan~ march 14, 2017

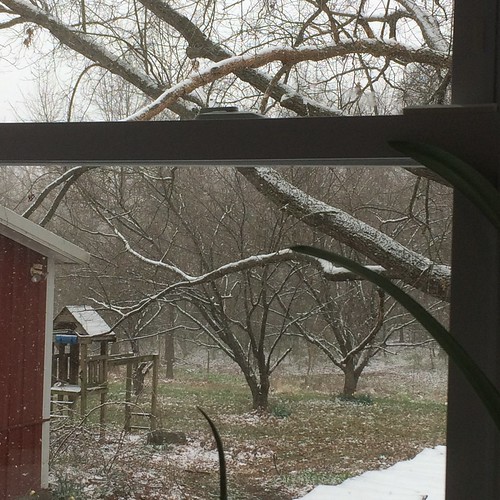
We are tolerating winter’s brief show and looking forward to later in the week when spring is expected to return. Twice the past week, we had a light dusting of snow that melted away in the afternoon. I hope that is the last of winter for us till the end of the year.

last snow of the season

The menu for the week follows. We have company in the person of Youngest Daughter’s college roommate. They, of course, have their own schedule and are busily in and out of the house. If they’re here, they eat with us. If they’re not, they eat elsewhere. We are enjoying the company regardless of how often we see the girls.

Monday
Leftover Pot Roast on
Homemade Buns

Tuesday
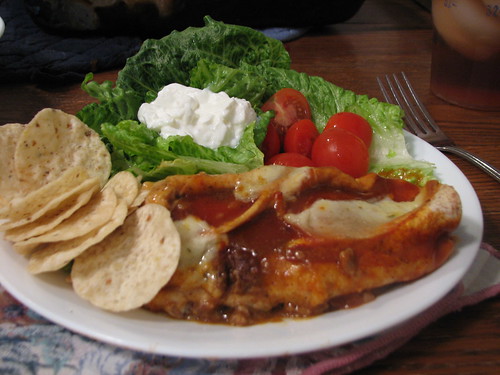
Tacoritos
Taco Chips
Avocado Sour Cream

tacoritos

Wednesday
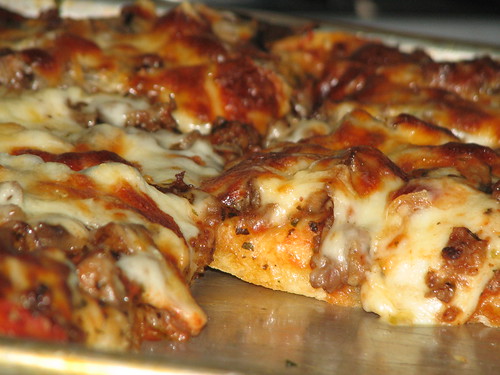
Homemade Pizza

oh, yum

Thursday
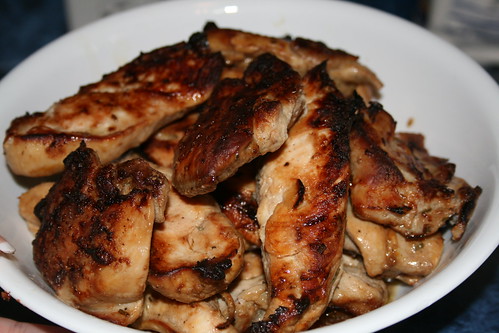
Rosemary Ranch Chicken
Oven Fried Potato Wedges
Sugar Snap Peas
Sweet and Sour Cucumber Slices

Rosemary Ranch Chicken

Friday
Chicken Fettuccine

Saturday
Church Quilt Day at our house. Everyone’s bring salads to share.

Sunday
Roast Turkey
Mashed Potatoes
Corn Casserole
Steamed Green Beans
Garden Salad

I am still working on spring-themed Putz houses. I’ve cut out five patterns (made two or three of some of them) and all the bits and pieces needed to finish them. I’ve made three bases so far. Eight more are needed. When the bases are done, I will start painting the houses. I hope to have some finished by Friday.

~~Rhonda
Irish cottage Putz house

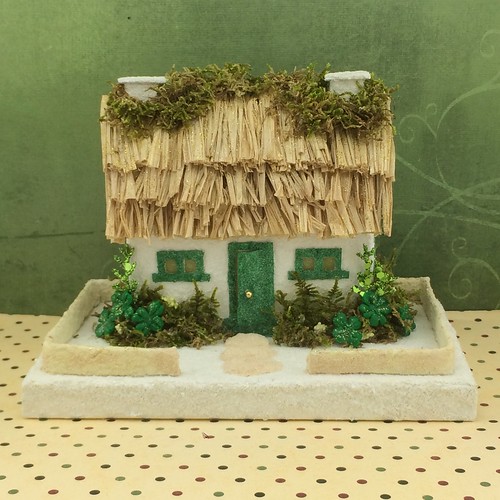
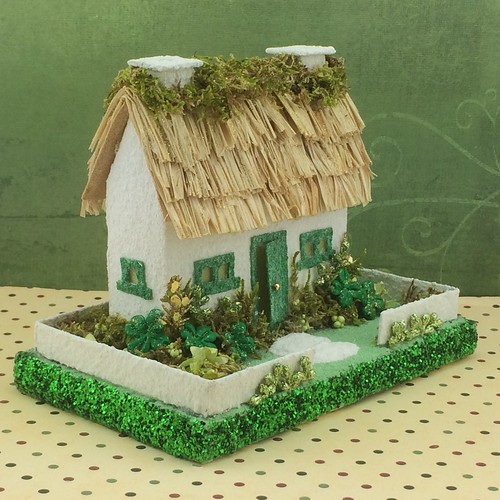
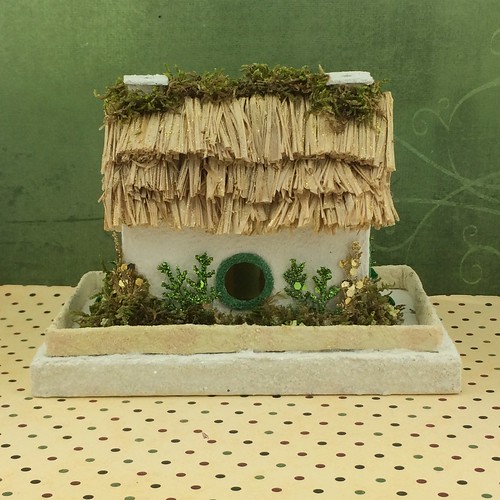
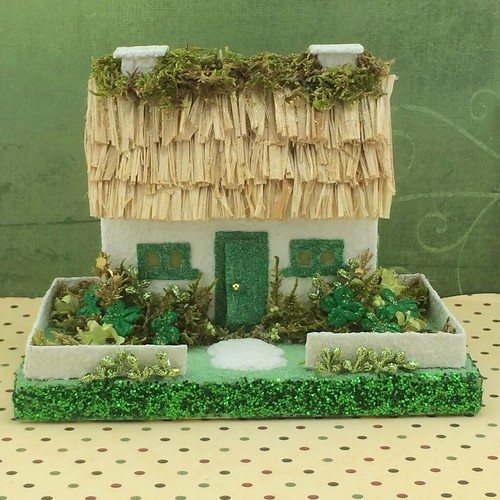
In a week, it will be St. Patrick’s Day. I have finished the two Putz houses I started to celebrate this March holiday. They are made from the same pattern and look quite similar. But there are a few differences.

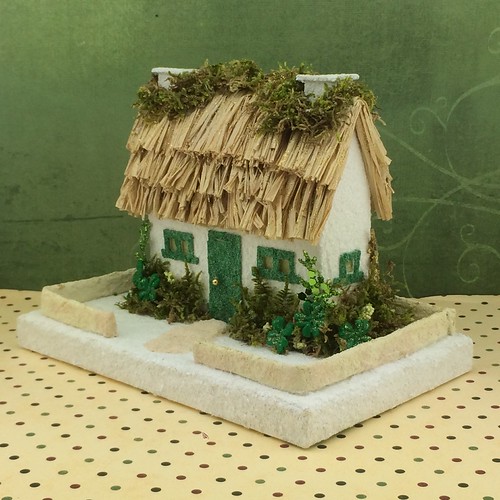
The first one has a white “yard” and a stone colored fence.

thatched Irish cottage Putz house

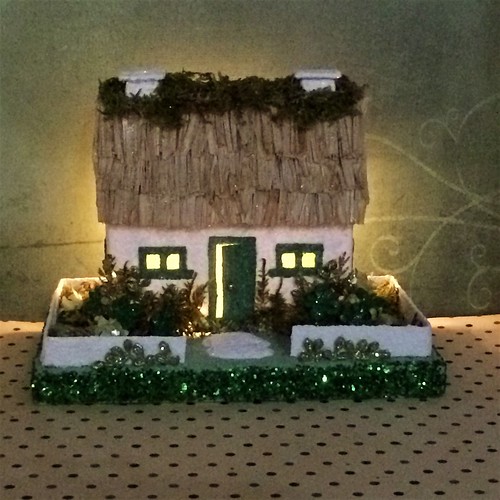
The second one has a green “yard” and a white fence. It also has green glitter on the sides of the base.

Irish cottage Putz house

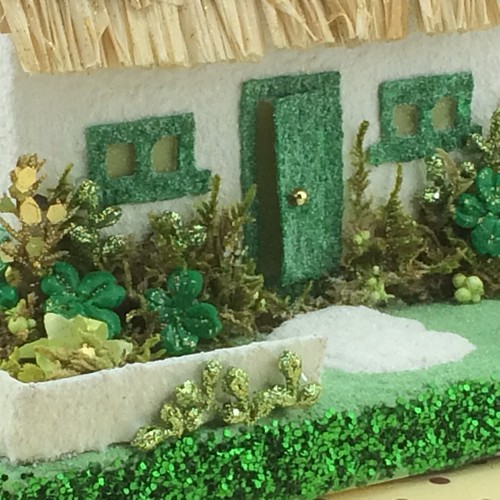
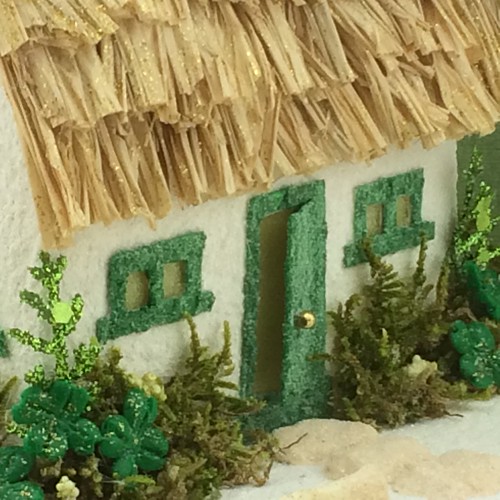
Detail…

Irish cottage Putz house

thatched Irish cottage Putz house

From the back…

thatched Irish cottage Putz house

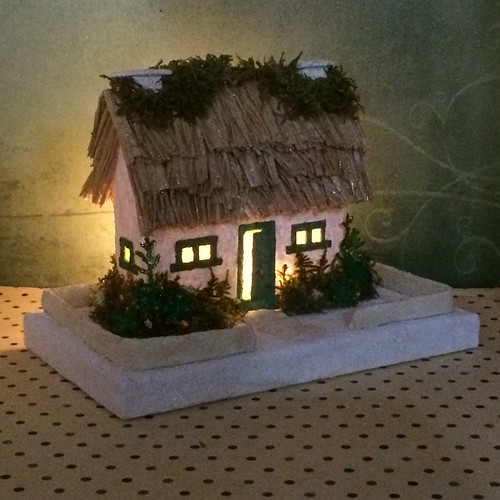
With the lights on…

thatched Irish cottage Putz house

Irish cottage Putz house

I think the thatched roof looks better on the second one. I learned a few things as I went along.

thatched Irish cottage Putz house

Irish cottage Putz house

The first St. Patrick’s Day house is available in my Etsy Shop. ChristmasNotebook.etsy.com

My next project is to make five or six spring-themed Putz houses. Stay tuned!

~~Rhonda
menu plan ~ march 9, 2017

We had plenty of fridge food (leftovers) to use for the first part of the week, so I put off menu planning till today. The grands are coming over Friday evening to spend the weekend. Just in case we really do get some snow on Saturday. If we do, they will enjoy playing in it. If we don’t, there are plenty of other adventures to be had.

Thursday
Spaghetti
Homemade Red Sauce
Peas
Garlic Bread

Friday
Simply Great Chicken
Asparagus
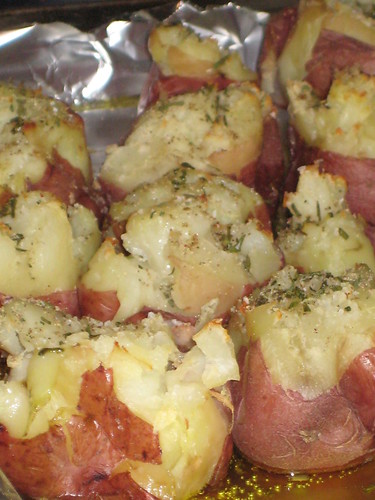
Baby Baked Potatoes

baby baked potatoes

Saturday
Smoked Pork Shank and Beans
Cornbread

Sunday
Alton Brown’s Pot Roast
Mashed Potatoes
Green Beans
Garden Salad

Monday
Fajitas

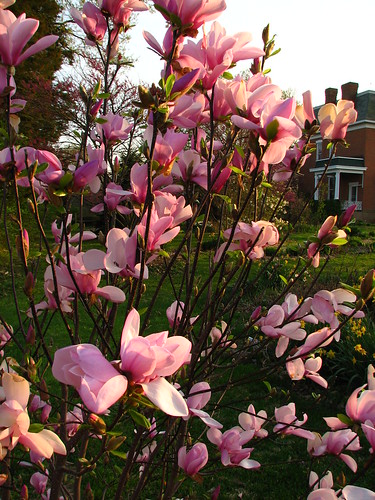
I’m looking forward to the weekend. Just hoping the 19° expected Saturday night doesn’t hurt the flowering trees and shrubs. I’m afraid my lovely pink magnolia is going to quite browned.

magnolia 'Jane'

~~Rhonda
weekend garden

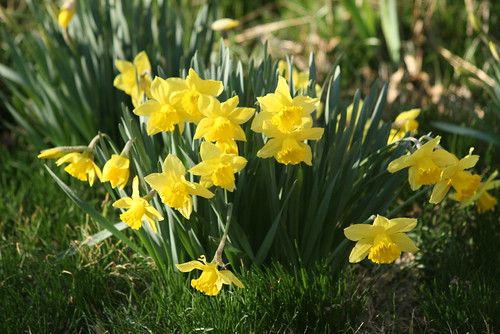
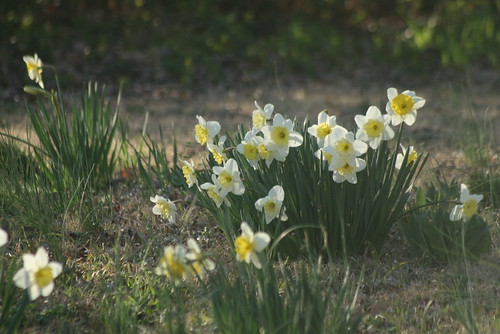
On Saturday, DH and I took a turn around the yard. There is a lot of spring out there! Lots of daffodils.
daffodils

daffodils

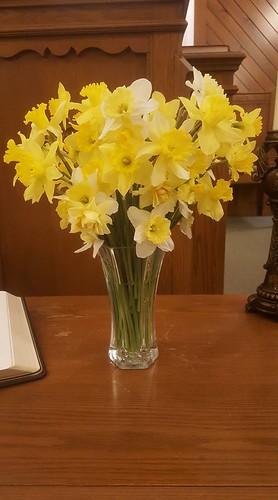
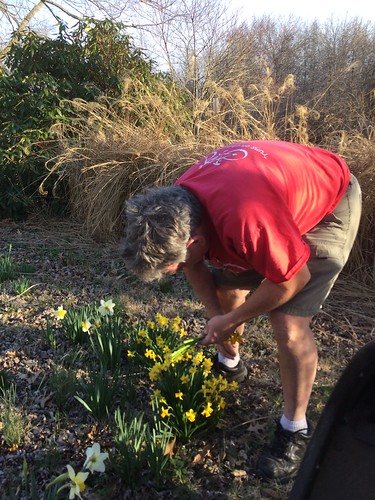
DH picked a big bouquet of the larger daffodils for church on Sunday and he also picked a small bouquet of the tiny Tete-a-Tete daffodils.

Sunday bouquet

picking daffodil bouquets

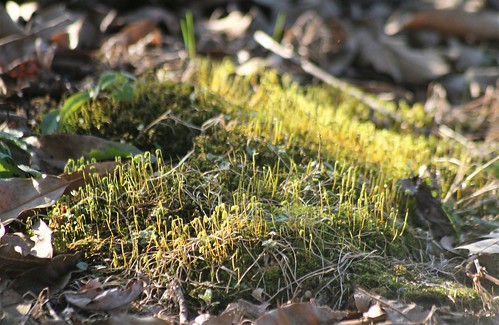
Little patches of spring moss are popping up.

spring moss

The Star Magnolia is in full bloom and still looks great after the two nights of below freezing temps we had.

Star magnolia

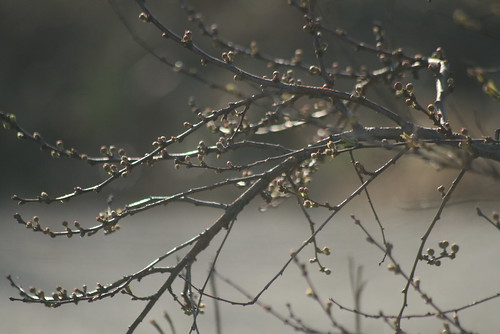
The buds on the beautiful flowering almond bush are just beginning to swell and open.

flowering almond

The deep pink ‘Jane’ magnolia is looking lovely.

magnolia 'Jane'

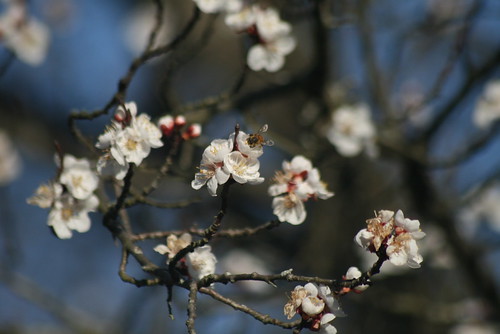
The honey bees are happy in the apricot trees.

apricots blossoms

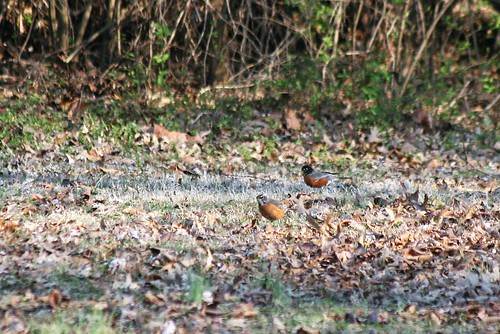
And the robins are happy in the yard.

robins

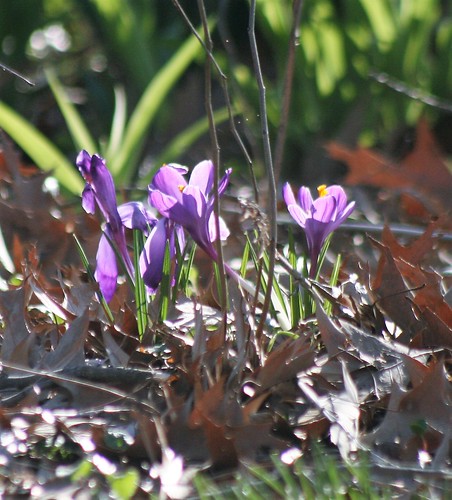
The last of the crocus are up. These larger purple ones are always the latest to bloom. They didn’t bloom till March 11 in 2015.

crocus

We were accompanied by Riley. She loves to ride in the golf cart as we tour the yard.

Riley

It was wonderful to get outside and enjoy the beautiful spring weather. Take time to savor the spring flowers. They come and go so quickly!

~~Rhonda