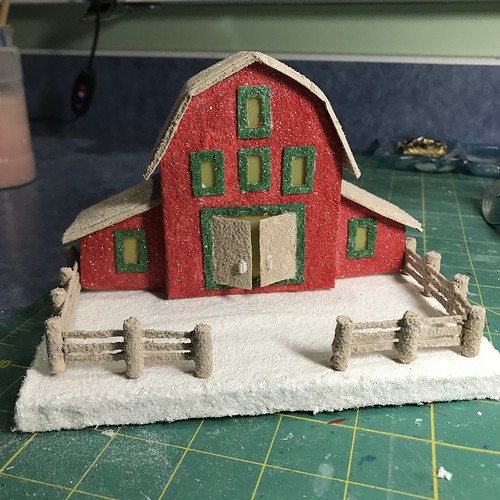
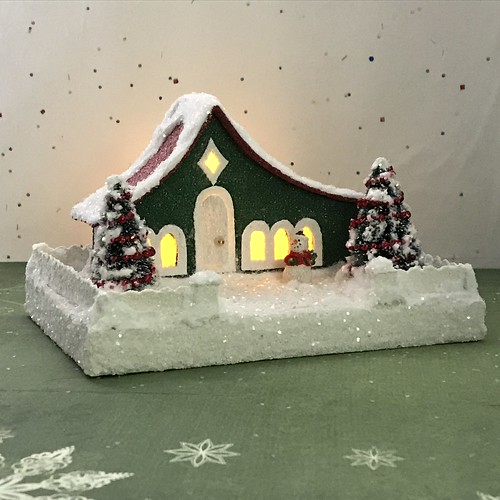
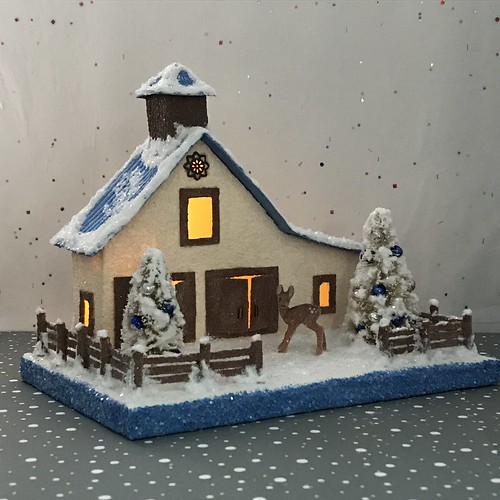
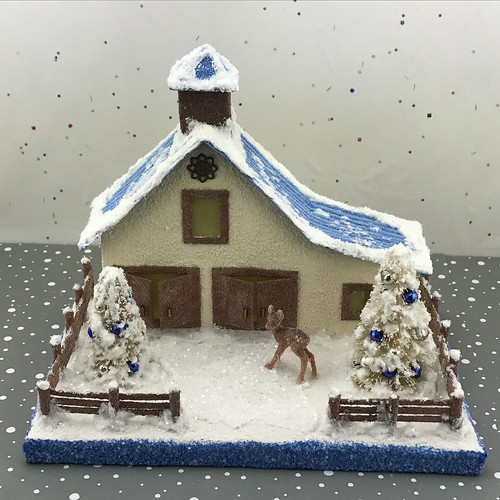
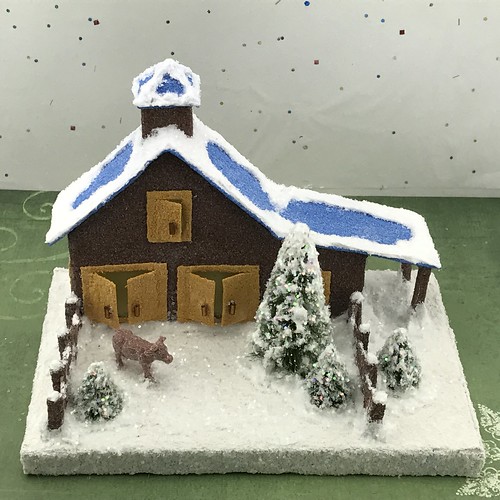
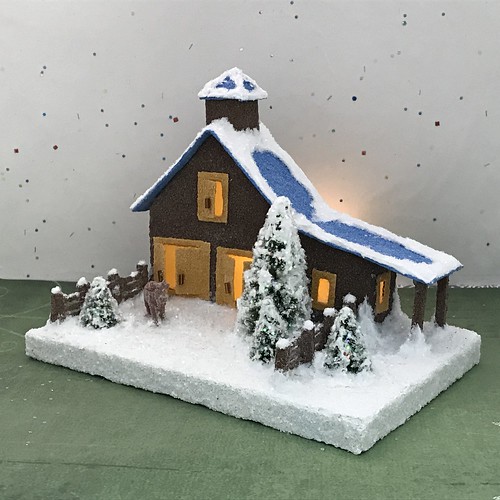
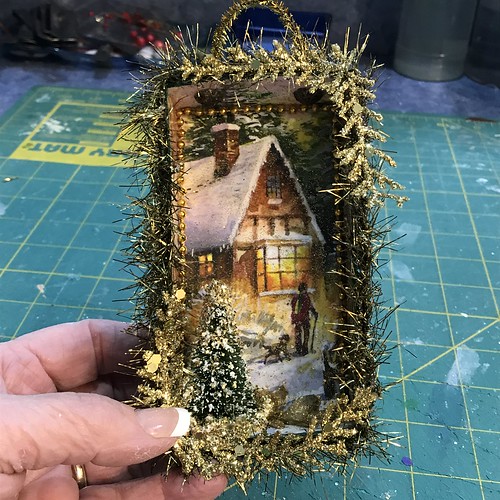
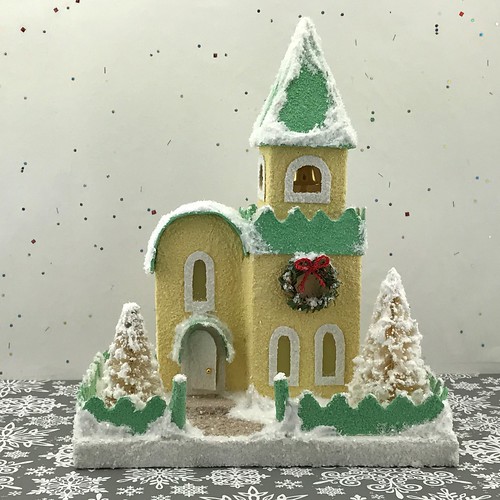
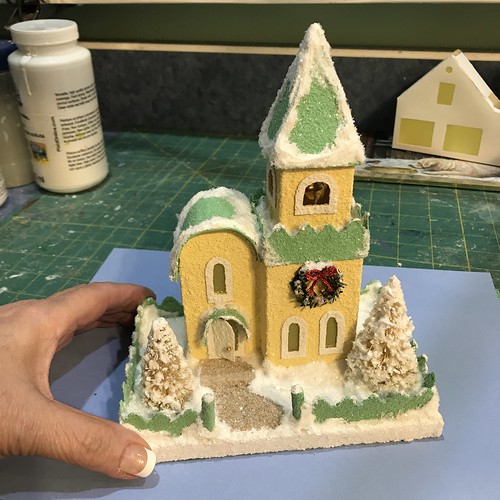
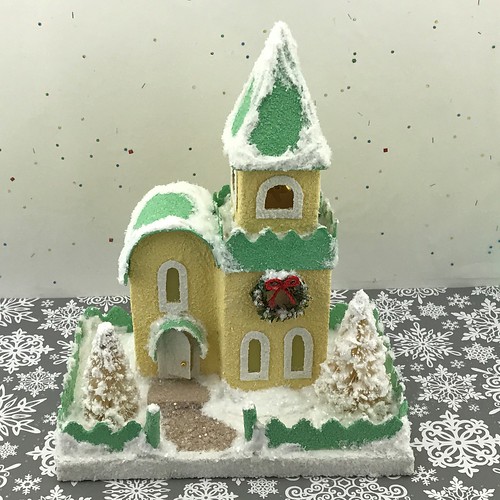
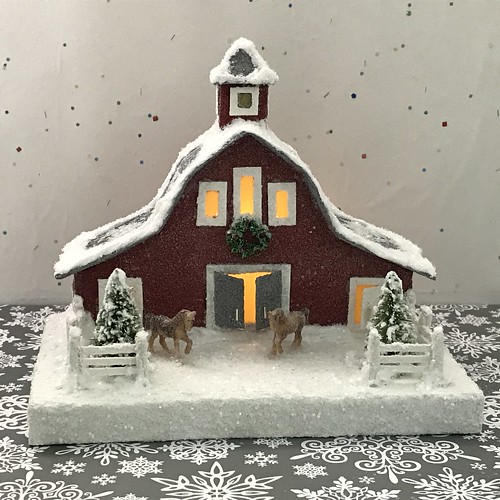
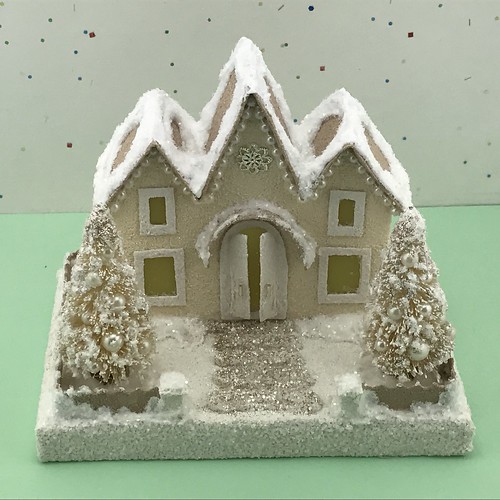
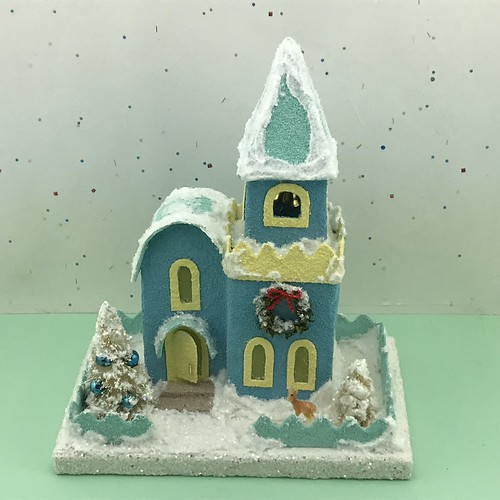
This Putz church is the second one I made from this pattern. I drew the pattern with inspiration from a photograph of a vintage Putz church. You can see the first church here: Yellow and Green Putz Church
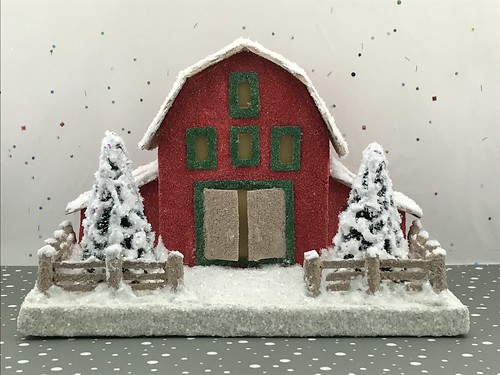
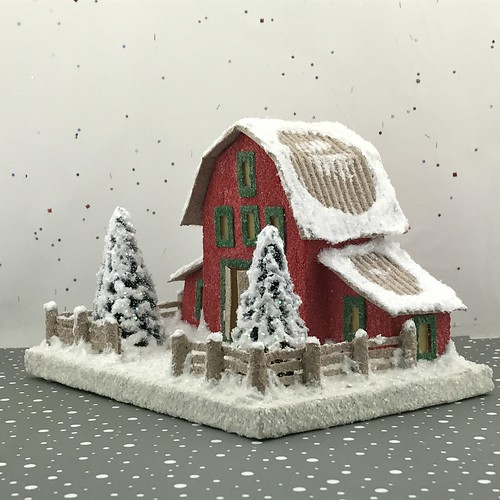
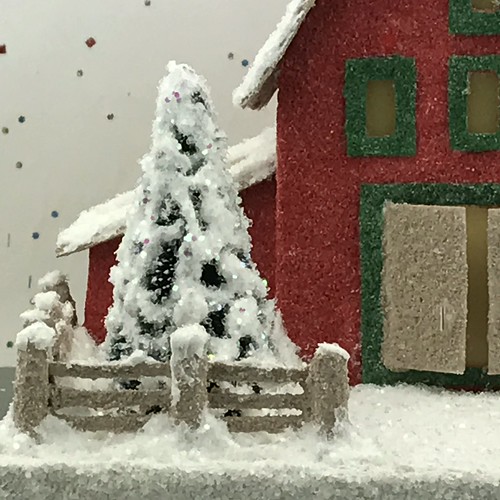
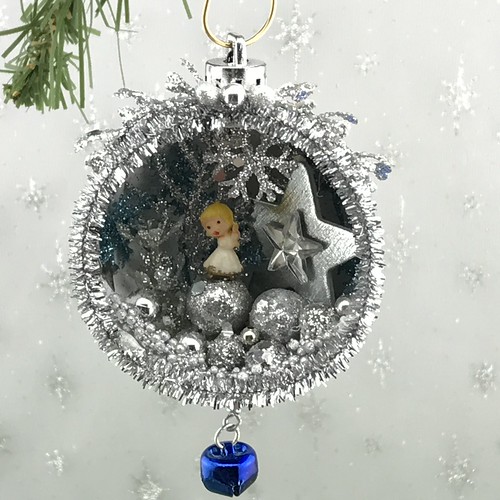
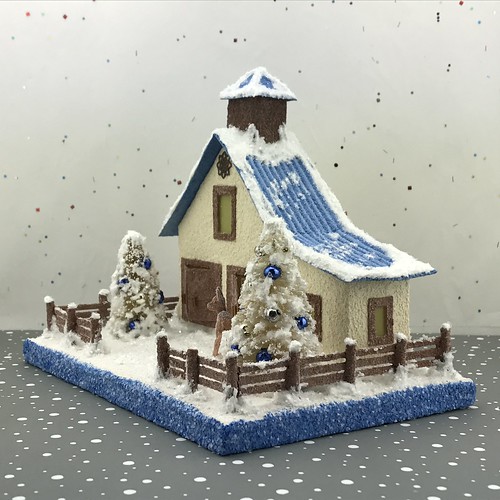
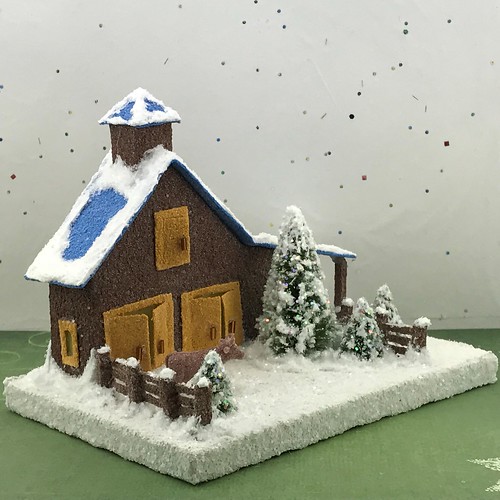
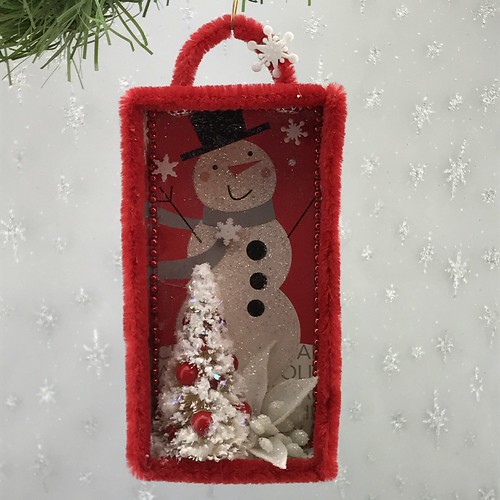
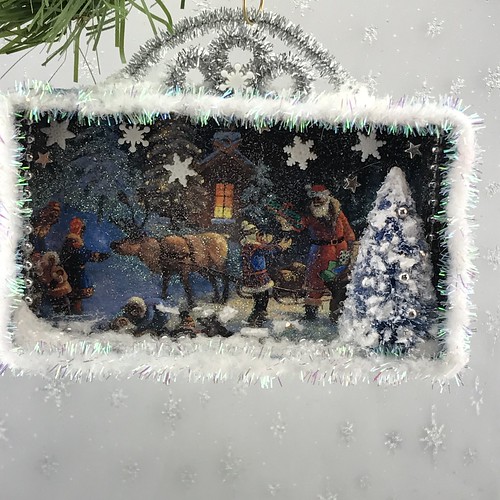
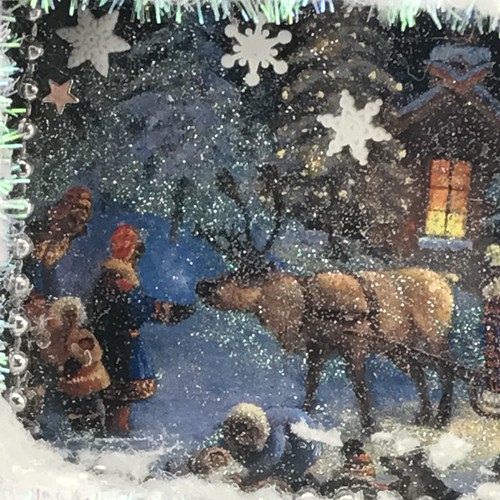
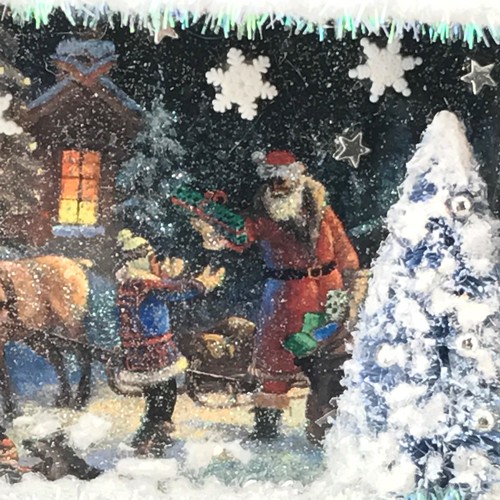
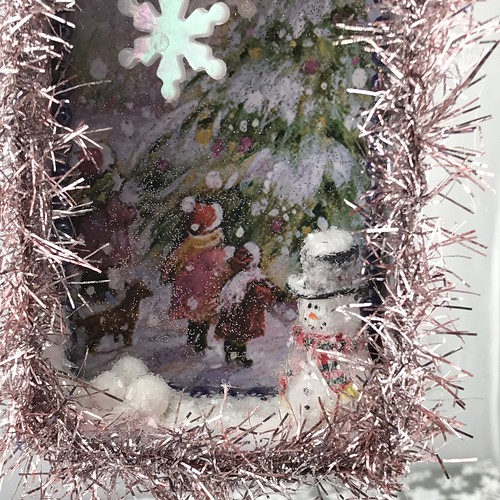
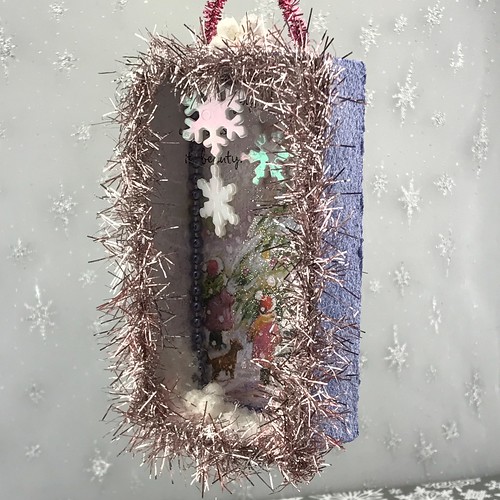
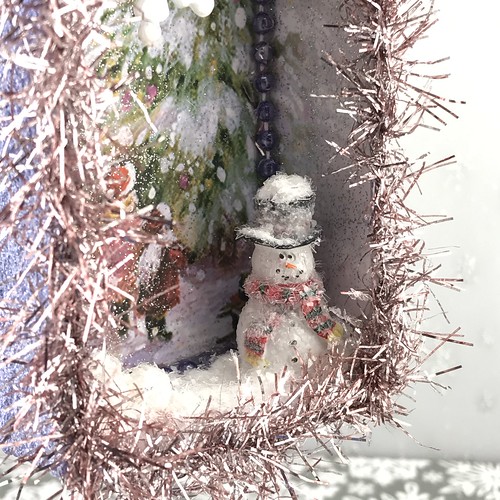
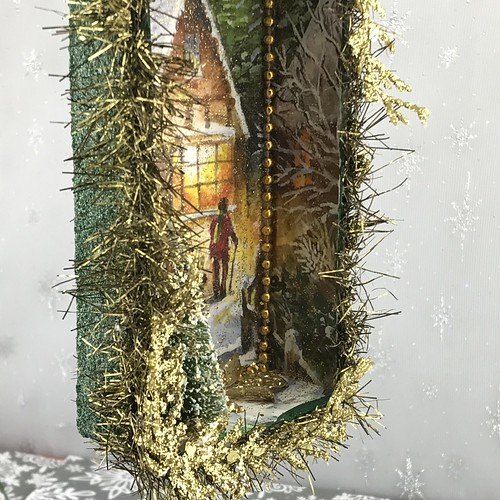
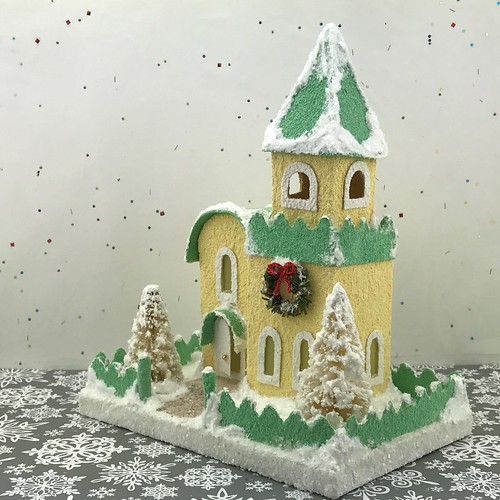
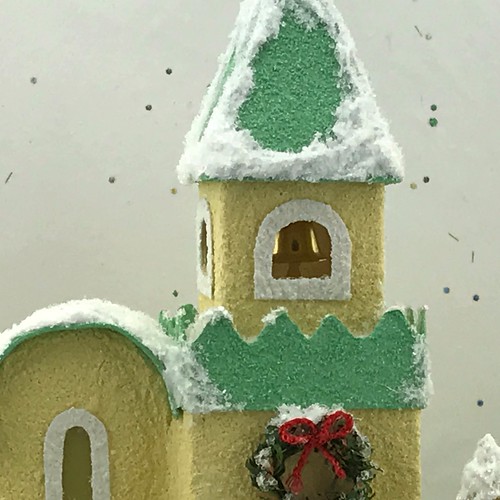
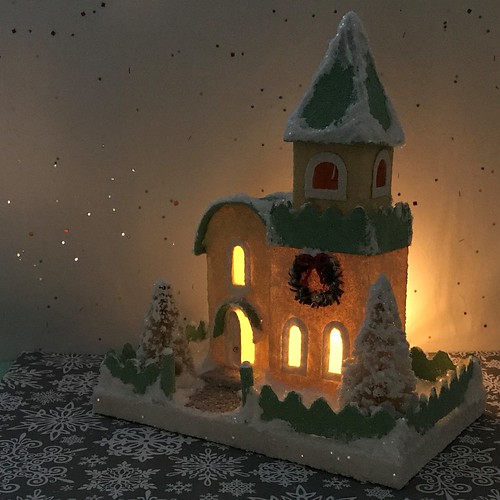
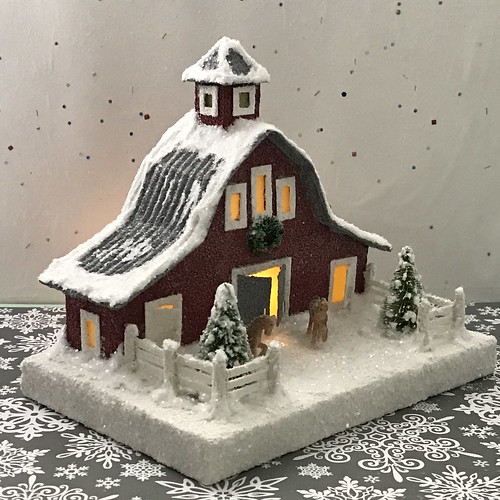
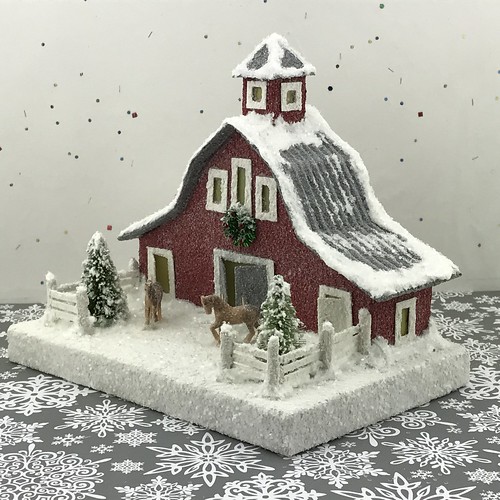
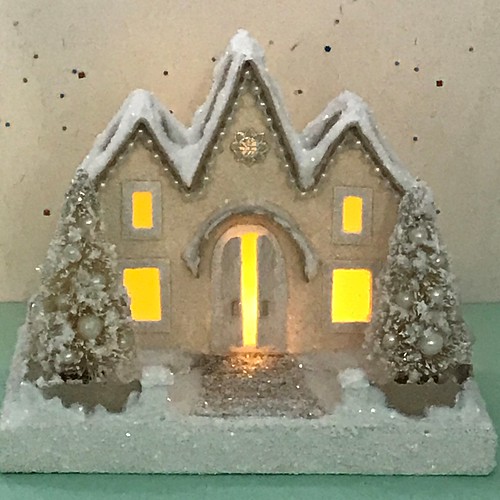
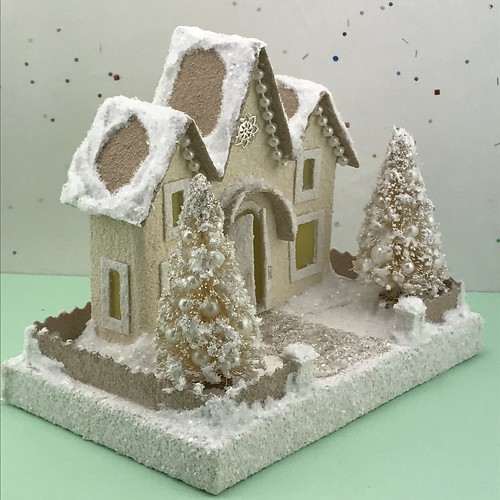
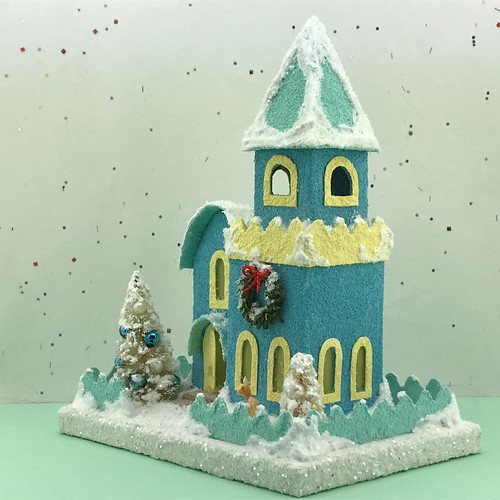
This church features a metal, free-swinging bell in the bell tower, two bottle brush trees and a miniature deer.
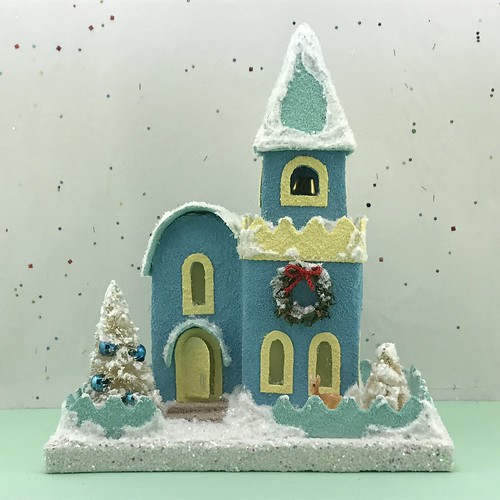
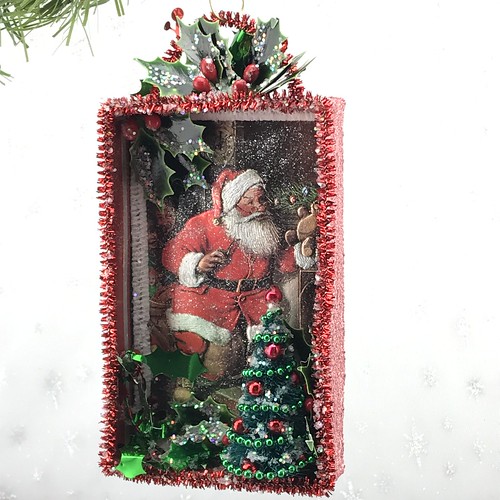
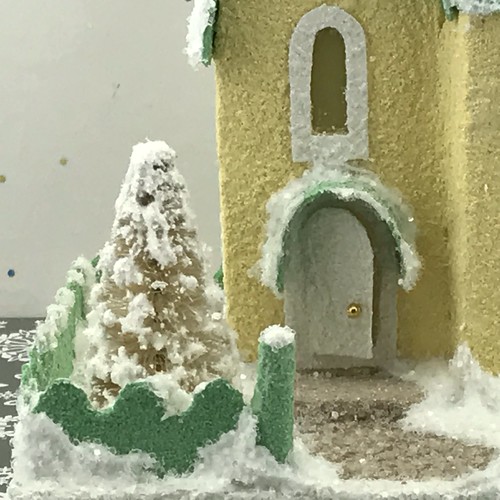
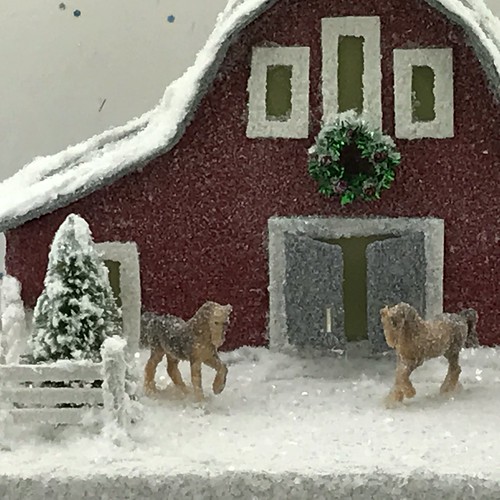
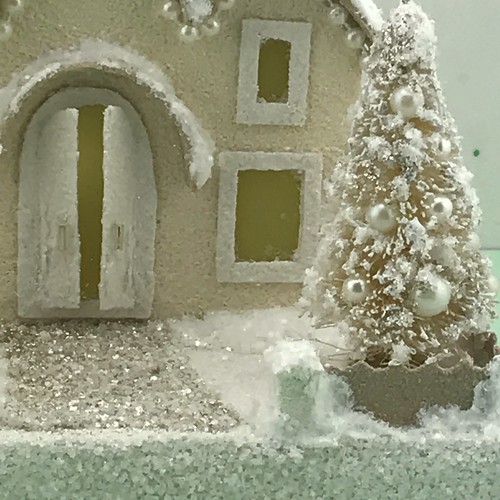
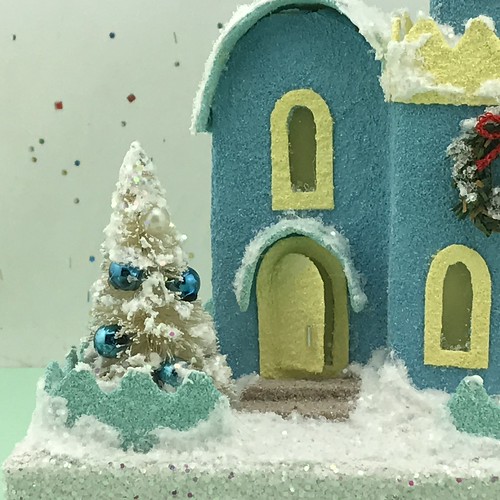
I made the wreath from a piece of wired chenille. The chenille stem is about 1/2″ wide. I trimmed it back to 1/4″. The bow is made with a piece of tiny wired cord.
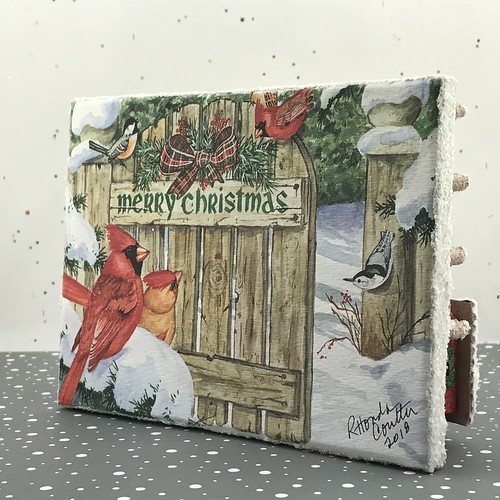
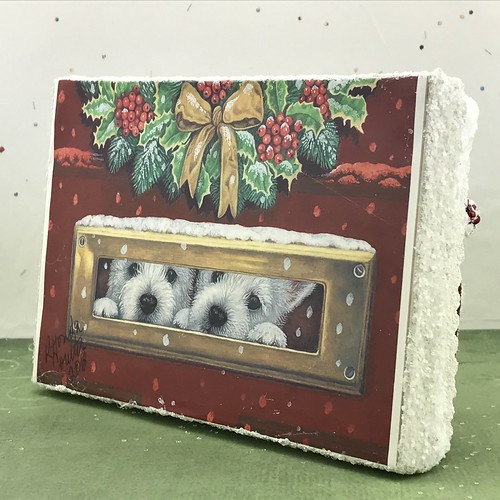
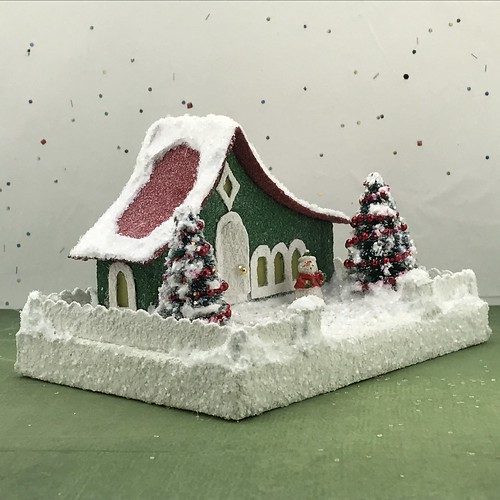
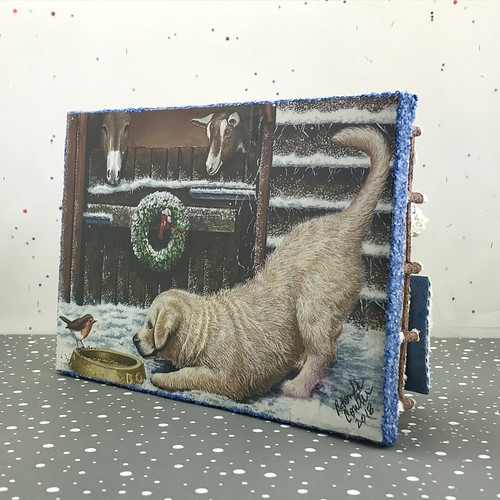
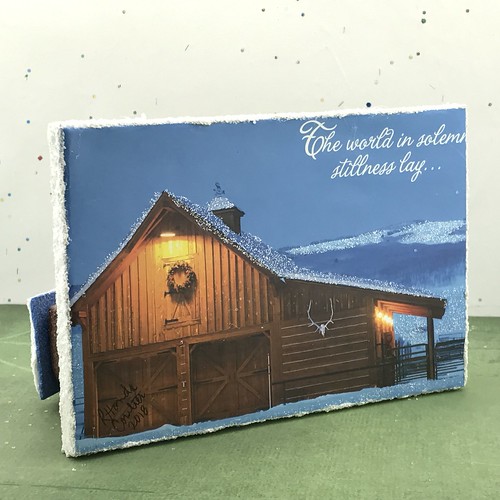
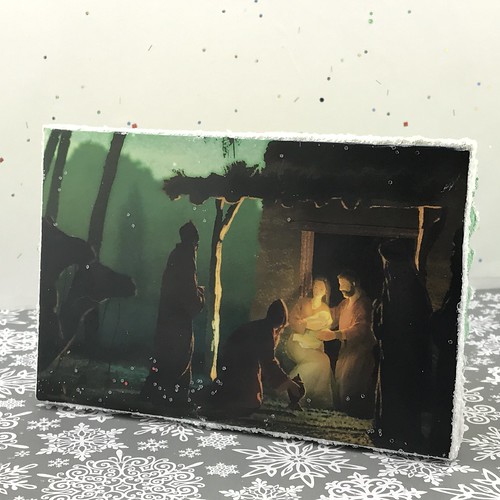
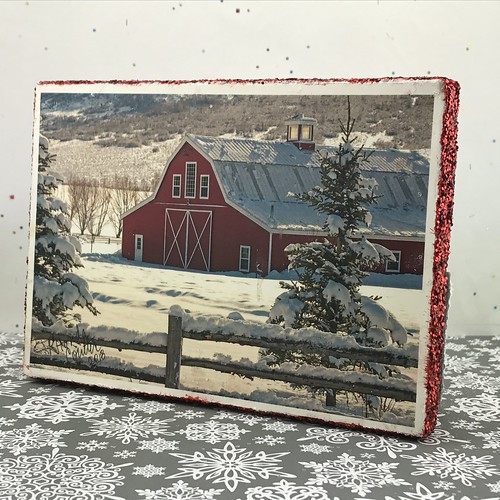
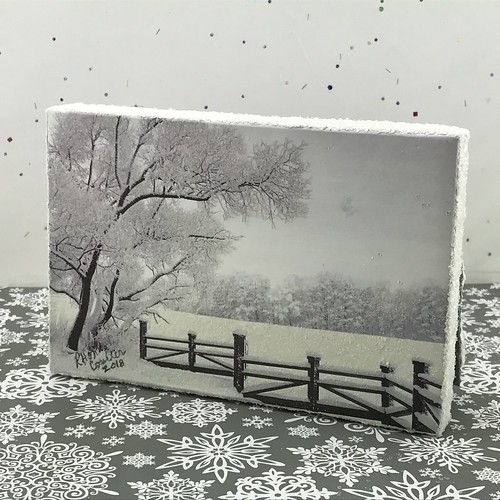
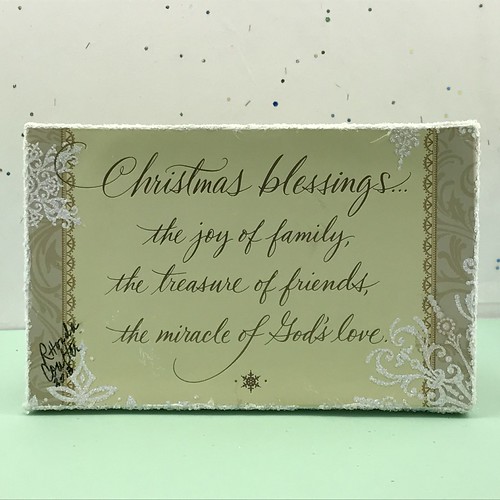
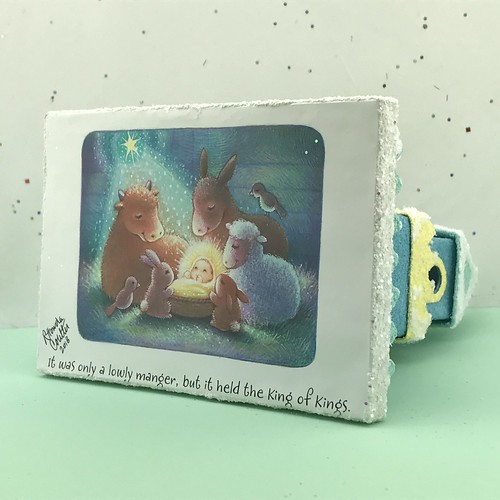
I love the color combination on this card.
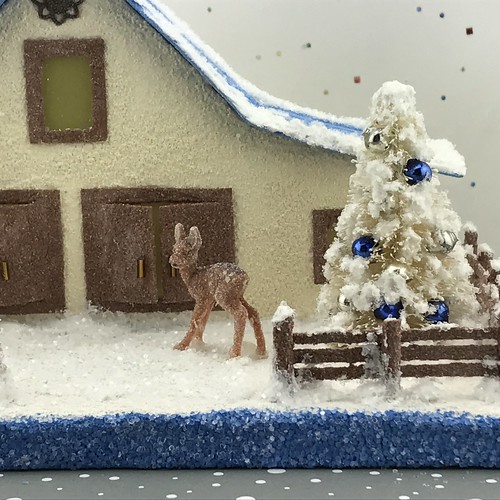
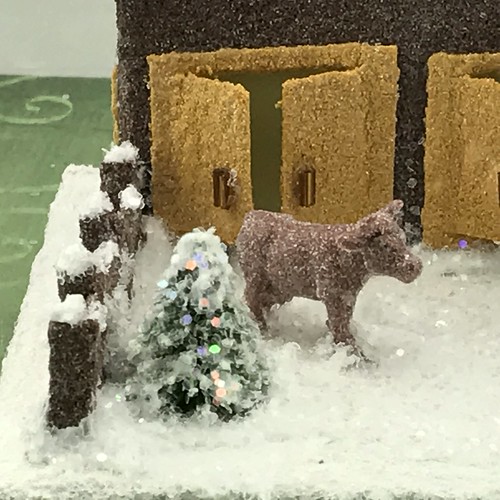
The tiny deer in the church yard is 3/4″ tall.
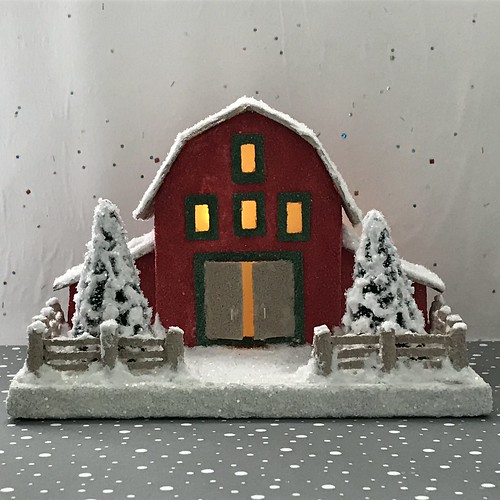
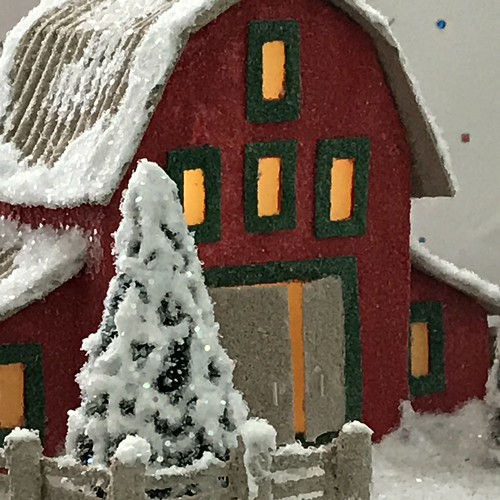
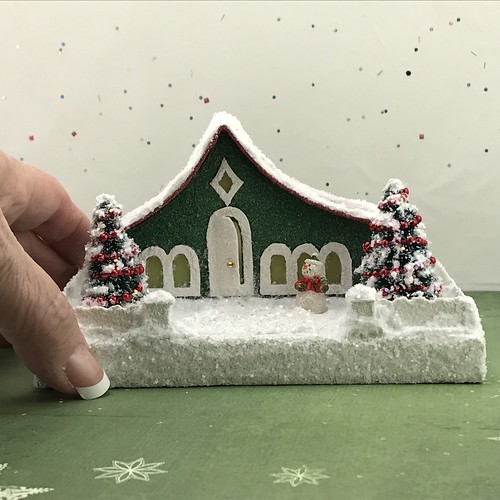
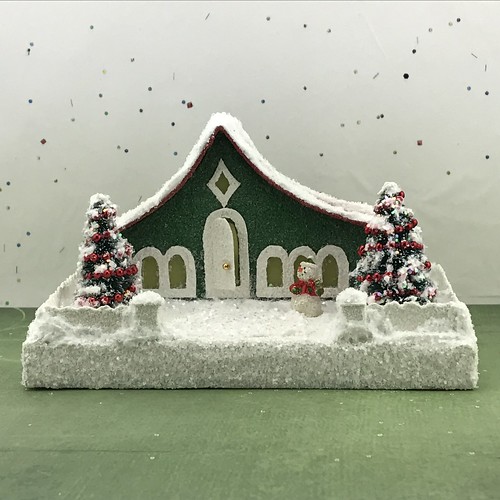
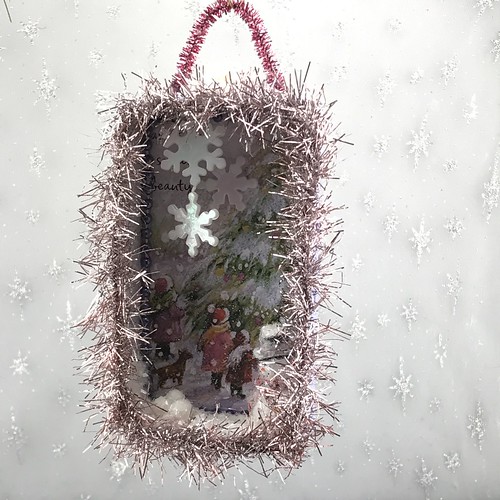
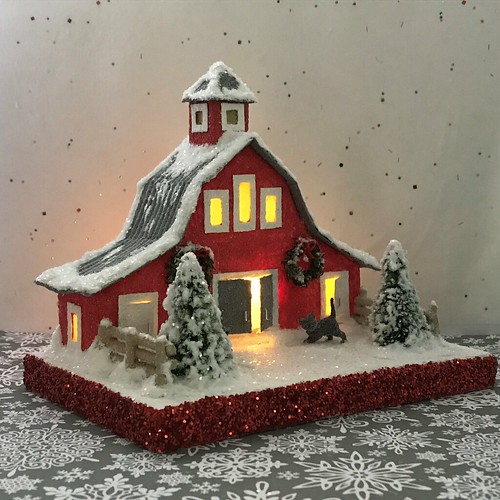
We’ll leave the lights on!
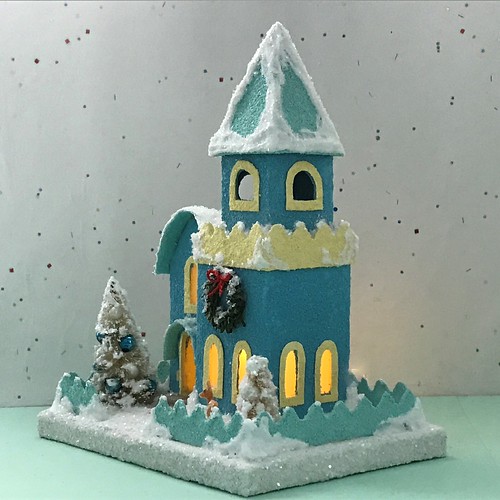
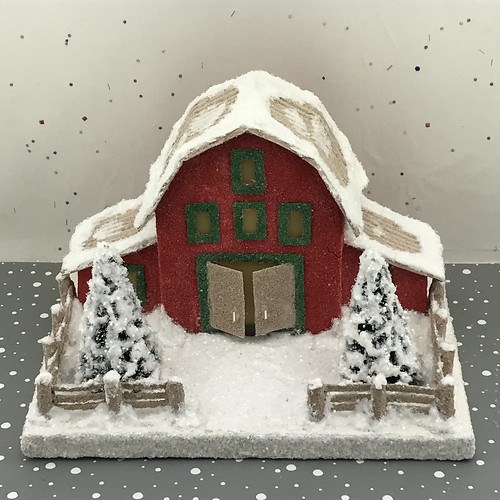
And the door open!
This Putz church has been listed in my Etsy shop. ChristmasNotebook.etsy.com
All proceeds from my Etsy shop benefit Kenya Mercy Ministries. They work with the urban poor of Nairobi, Kenya, particularly the children and their families who live in Kibera, the largest slum in Africa. Thank you for your part in helping these children when you purchase items from my shop!
If you are interested in crafting some Putz houses of your own, check out my Putz tutorials for more information. Putz house tutorials
I am always happy to answer questions about the process. Please ask, if you are wondering about the details of putzing!
~~Rhonda