I’ve used my craft room drawers for almost three years. It’s time to declutter and revise the contents to make the drawers more user friendly.
Storage space that I can reach from my desk is “prime real estate.” Items used daily are stored in prime real estate. Items used once a week or so are stored in the craft room in “secondary real estate.” These items need to be easily accessible but don’t need to be within reach of my desk.
Items needed a few times a year are stored on shelves in the basement storage room in plastic totes with tight fitting lids. These totes hold items like plastic ornaments I will use to make diorama ornaments, extra hot glue sticks, tart tins and cookie cutters for making ornaments, extra ribbons, extra punches, etc.
Looking through my list of the craft totes, I can see I need to sort through them. There are items in storage I know I will never use. If by some strange twist, I decide I do need them after I’ve gotten rid of them, I can buy a replacement. No need to keep extra “maybe” items. It’s a drain on my energy to have to keep track of and take care of those kinds of items.
All the craft room totes are labeled with the word “Craft,” a number, and a smart label. I use ToteScan. Smart labels are a great way to keep a record of what is stored. The labels are available on Amazon. The app allows you to record photos and to write a description of the items in the tote. All the information is available on your phone when you scan the smart label on the tote. There are other smart label apps available. I started with ToteScan, so that’s the one I continue to use.
NOTE 1: I use a general subject name such as “Craft” and a number for the name of each tote. When I want a particular tote, I can find it by that title rather than the smart label designation. The label designation is a five digit combo of letters and numbers. They are not in numerical or alphabetical order. Looking for U7CJT or 9FK9U isn’t going to get fast results when multiple totes have to be searched. Craft 1, Craft 2, etc., makes the totes easy to find. And labeling all the totes with a unifying word keeps each kind of storage totes together.
It’s easy to see what is in each individual tote. Just scan the smart label. The list on the app can also be searched for any item you want to find. That tells you which tote to look in.
NOTE 2: Other tote titles I use are CH for Christmas, Sewing, and MEM for memorabilia. When we moved from our previous home, I found so many papers and pictures that I needed to sort, but didn’t want to stop my declutter of the old house to sort paperwork. I packed those items in totes marked MEM 01, MEM 02, etc.
I am slowly making my way through sorting all the papers / photos. As I go through the totes, I toss the trash, then sort the remaining items into piles for our five children, my siblings, my husband, and a pile for myself. The piles go into file folders and the next time I see those people, I give them their folders.
Back to cleaning out drawers…
The first drawer I worked on is the top drawer to the left of my desk. Trust me, this drawer was packed with all sorts of items. I neglected to take a before photo, but here is the after photo.
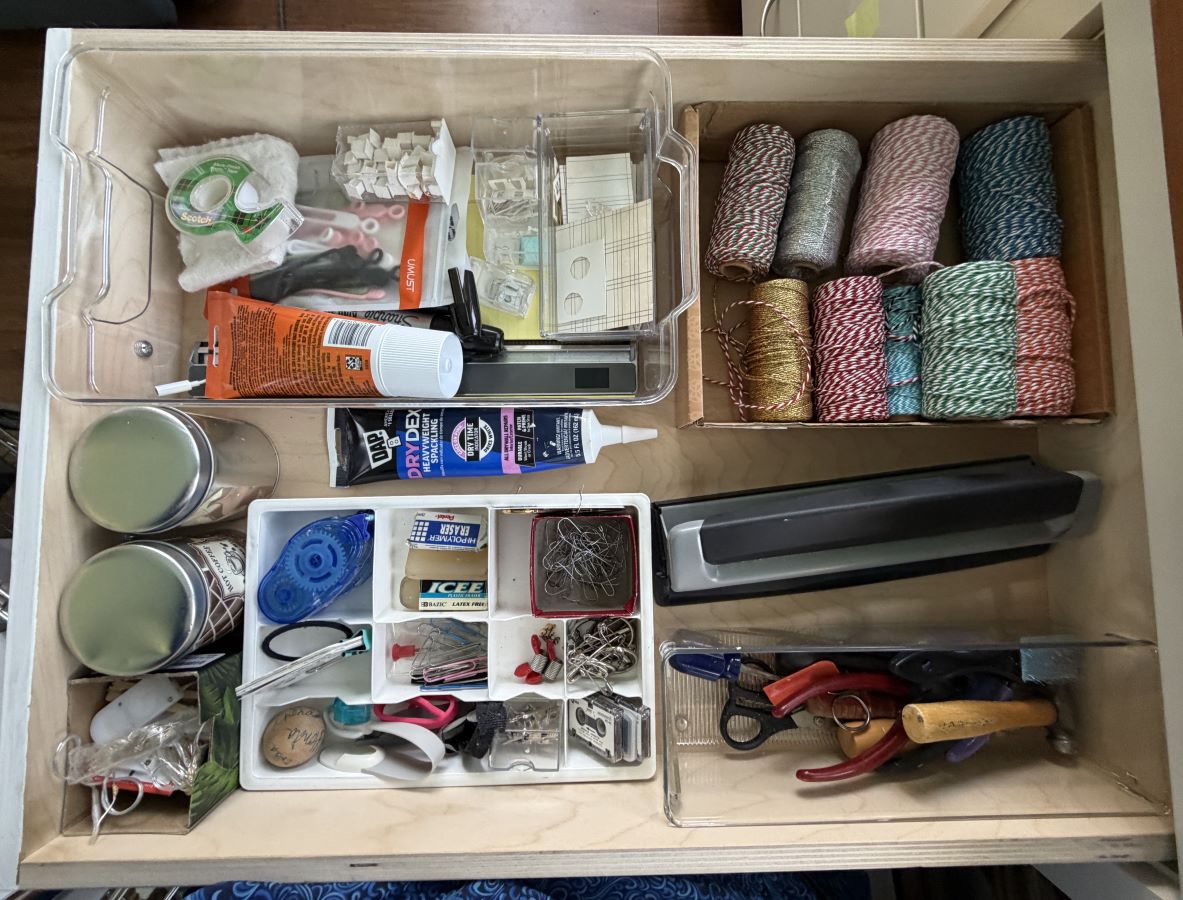
The top left container has tape, cable ties, spackle and precut window frames, etc., for putz houses.
The two round tins hold rubber bands. The container in the bottom left corner holds LED light strings that are used when photographing putz for my Etsy shop. I do the photography on my desk, so the light strings are close at hand when I need them.
The white divider has tape runners, erasers, ornament hooks, inventory tags, paper clips, safety pins, etc. Small items I like to have on hand.
Looking at the picture, I realize the baker’s twine should be stored elsewhere. I don’t use it every day. I use it to tie the plastic bags in which I store putz houses. When tied, they go to inventory. Inventory is stored in cabinets in the basement. I also use twine when packing items from my shop for shipping to customers. I can store the twine in my ribbon drawer. Alternately, I could keep two spools in this drawer and keep the others elsewhere. If I do that, I will keep the red/green spool which I use a lot and the color for the season I am currently working on. Spring is pink, autumn is orange, etc.
I could store things like cable ties and rubber bands elsewhere. I don’t use them often enough to keep them so close to hand. Because I have room for them, I will probably keep them here.
NOTE: When decluttering, do look at the contents of your drawers and critique everything. Do you really need it? How often do you need it? Is there somewhere else you can keep it where it is conveniently at hand but not taking up prime real estate?
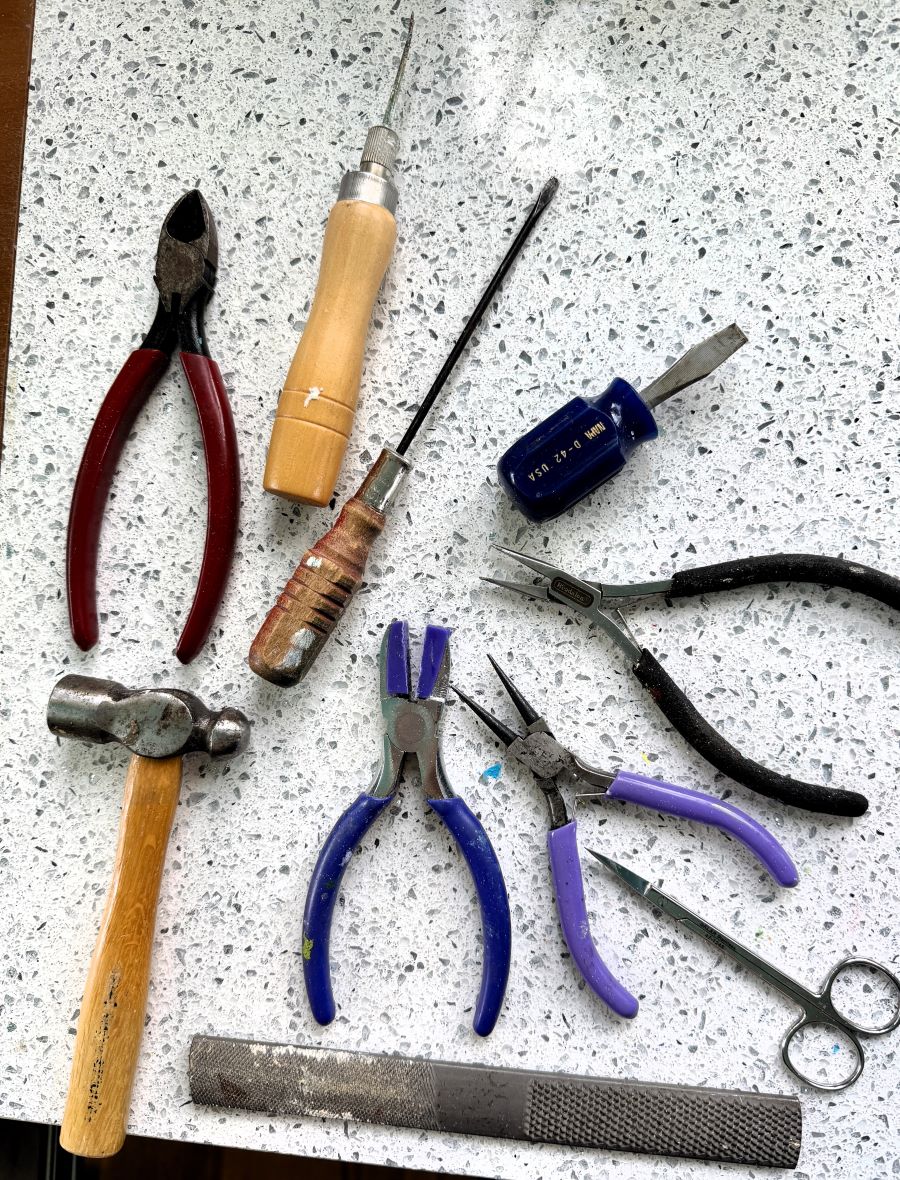
The item just below the twine is a paper punch. Under the punch are tools I want at hand. I use these often, but not every day.
Tool-go-round
My daily tools are in a tool-go-round within arm’s reach. It sits on my desk to the left.
My tool-go-round is a Pampered Chef item, called a “turn about.” It holds a lot of items, but doesn’t take up a lot of counter space. It is 9″ wide and 8″ tall. I don’t think they are currently sold by Pampered Chef. If you search Amazon for something similar, check the size. Most similar items are smaller and don’t have three tiers. Today, I found one Pampered Chef Turn About on Etsy, but Ebay had several. Most run about $35. Check shipping. That varies enough to make it worth comparing.
I use the tool-go-round every time I craft. It holds craft knives, scissors, pens/pencils, markers, small rulers, bone folder, paintbrushes, nail files, etc. These are all indispensible items that I use on a daily basis. I have larger paintbrushes that I don’t use often, and they are stored in the paint drawer with my paint bottles.
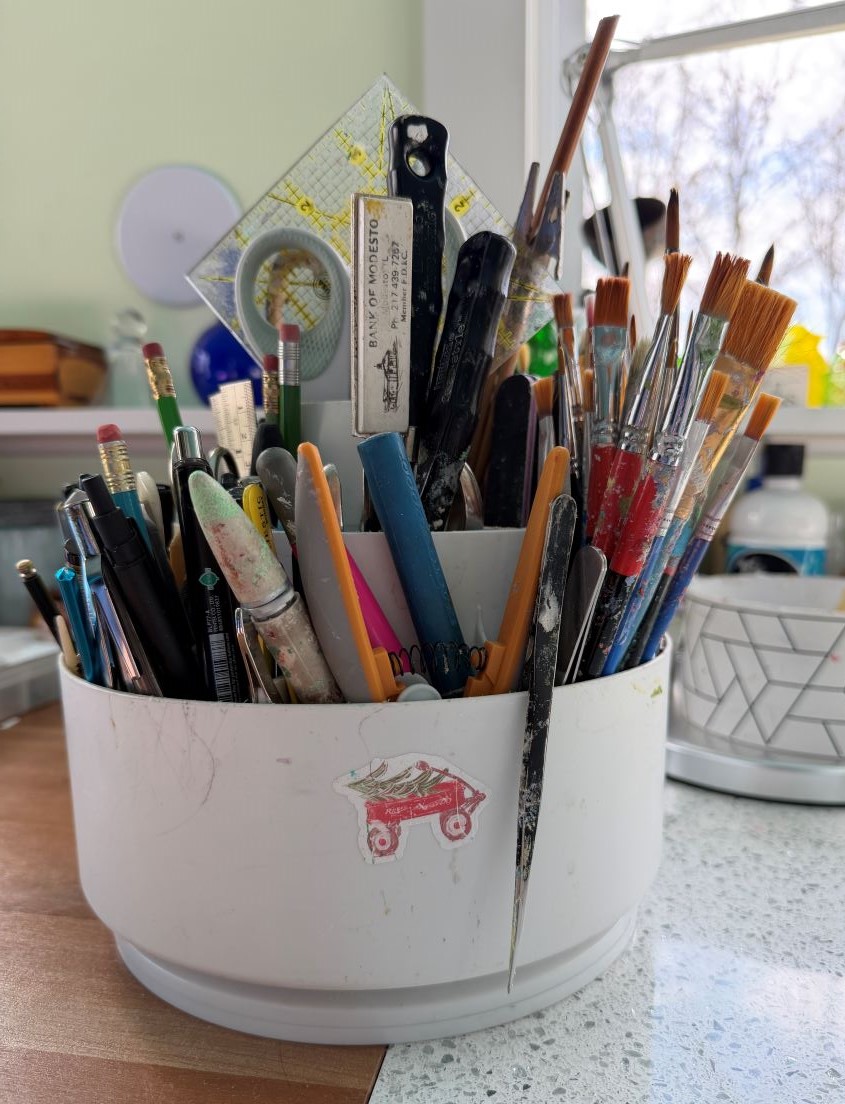
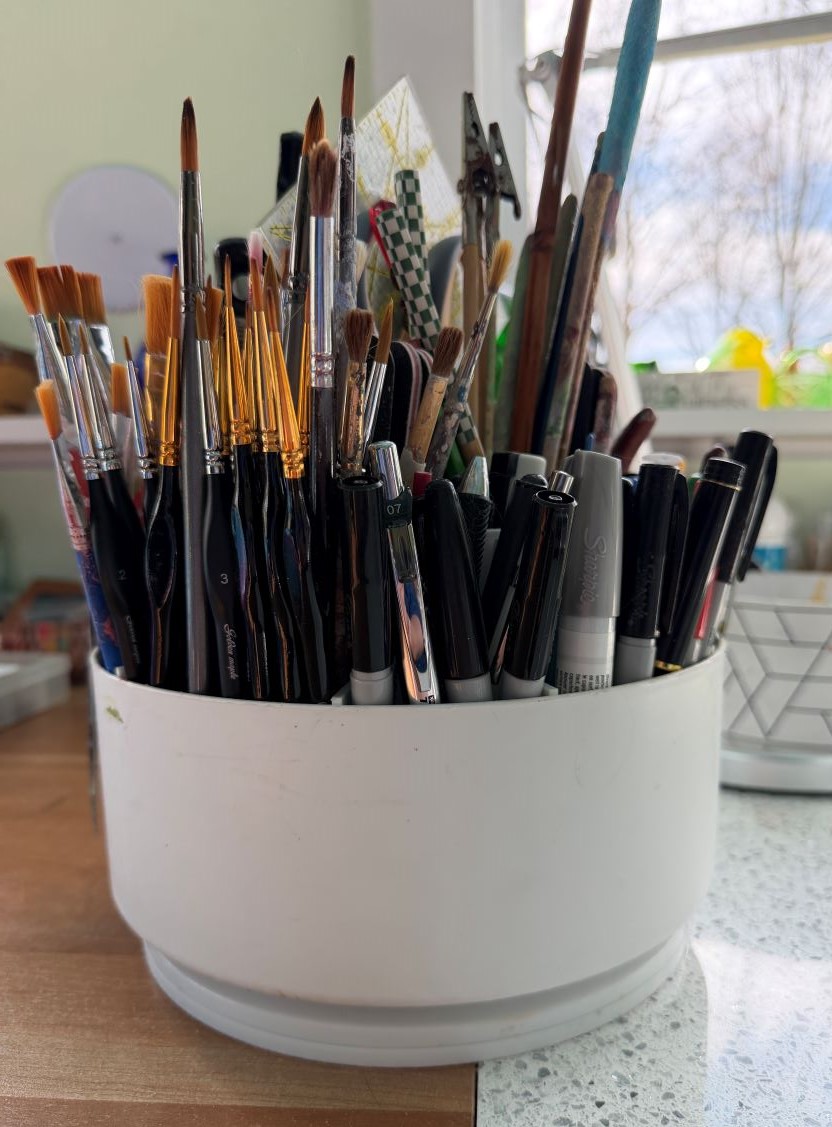
I marked with a sticker the section I usually go to first. This part holds my craft knives, detail scissors, and my favorite pair of tweezers. The tier behind that section holds palette knives, a letter opener that belonged to my grandparents (a useful tool!), and a 1/4″ hole punch. To the right are the brushes I use most often. The first section are 1/2″ and 1/4″ flat brushes. The next section holds detail brushes. Then markers and pens.
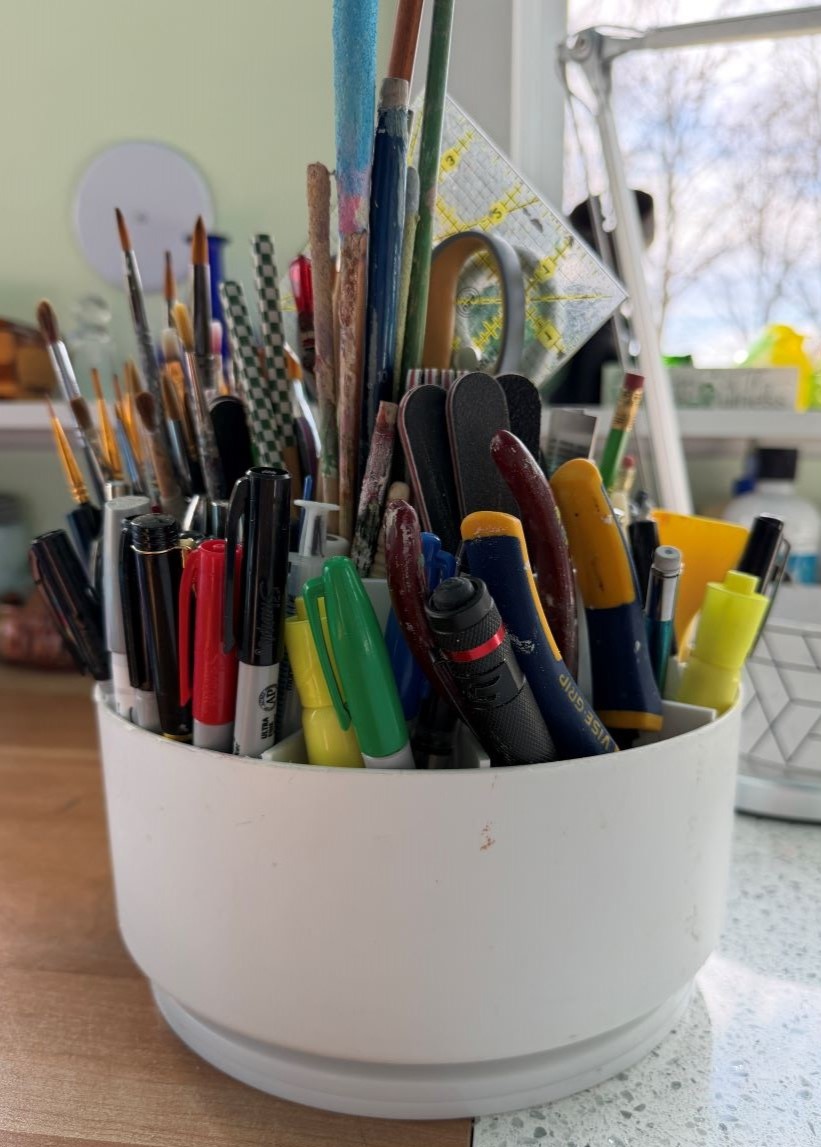
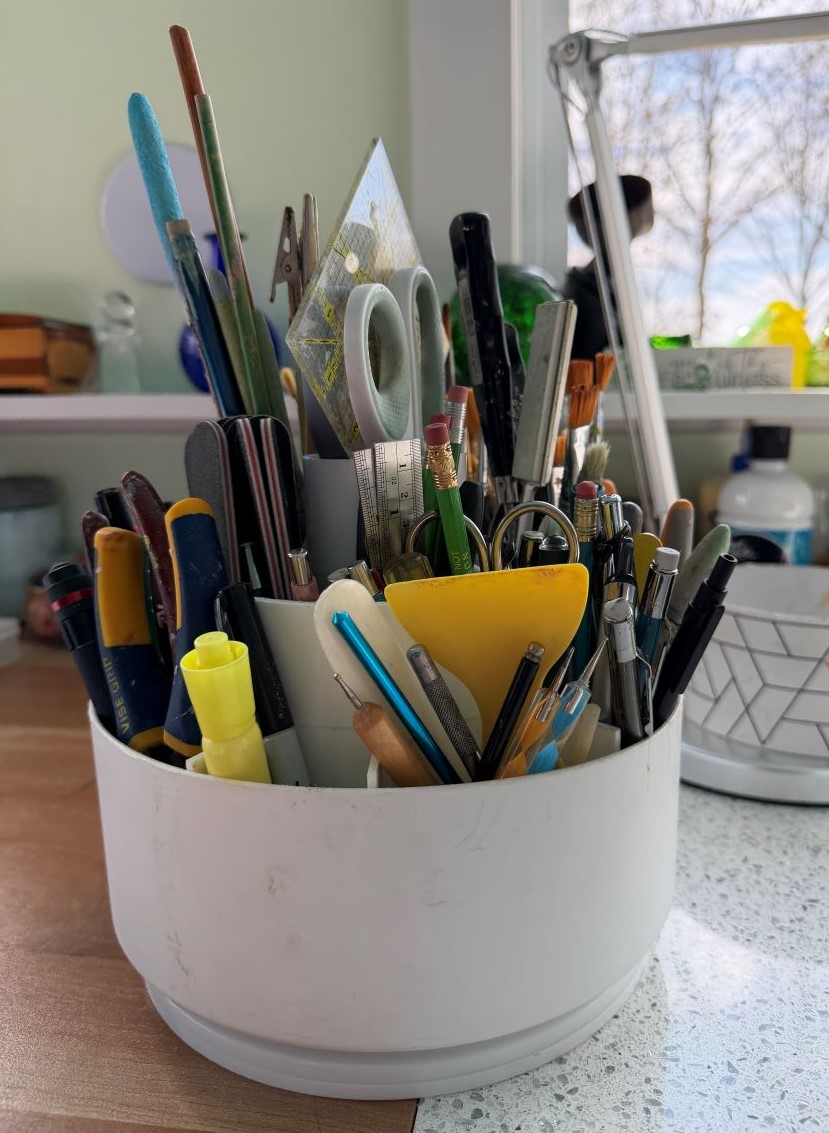
The markers and pens take up a couple of sections on the first tier. To the right are the wire cutters I use most often and a small flashlight. I often use it to check how clean the windows look, by shining it through the hole in the back of the putz as I am working on it. In the next tier up, are the nail files I use as sandpaper. The nail files are just the right size for sanding putz houses.
My highlighter comes next, then the section for small tools. Bonefolder, scoring tools, a scraper (used most often to remove hot glue from the desktop), and my favorite 7″ ruler (not pictured). In the top tier, I keep two pair of large scissors. I store a 4″ square, acrylic ruler between the scissors.
I love the drawers in my craft room cabinets. They extend all the way out. The counter is 32” deep and the drawers are 26” deep. If you ever have a choice, choose drawers that pull all the way out. They make access to every item in the drawer a breeze.
When I open the top drawer, I get good feelings. Everything I need has a home and all the things I didn’t need from that drawer are given away, pitched, or have a new home in a better place for those items.
The second drawer
The second drawer I decluttered is the second drawer down on the left side of my desk. The after is so much better than the before.
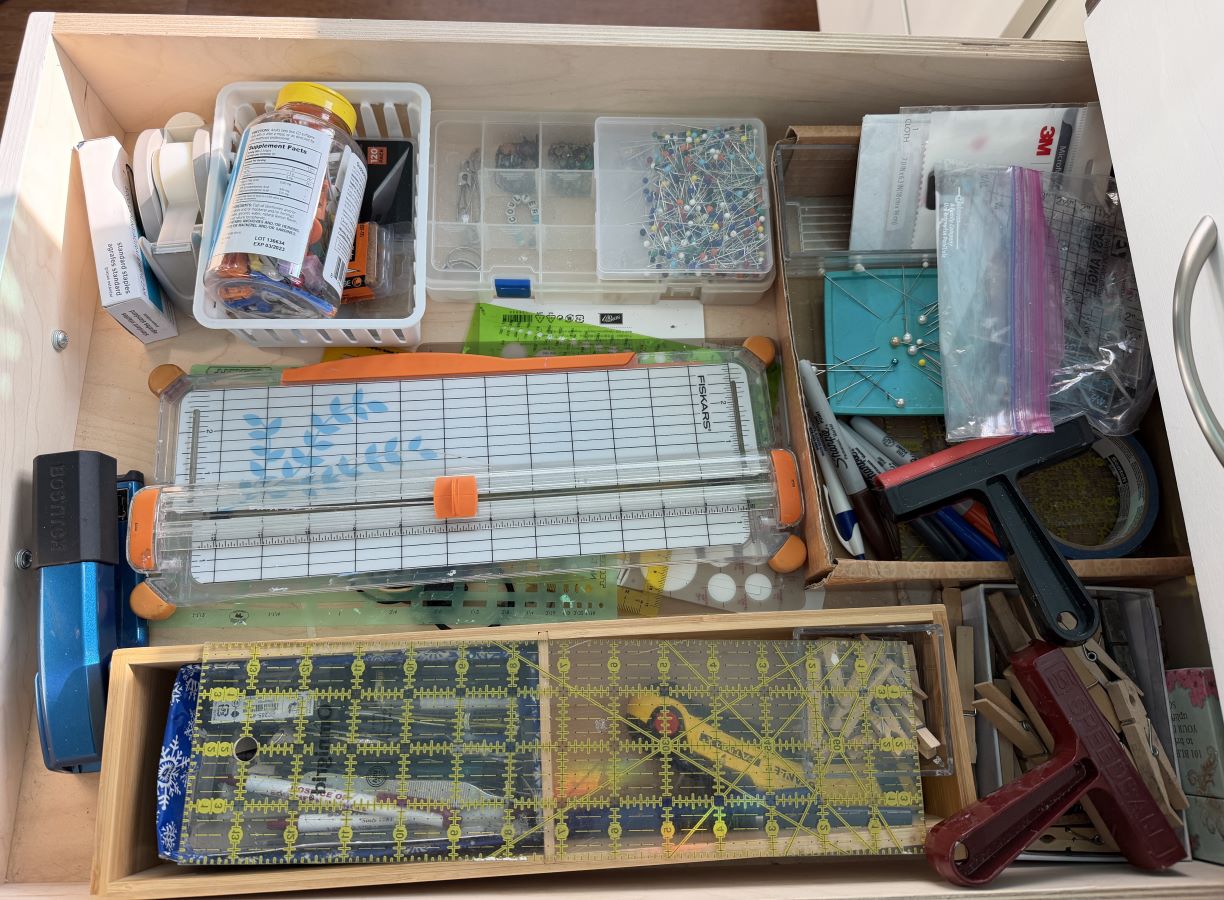
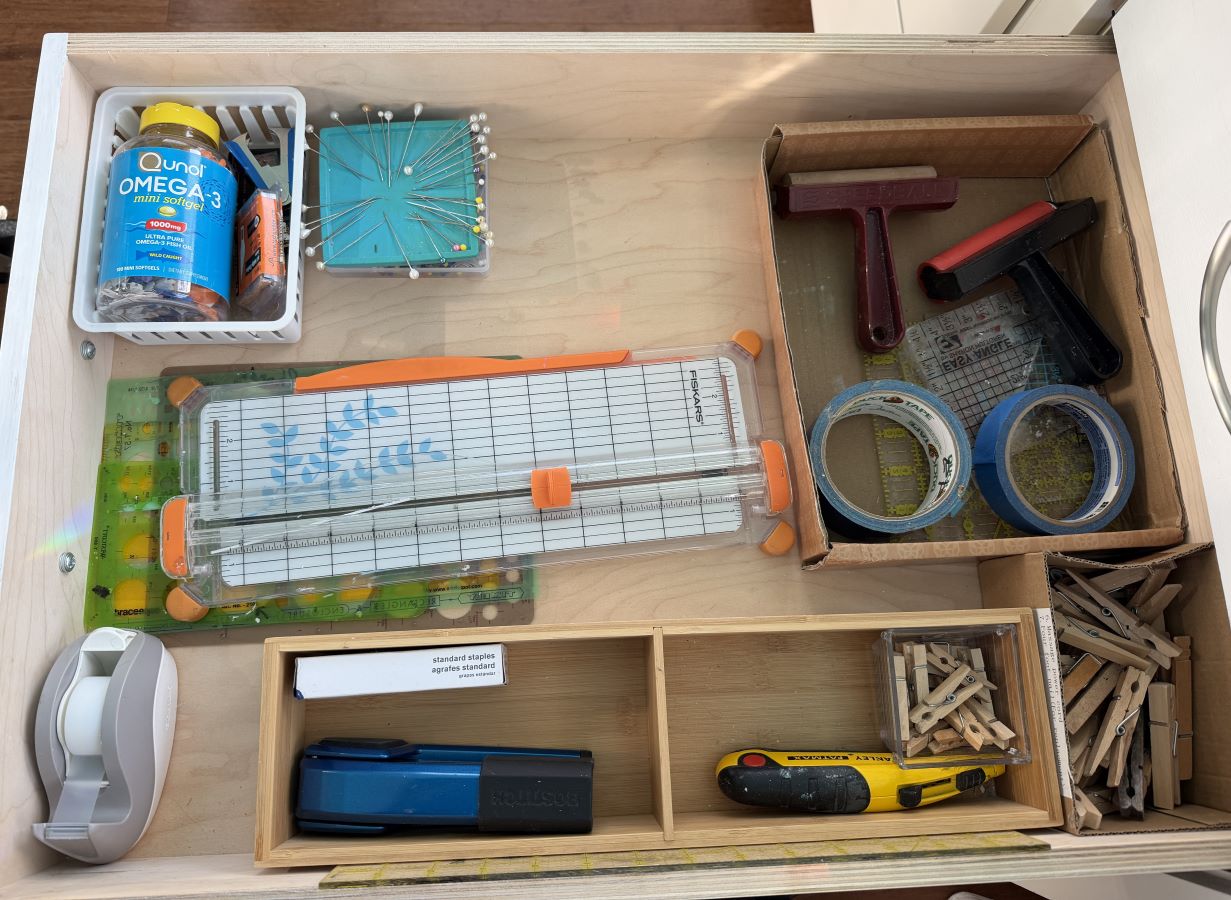
In the after photo, the top left item is a container with my “sharps” bottle. I use a fish-oil tablets bottle to contain used craft blades, staples pulled from papers, bits of wire leftover from crafting, etc. Also in this small container are the craft knife blades. I keep a staple puller in this container because I put used staples in the sharps bottle.
Next to the sharps bottle is a magnetic straight pin holder. Very handy. Below those items are templates for drawing circles and rectangles. I use them when drafting new patterns. On top the templates is my 12″ paper cutter. Below those items is a tape dispenser. The upper right corner has a container for two brayers and a roll of painter’s tape and a roll of duct tape.
The bottom box has a stapler and a box of staples and a utility knife. Small clothes pins are also contained there. To the right is a box of larger clothes pins. They make great clamps when gluing paper. There was room to slide the long acrylic ruler along the side of the drawer. Accessible, but not in the way of anything else I want to use.
Items I chose to move from this drawer were either trashed, donated, or moved to a more appropriate storage space.
I’ll close here. I covered a lot, though I planned to only talk about the drawers!
Putz information
If you have any questions about my posted putz houses, or about creating your own putz houses, please ask. I am happy to share what I have learned about the art of putzing.
To see more of my putz houses, as well as Christmas ornaments I have made from upcycled holiday cards, please visit my Etsy shop.
All proceeds from my Etsy shop benefit Kenya Mercy Ministries. KMM works with the urban poor of Nairobi, Kenya, particularly the children and their families who live in Kibera, the largest urban slum in Africa. Thank you for your part in helping these children when you purchase items from my shop!
Want to try making your own putz houses? Check out my putz tutorials for more information. My blog can be searched, as well. Some of the turorials haven’t been listed on the tutorial page.
Tutorials / Putz and Glitter Houses
~~Rhonda 🙂