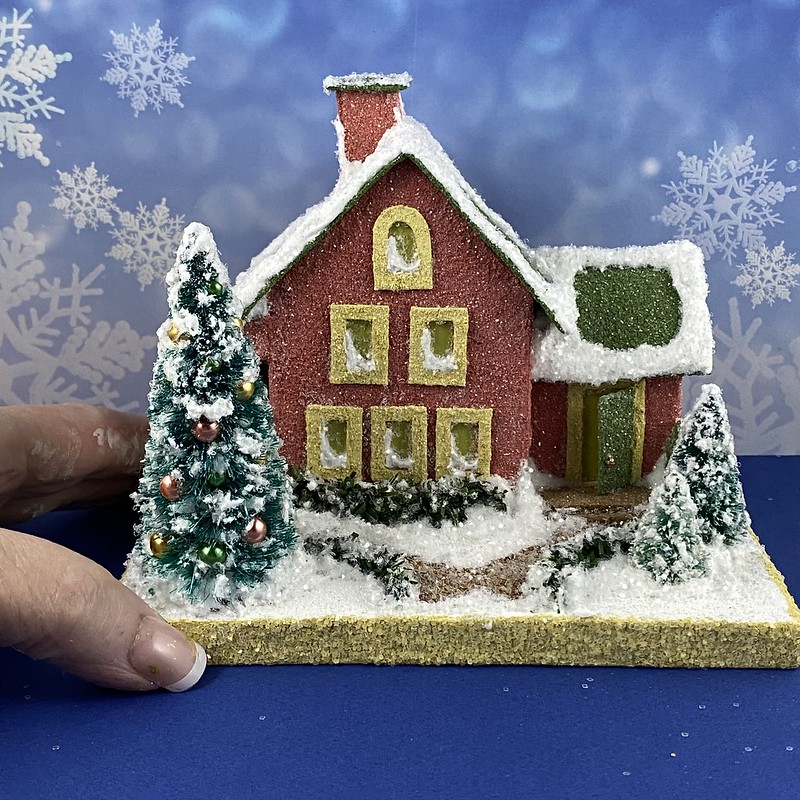
Adding an evergreen hedge to a Putz house adds extra color and a change of pace from a fence cut from poster board. A hedge can be put around the yard, against a building or along a sidewalk.
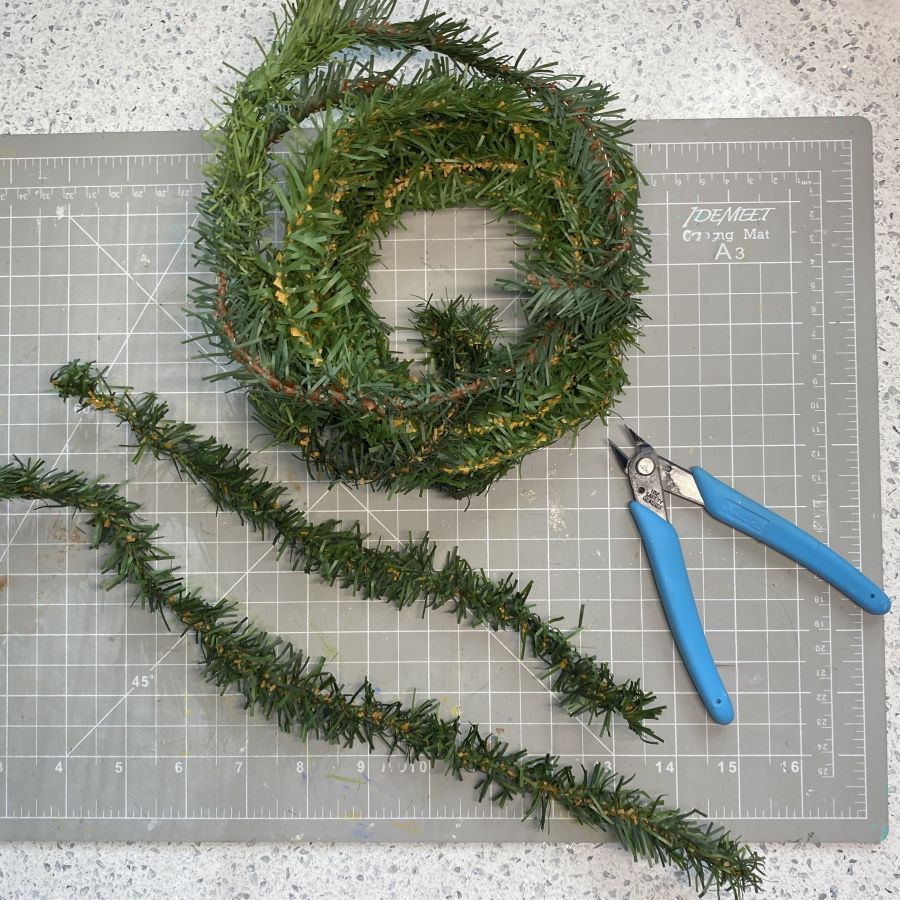
My personal preference is the evergreen that has some brown in it. Completely green is fine, too. I use this kind of roping for making tiny garlands, roping and wreaths, as well as hedges. Making wreaths and garlands for putz houses
To make a hedge, these supplies are needed.
- Evergreen pipe cleaners / chenille stems or roping. Anywhere from a 1/2″ to an inch wide. Search “evergreen chenille stems pipe cleaners” on Etsy.com or on the internet in general. Be sure to check the cost of shipping. The ones currently available on Amazon are much more expensive than the ones I found on Etsy (June 2024). Amazon prices may be better during the fall/winter holiday season.
- Large scissors for the first trimming of the evergreen stems
- Fiskars 6″ scissors or other small scissors for fine-trimming stems. Optional
- Wire cutters
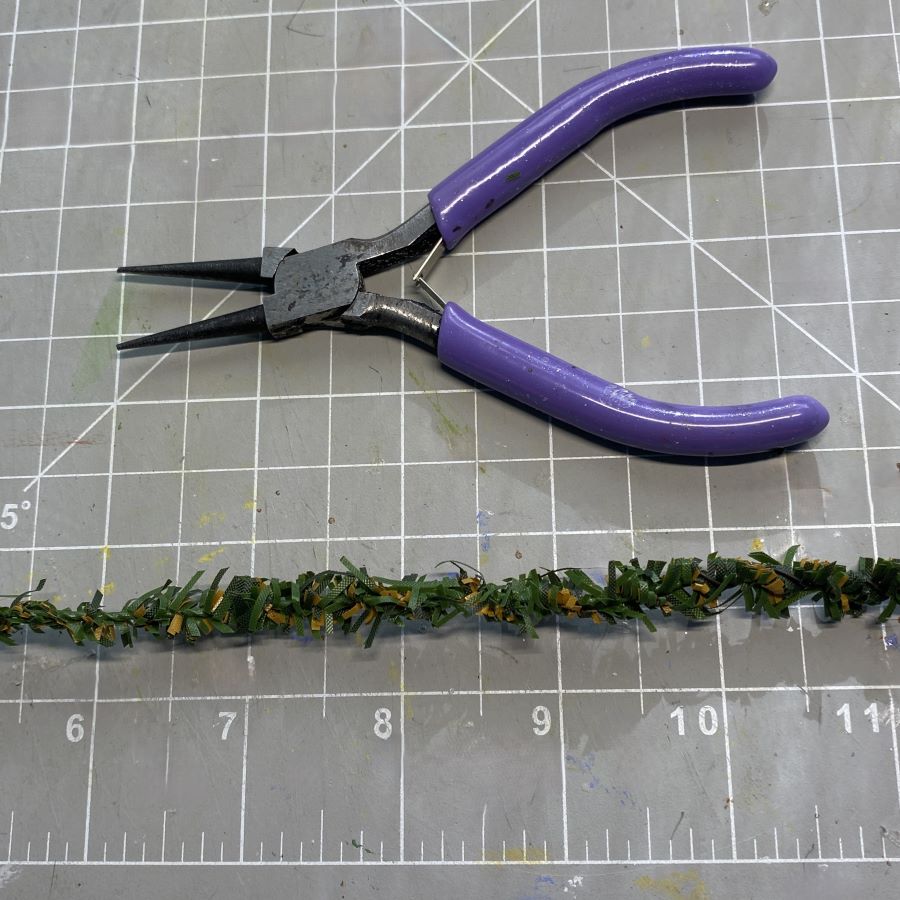
- Round-nosed pliers
I don’t receive a commission from items linked on my blog. They are linked for your convenience.
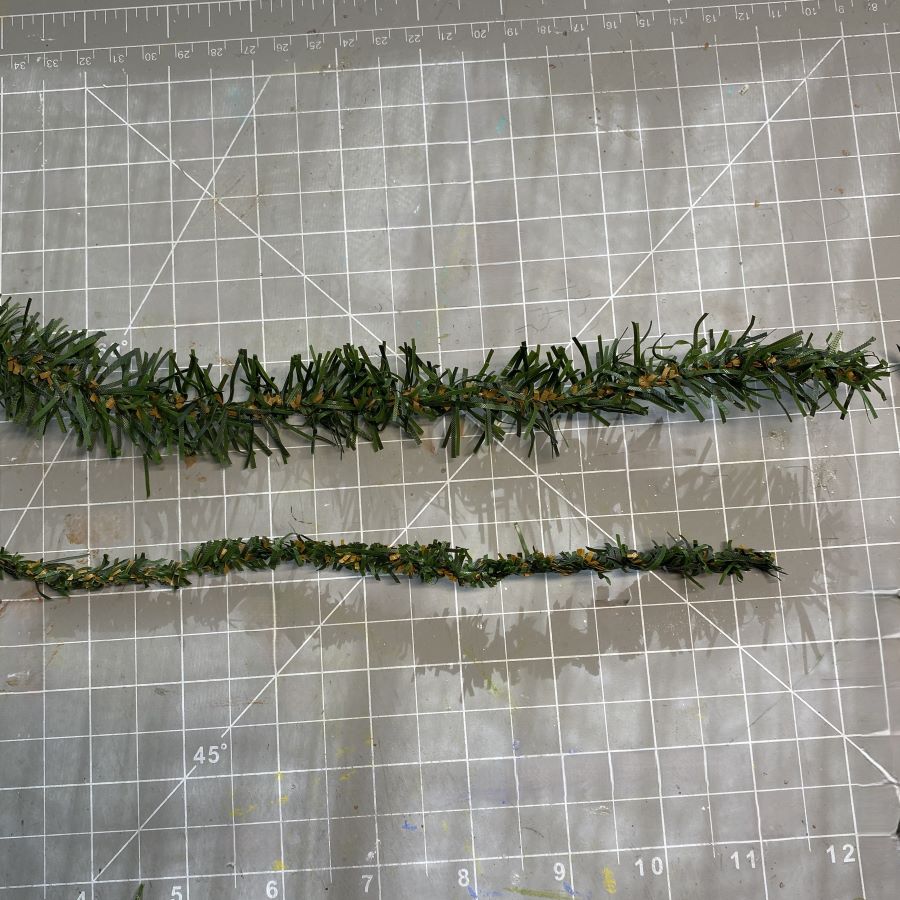
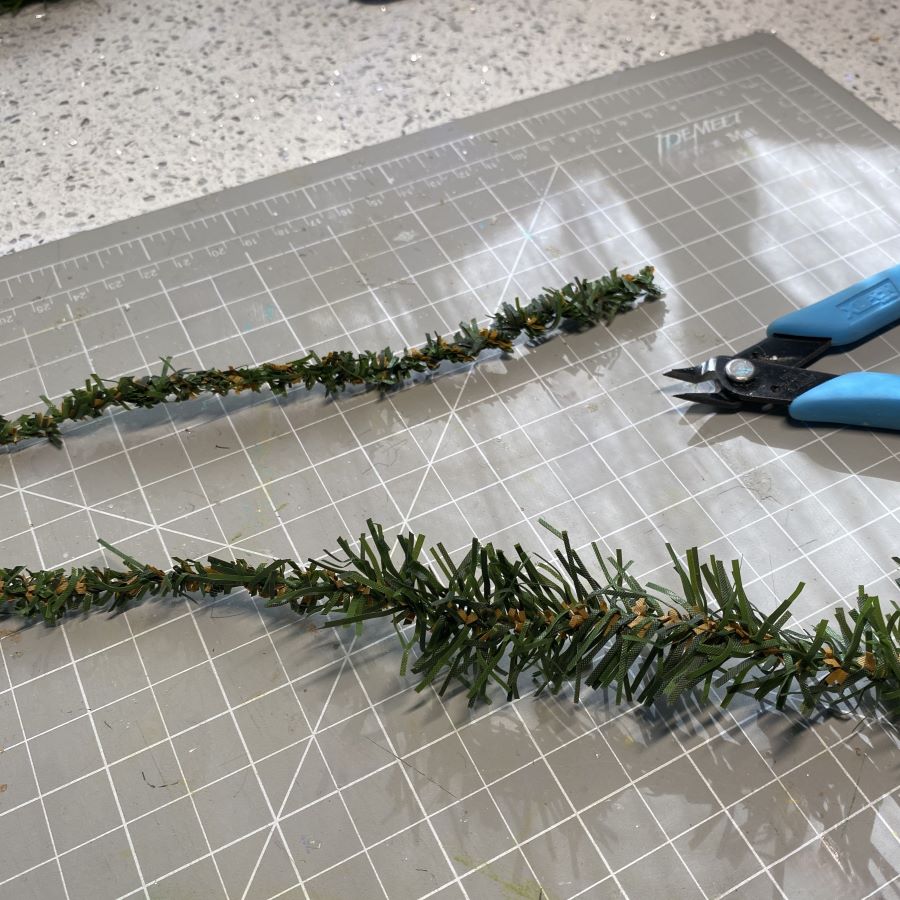
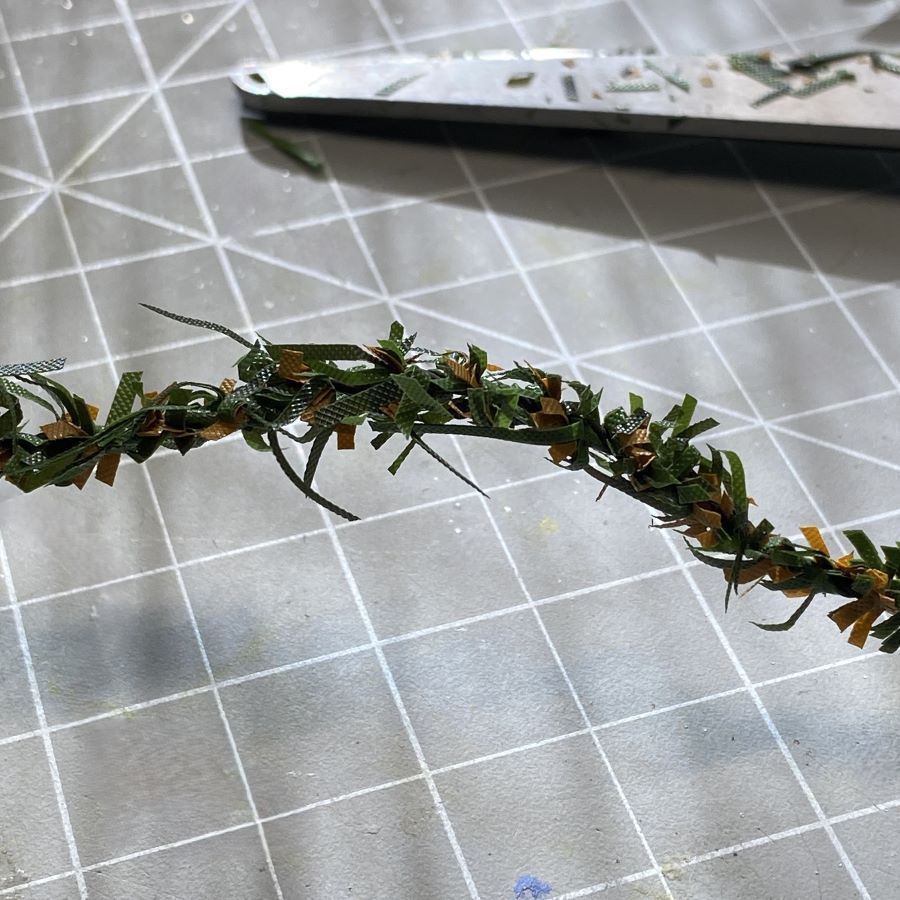
The 1/4″ evergreen chenille stems and garlands are harder to find than the wider stems and garlands. I like using a wider stem, which I cut down nearly to the wire. The leaves are more random when cut by hand than they are on a uniform, manufactured stem. Either way works. This is my way. Your way is whatever you like best. Both are good.
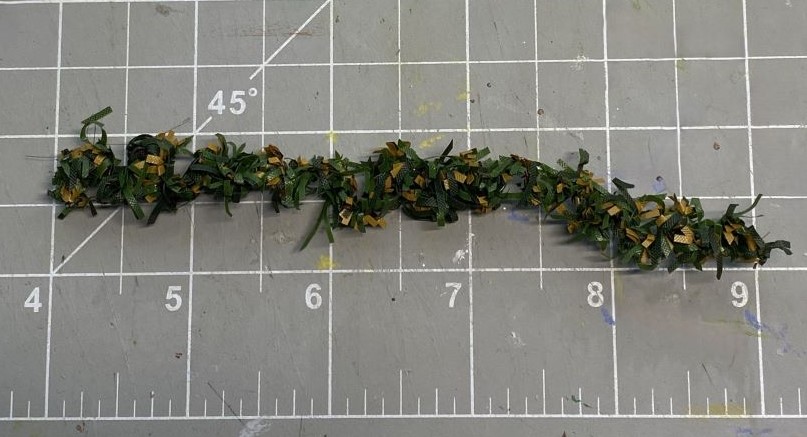
If possible, the stem should be at least twice as long as the space needed to be filled with hedge. As it is shaped, the stem will shorten up a lot. I measured one stem at 16″ before shaping. After shaping, the hedge was 8 1/2″ long. I usually don’t measure ahead of time. I make long pieces of hedge and cut to length as needed. Multiple pieces can be glued to the base so they meet end to end, making a longer hedge, if the first piece is too short. The join won’t be noticable.
Using the round-nose pliers, the trimmed stem will be bent tightly into this shape. A series of “bumps.”
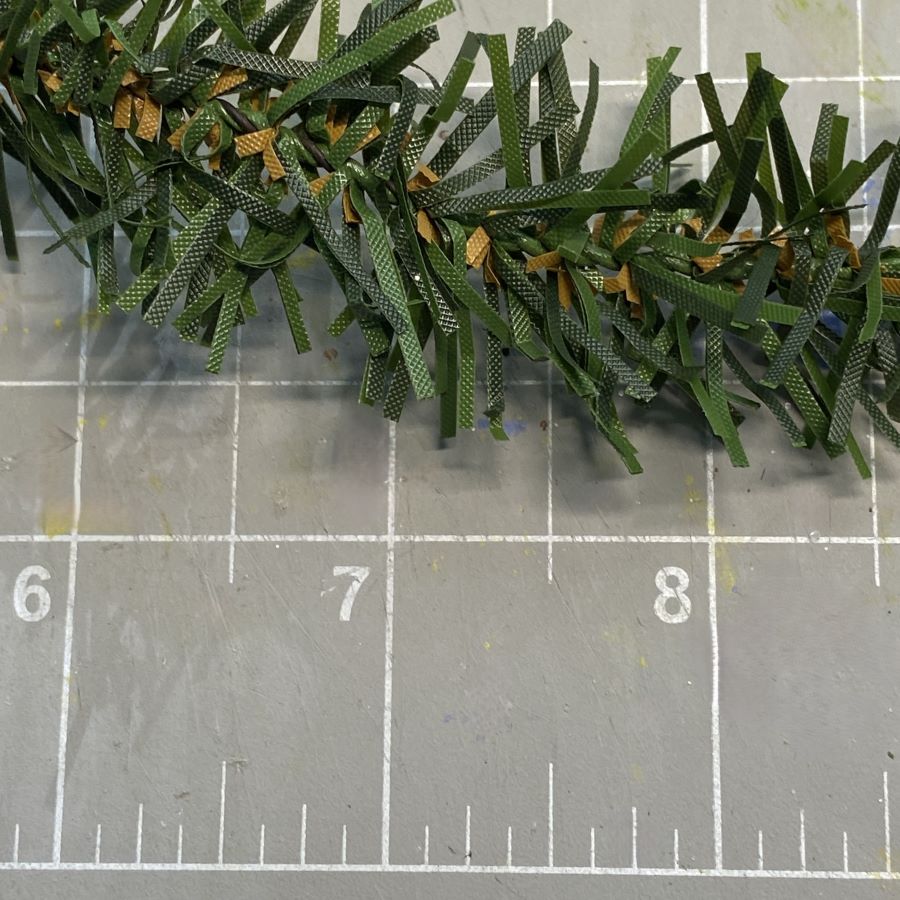
Trim the stem close to the wire. Do this over a wastebasket. It is messy. The bits have some static and will stick to surfaces, scissors, etc.
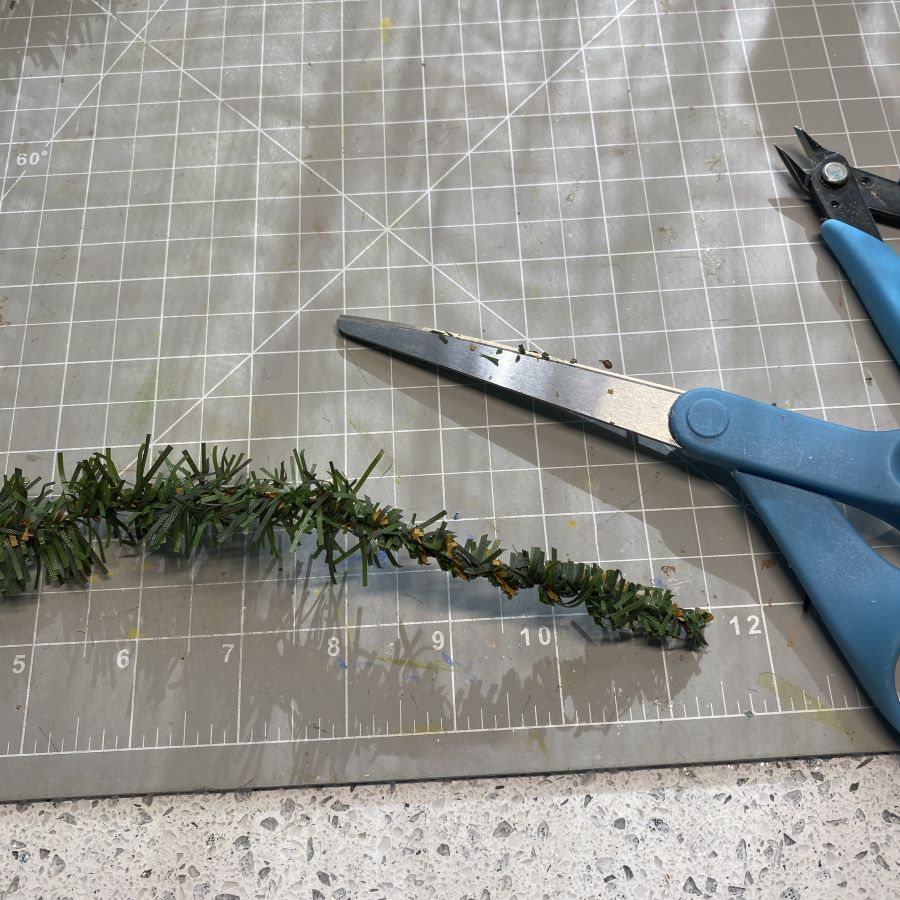
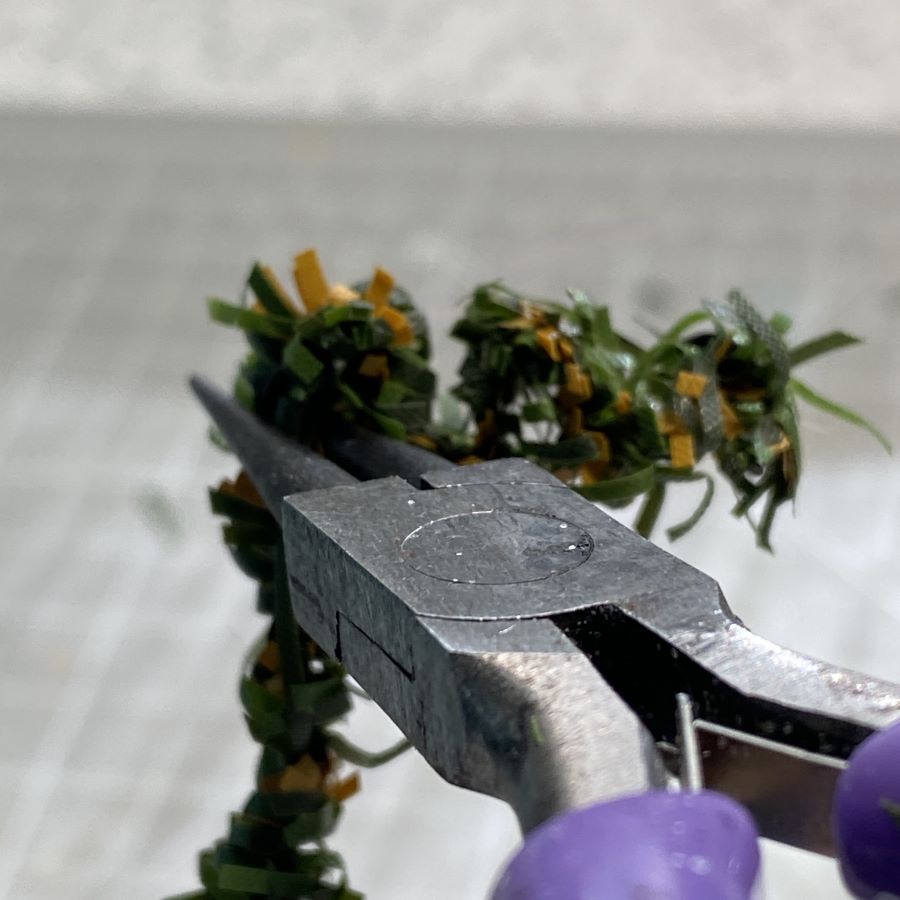
When a stem has been trimmed, there may be individual bits that are too long. I run my hand up and down the stem to show where these longer bits are. I use my small Fiskar scissors to trim those.
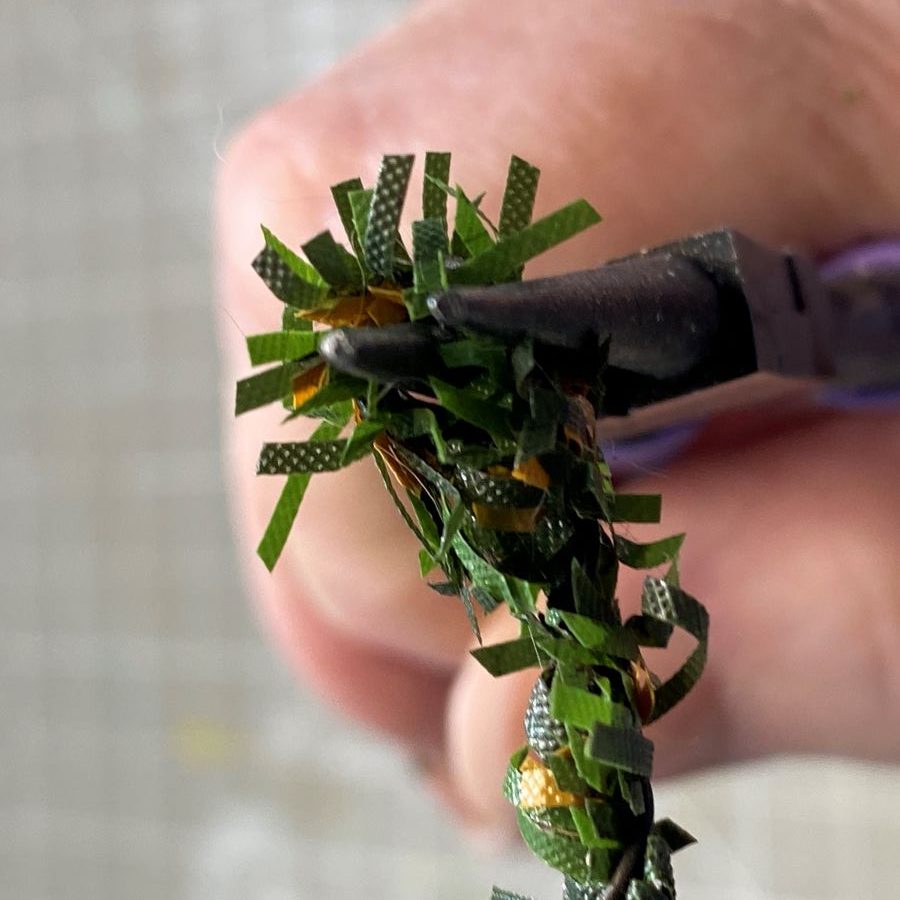
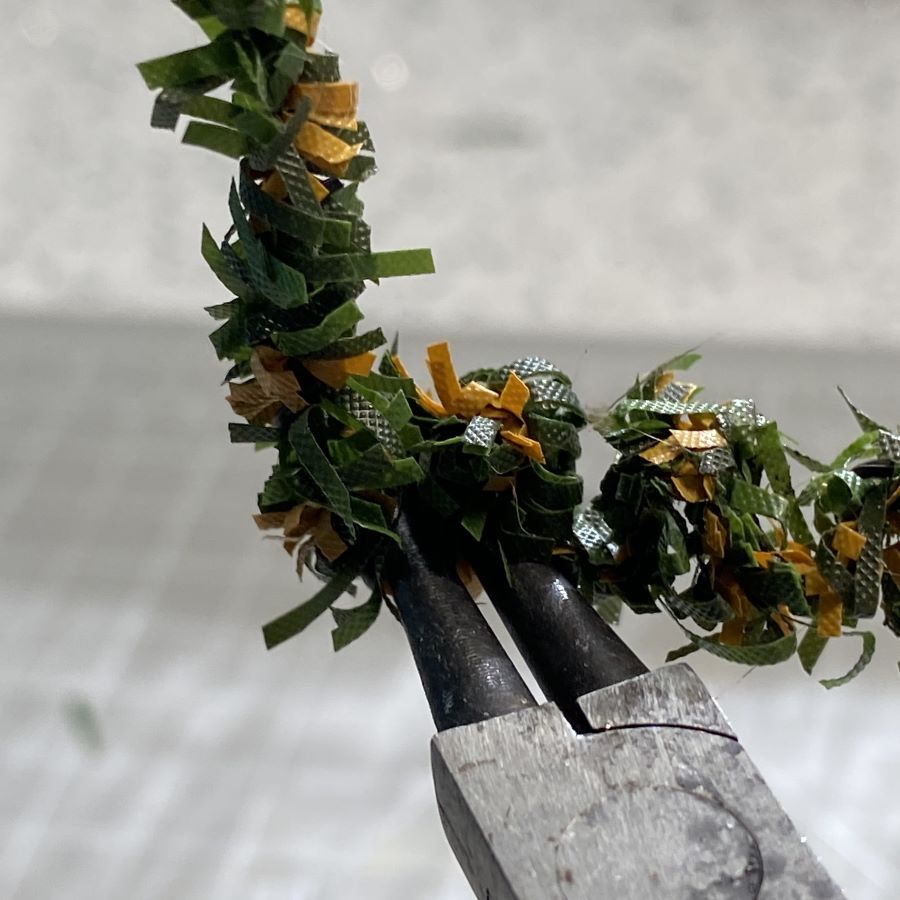
The round-nose pliers make it possible to round the stem into tight curves. Start on one end and turn the stem down into a cane shape.
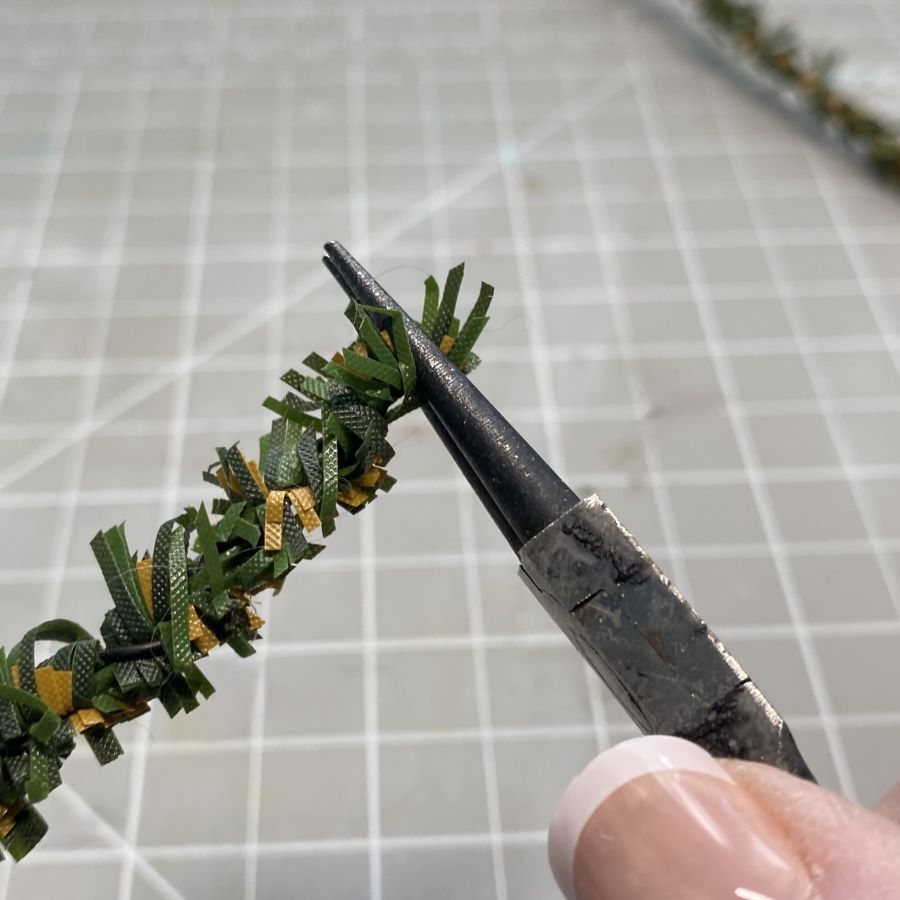
Use the pliers to grip the short section of the stem. Turn stem into a cane shape. This is the first “bump” of the hedge. The short leg should be just long enough to go around the pliers. The first photo shows the first curve finished. Move the pliers from the short end of the stem directly across to the long part of the stem. In the left, the pliers are holding the short leg of the cane shape. In the second picture, the pliers have been moved to the long leg of the evergreen. Pull the long piece up, over the pliers, so it is headed in the opposite direction from where it started. Refer to the picture of the curved line above.
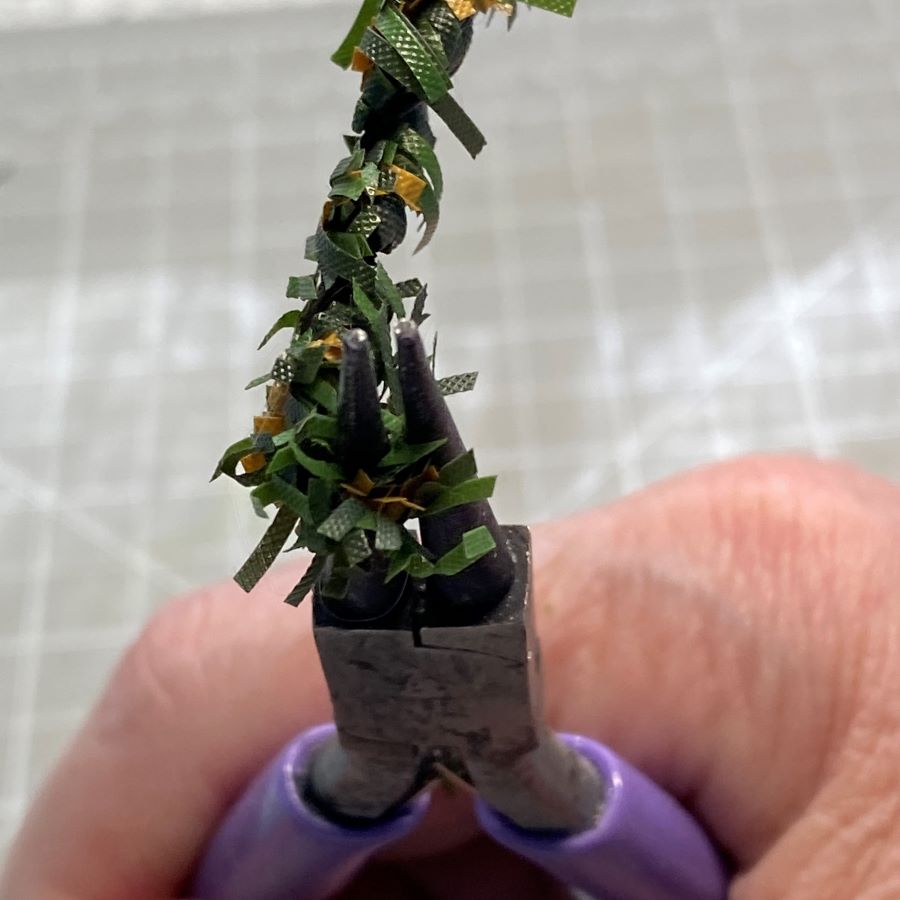
The first picture shows the next loop made. Repeat: After pulling the long end over the pliers, move the pliers over to what is now the longer leg and pull the leg over the pliers. The tighter the curves are made, the better the hedge will look. Try to keep the hedge “bumps” the same size.
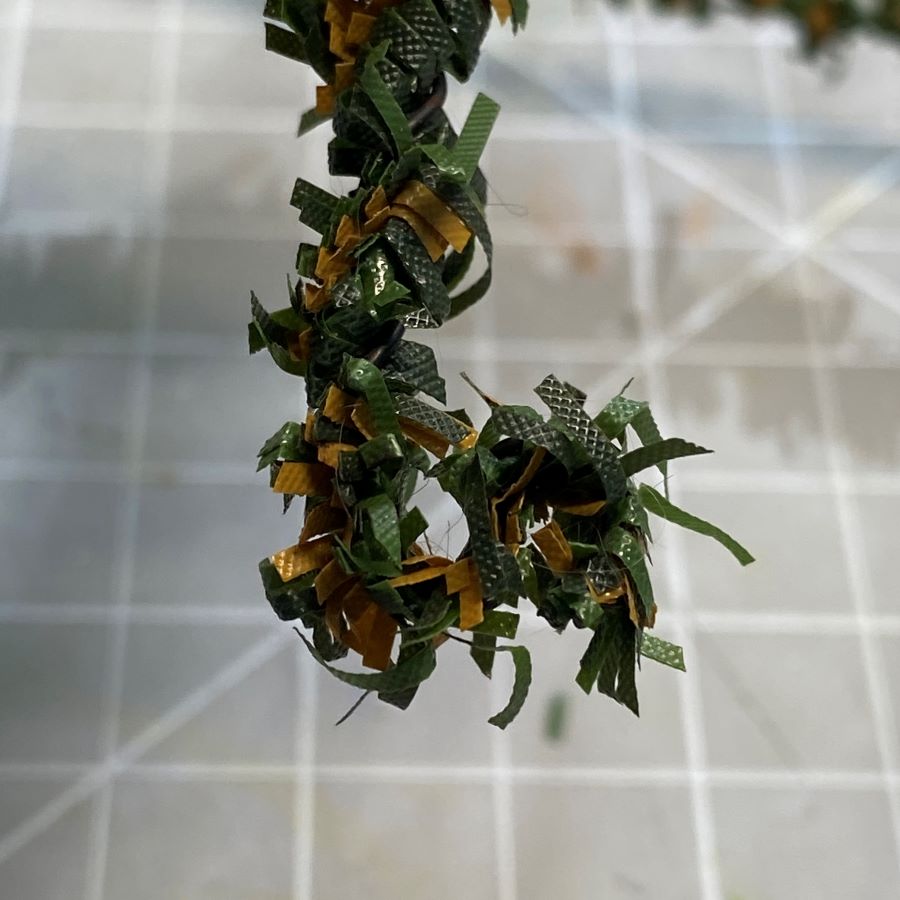
Repeat until the hedge is complete. Insert the pliers. Pull the long end up over the pliers. Move the pliers over to the long leg and pull it down over the pliers. Repeat.
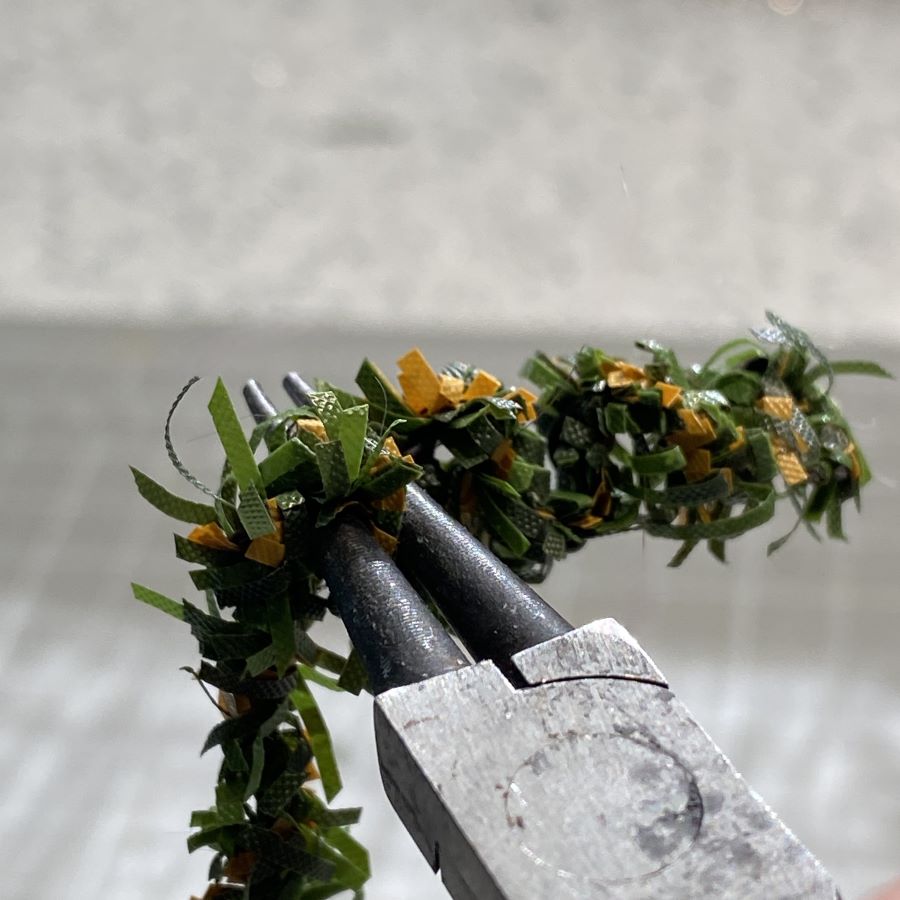
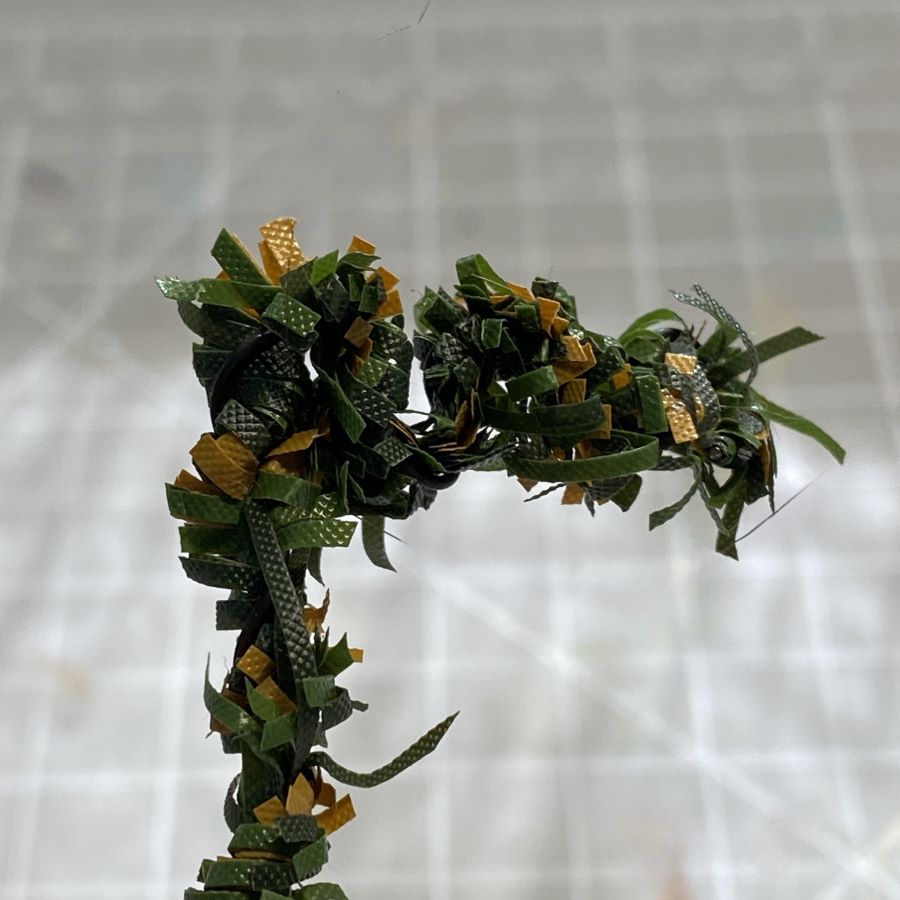
It’s a back and forth action. Keep going until the entire stem is done. When finished, check the beginning and the end of the stem to find the wire. It’s sharp. Be careful. When applied to a base, the sharp end should point down. Don’t leave it up where it could snag a finger. I always cut the ends of my hedge so both wires are pointing down to the bottom of a bump. If the stem is trimmed to fit a space during landscaping, it should be trimmed so the wire is pointing down. That wire will be enclosed in hot glue when the hedge is glued to the based, making the hedge safe to touch.
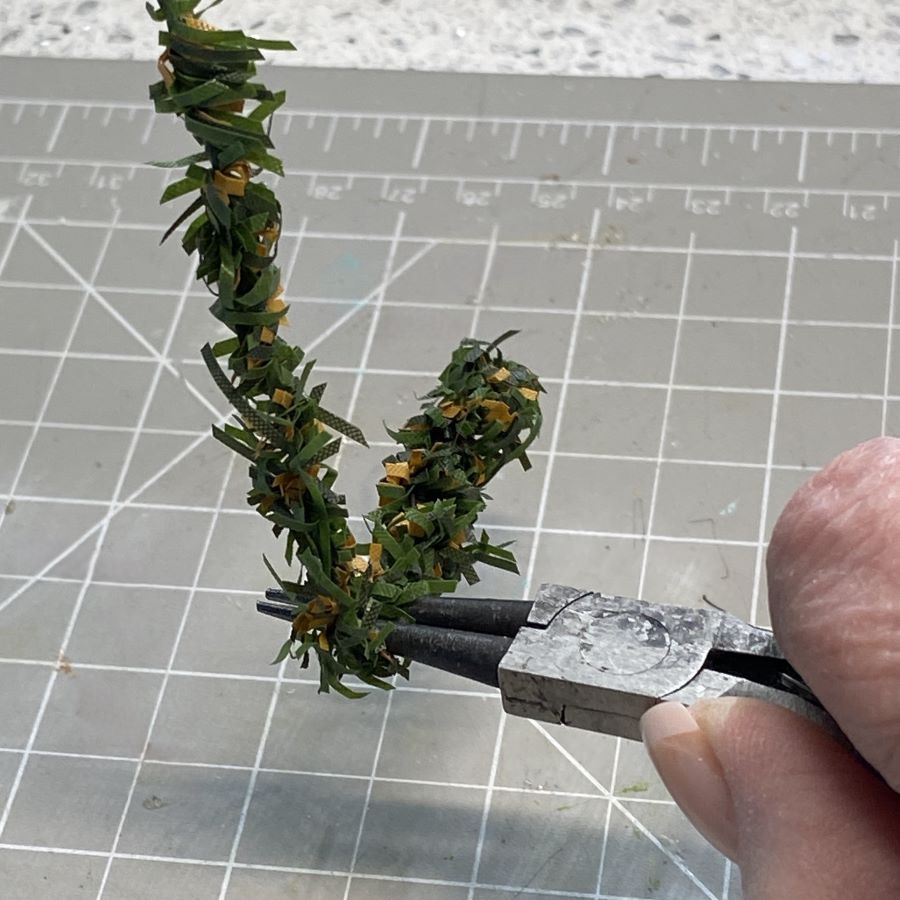
The finished hedge will look like the one pictured below. Trim any longer bits as needed. The individual bumps are not noticable. Even less so when snow has been applied.
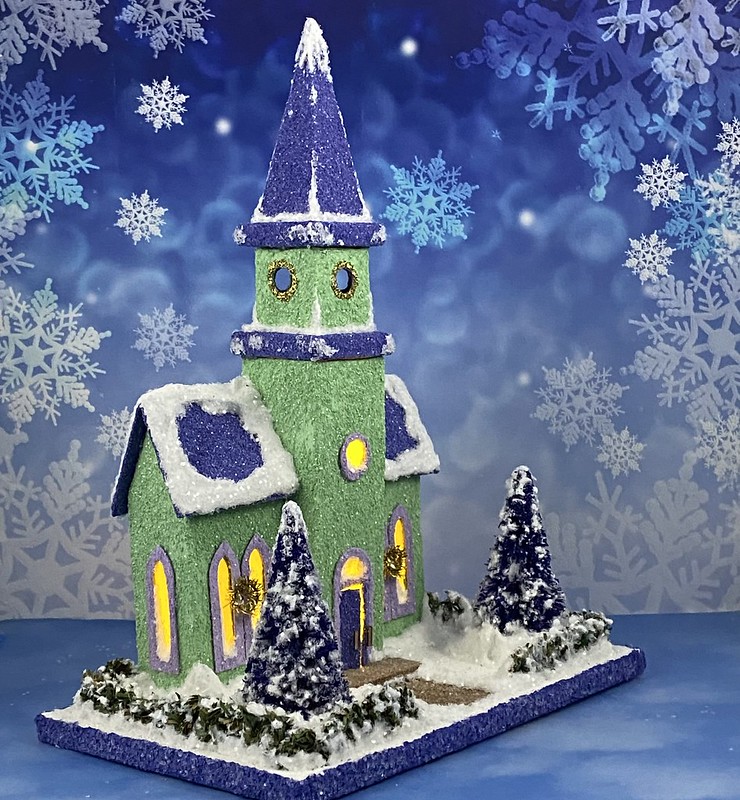
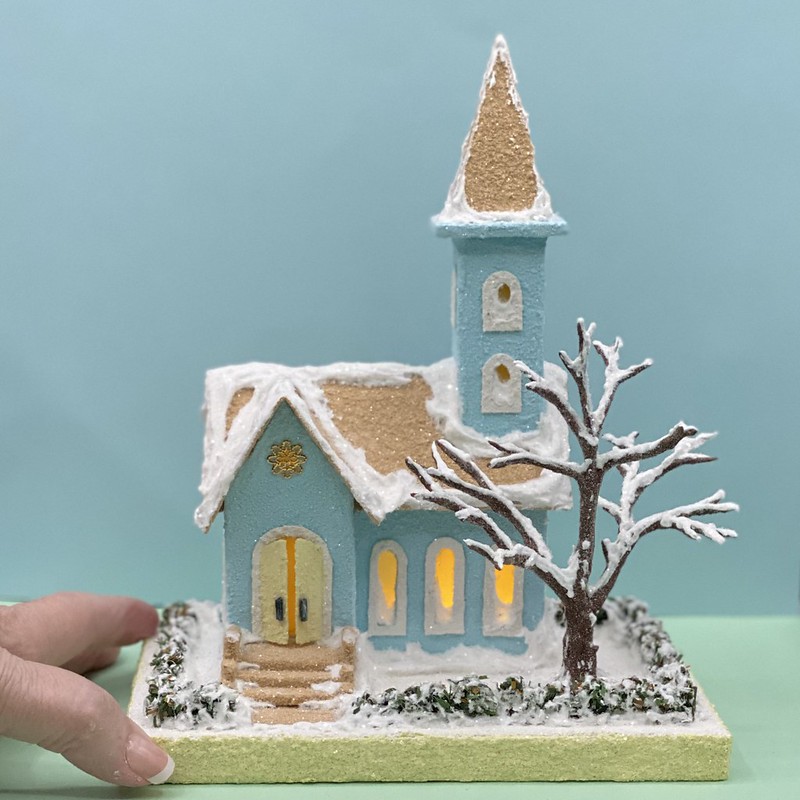
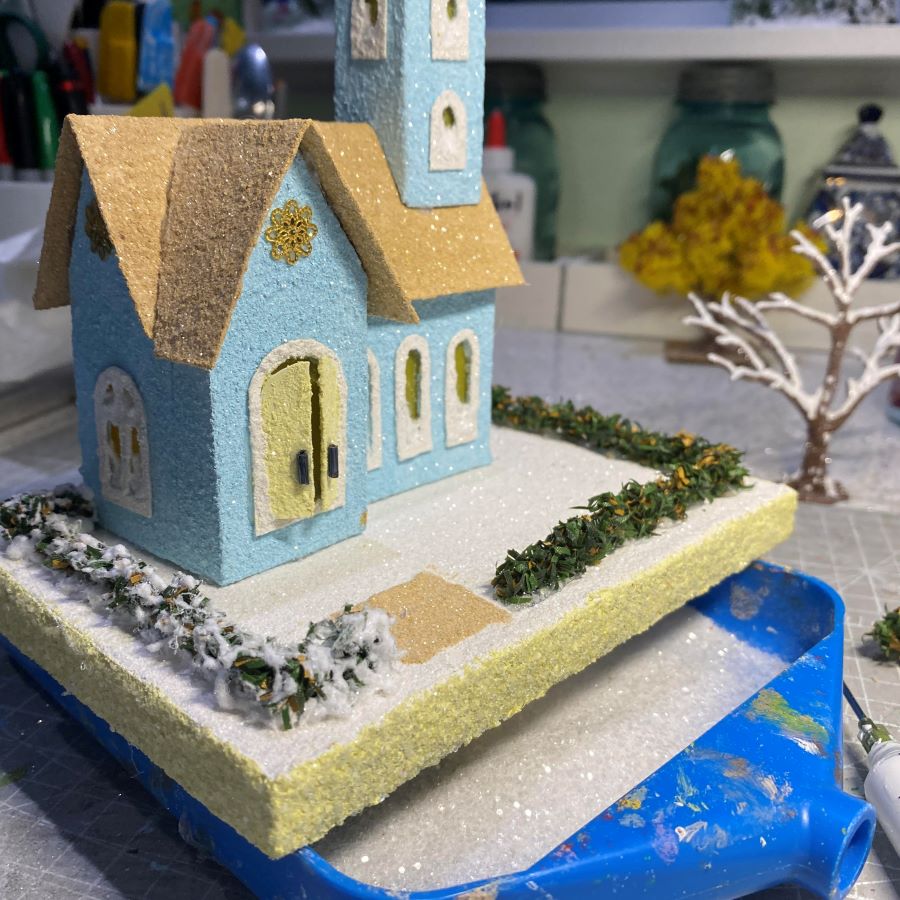
The church, pictured below, has a pieced hedge. I didn’t have a length long enough to do the right side of the church and then all the way to the sidewalk. About two inches of hedge was glued down, at the sidewalk end, to finish the full piece.
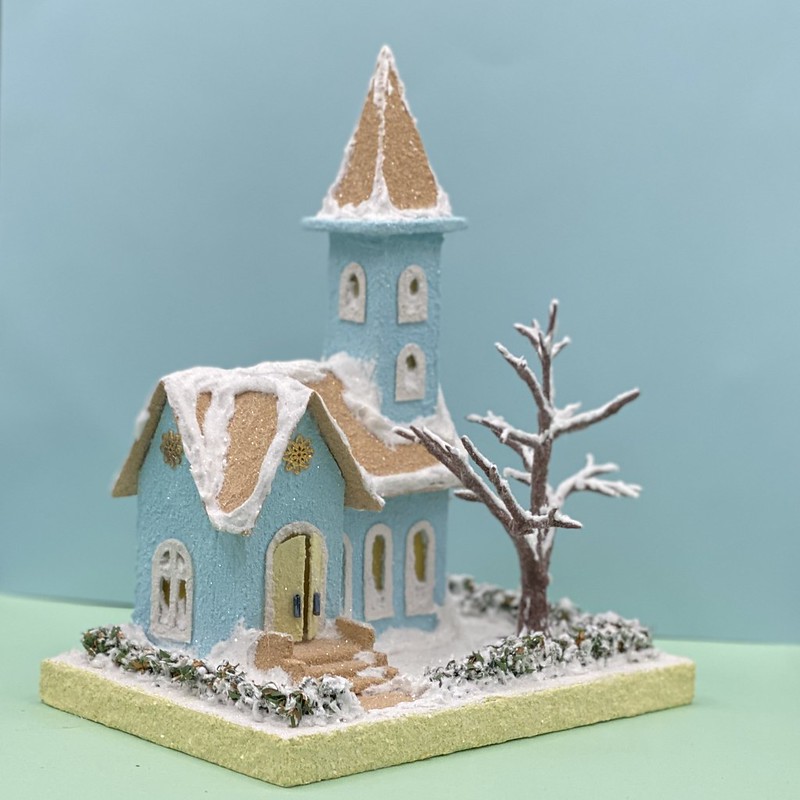
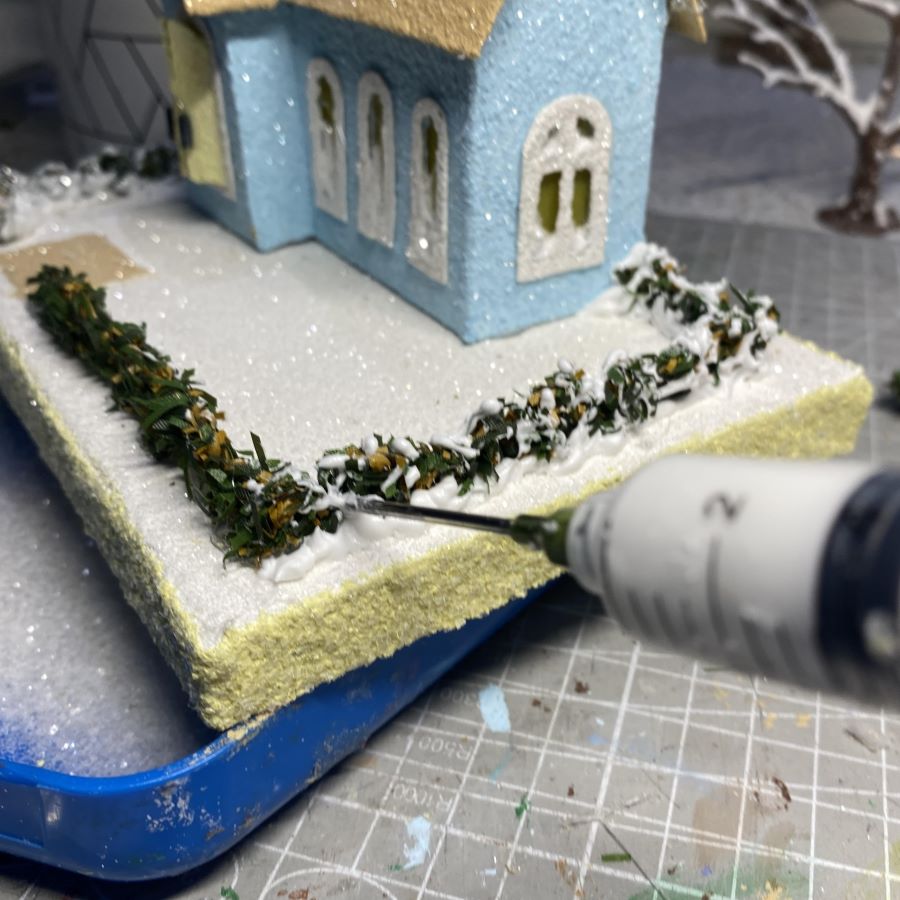
In the first picture below, you may be able to see where I added an extra piece to the hedge. Once the snow is applied, the join doesn’t show. To snow the hedge, I use a syringe filled with Aleene’s True Snow. With slow pressure, I apply it to the hedge, while moving the syringe back and forth. A little goes a long way. I try not to cover the hedge. I also run the syringe along the bottom of the hedge, on both sides to cover any glue that may be showing. That can be seen in the second picture. Immediately, glitter the wet snow with the glitter of your choice. Allow to dry.
Note: Aleene’s True Snow and Aleene’s Glitter Snow look the same when applied. No glitter shows, so I buy the one that is currently cheaper.
The hedge has a little give for filling a space. If it’s a bit too long, it can be gently squeezed together to make it shorter. If it isn’t long enough, and the remaining space is small, the hedge can be gently pulled to stretch it a bit.
I am happy to answer any questions you may have about making hedges. Please ask!
If you would like to see more of my Putz houses, as well as Christmas ornaments I have made from upcycled holiday cards, please visit my Etsy shop.
If you are interested in crafting Putz houses of your own, check out my Putz tutorials for more information. Putz House Tutorials The blog can be searched for “tutorial” to find any that aren’t linked to the tutorial page. Working on that!
I am always happy to answer questions about the process. Please ask, if you are wondering about the details of putzing!
All proceeds from my Etsy shop benefit Kenya Mercy Ministries. They work with the urban poor of Nairobi, Kenya, particularly the children and their families who live in Kibera, the largest urban slum in Africa. Thank you for your part in helping these children when you purchase items from my shop!
~~Rhonda 🙂