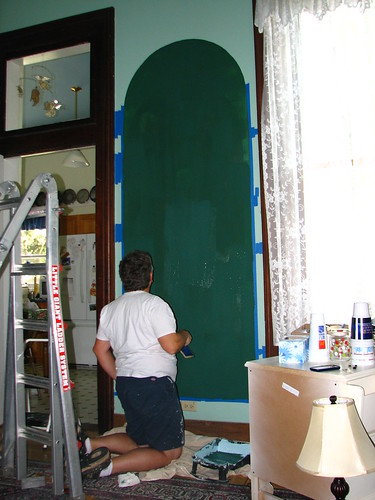
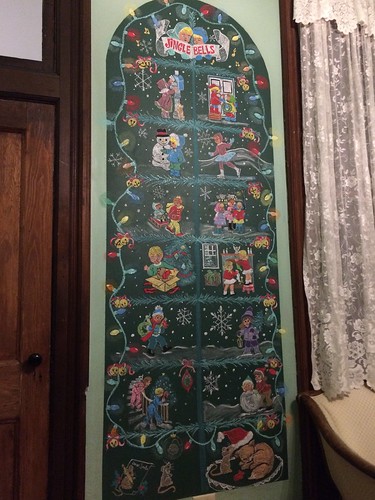
This is the fifth year my sister Genny and I made a chalkboard tree on the large chalkboard in the music room. DH painted the chalkboard on the wall in 2011. It is about eight feet tall. It took four coats of green chalkboard paint to cover well. If you paint a chalkboard on a wall, be sure to sand the wall as smoothly as you can. All those tiny bumps add up when you are doing some serious chalk work later!
The 2012 tree was based on one I found online. The link I had to that one no longer works, but it was quite similar to the one we made. The one I based ours on had been modeled after a wall hanging. I added a nativity under my version.

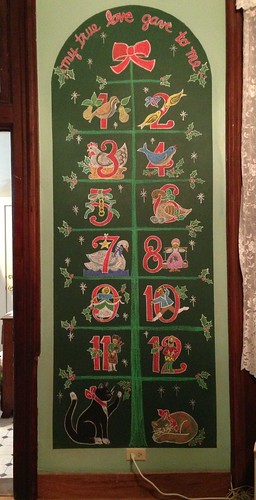
In 2013, we did a “Twelve Days of Christmas” theme. Under the tree were two of our cats, Zak and Cedar.
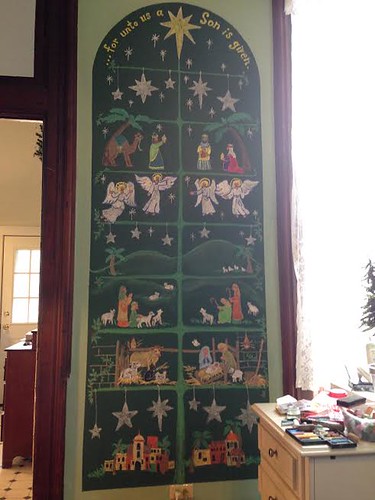
In 2014, it was a nativity scene.
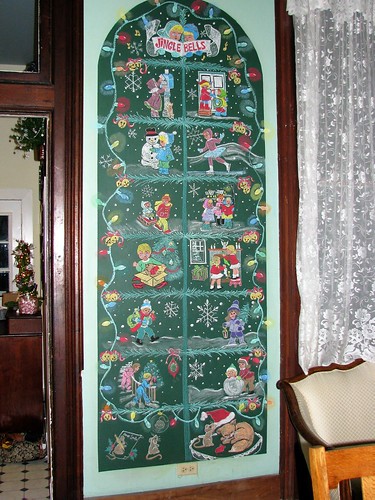
Last year we had a toy theme.

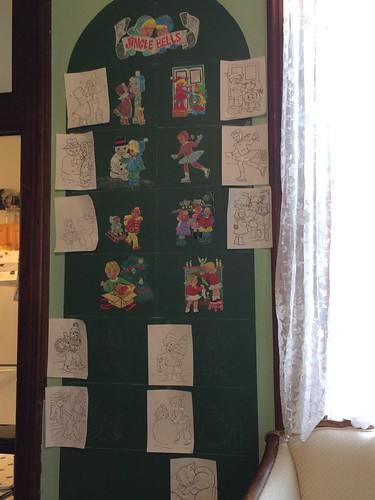
This year, it was a vintage style theme of children at Christmas.
The process starts with deciding on a theme, then finding pictures to use. I googled < coloring pages vintage christmas children > and found a lot of pictures to choose from. I printed the ones I liked and then edited them. I took out details that would be hard to chalk or that weren’t needed to tell the story of the picture.
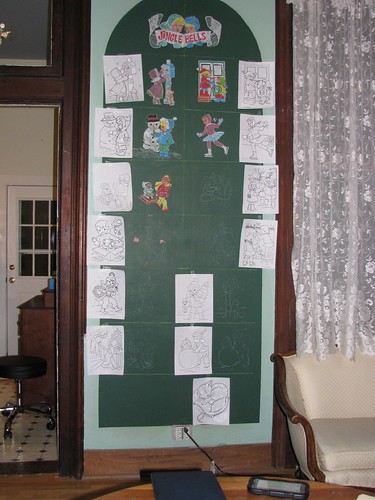
The next step is to lay them out and decide what order they should be in. I try to print four or five more than I need so there is some leeway when deciding how the pictures will go. When the order is decided, I take photos so we can remember how we want them. Aren’t phones great these days!?
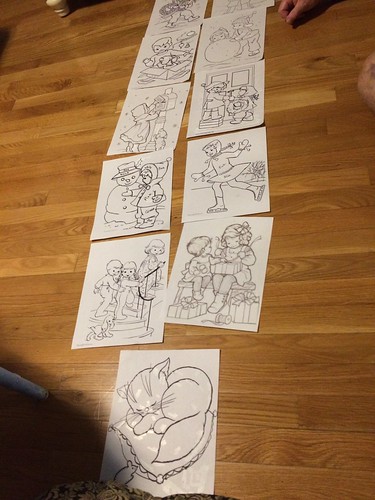
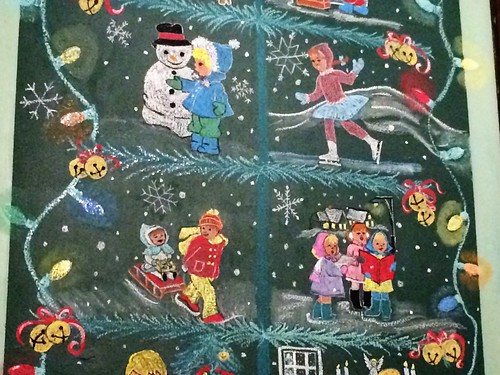
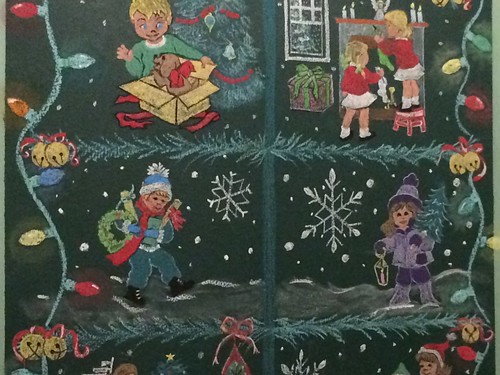
The tree has seven branches. That means we need fourteen pictures, which includes something for under the tree, plus something for a “tree topper.”
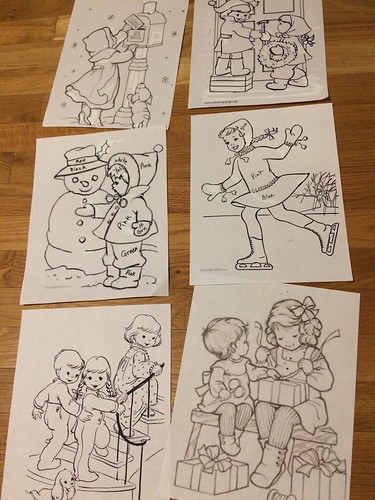
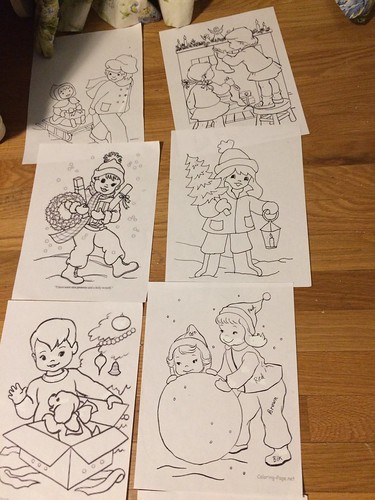
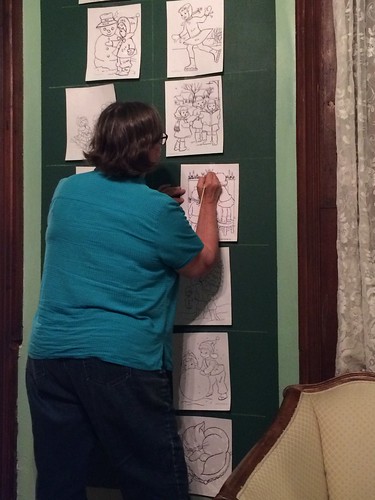
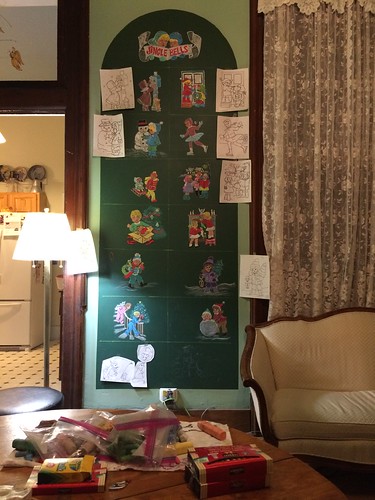
There’s always room for change, though. Once the pictures are taped on the chalkboard, we sometimes rearrange or substitute other pictures to make the design look more balanced. After we have the pictures in the order we want them, Genny starts the big job of tracing them onto the chalkboard. This year she used white graphite paper, placing a sheet behind the picture with the graphite toward the wall. She likes to use a bamboo skewer for the tracing.
And so it begins.
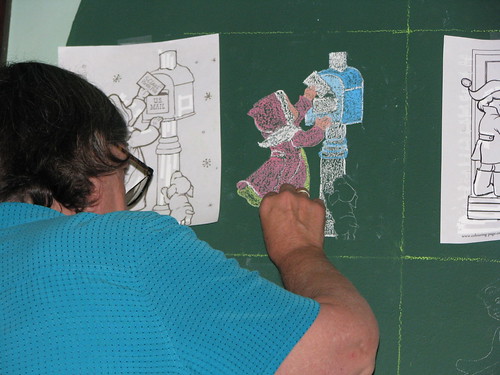
Genny leaves the pictures taped to the sides of the chalkboard for reference as she chalks.
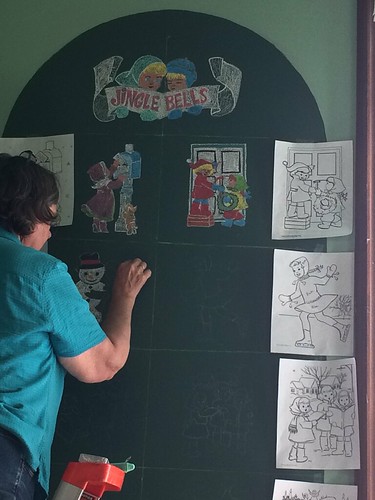
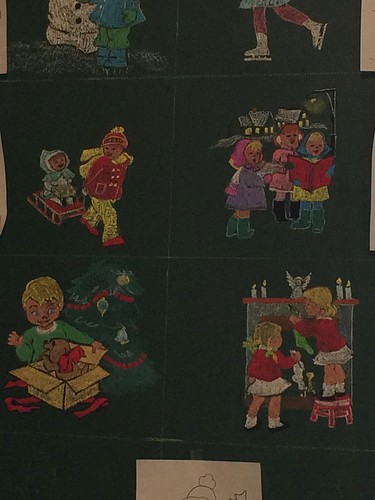
Starting at the top decreases the risk of smudging.
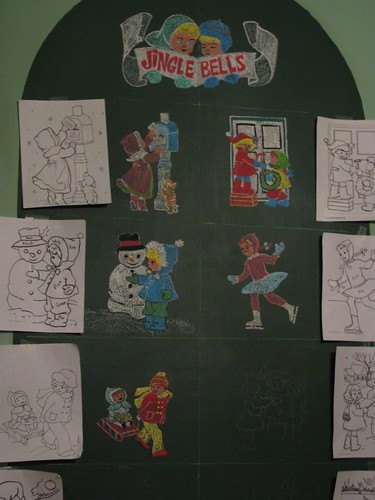
The chalking takes two or three full days of work. Of all the trees we put up, this is the one that takes the most time to “decorate.”
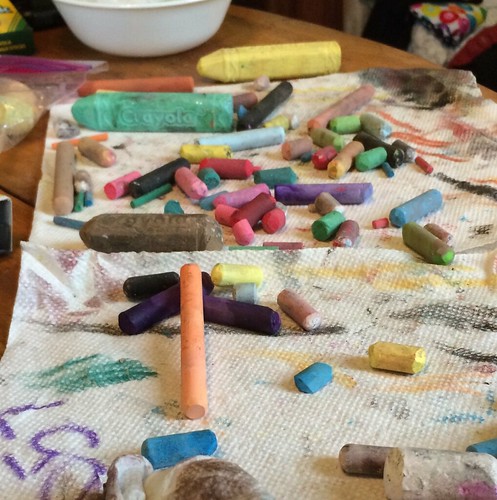
Genny uses a combination of sidewalk chalk and thinner art chalks to color the tree. We also have some glitter sidewalk chalk that we use when appropriate.
The lines between the pictures are drawn on before anything else. One vertical line to divide the chalkboard and then seven horizontal lines to make the branches.
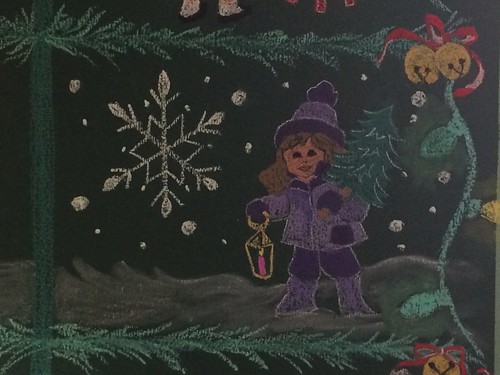
When the pictures were done, we added the branches, lights, jingle bells and the snow. This one reminded me of Genny.
Top to bottom…


I really like the lights on this tree. We will probably use that idea again.
I am already collecting ideas and pictures for two new themes. Not sure which one to use next year…
Update: 2017 Chalkboard Christmas Tree
~~Rhonda
3 Comments
OH MY GOSH, I WANT ONE OF THESE….
You could make these and sell them…You’d make a mint…Everyone would enjoy having one of them in their home….I would love that in my morning room wall…I wonder if you can buy them anywhere, do you know???
SIMPLY GORGEOUS!!!!!
Beautiful and amazing!
The mailbox one reminds me of me.