I decided to put all my Putz construction posts into one post for easy reference.
.
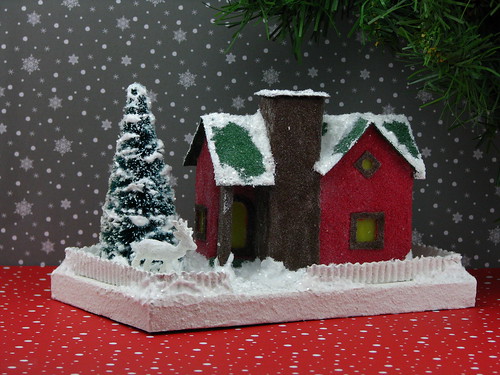
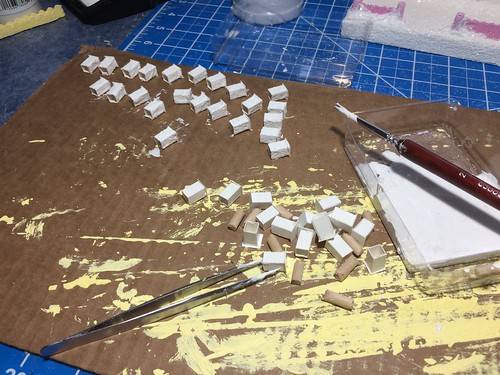
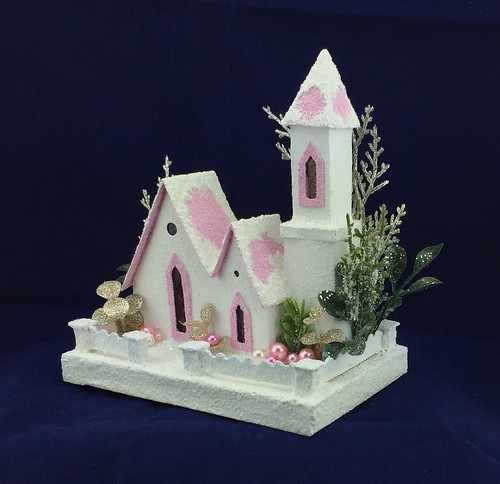
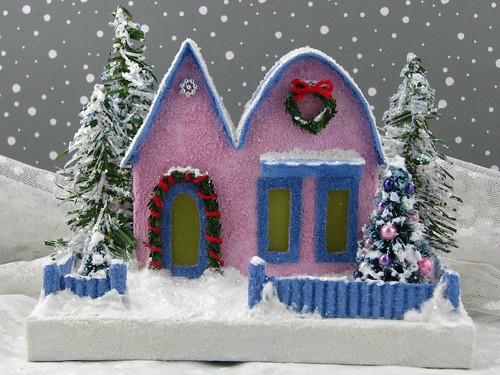
Building a Putz house
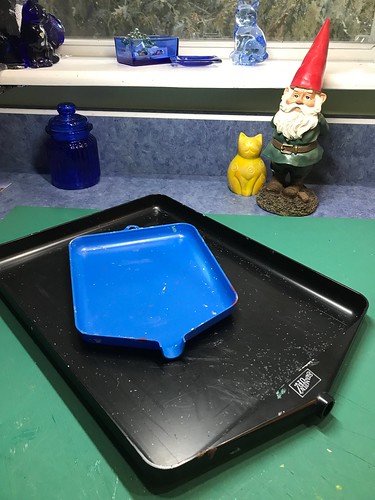
This tutorial was written in October of 2009. Early in my career as a Putzer! I have fine-tuned my techniques since then and acquired a few helpful tools, too. I now have a funnel tray so no longer sprinkle glitter over a piece of paper. Actually two sizes of funnel trays, which I find very helpful. The larger one has a collar near the funnel mouth which is a great addition. When I use the blue one, I am more likely to lose some glitter because there is no lip to catch it. Especially when the tray holds a lot of glitter. Which is often around here…
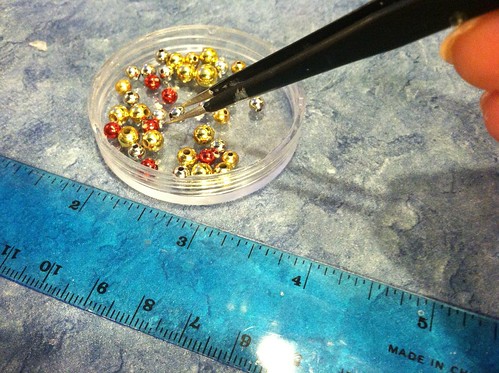
I’ve gone through several fine-point tweezers since that post. A tool I can’t do without! So useful for picking up tiny bits and bobs, squeezing and holding together two pieces of paper that are being glued, gathering tiny embellishments, etc.
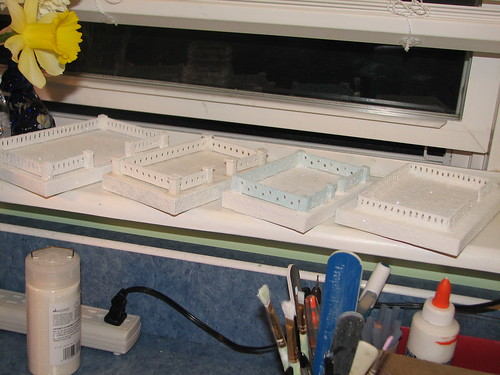
I still make bases as shown in the link, with one major exception. Instead of using white glue between every layer of fill cardboard, I use white glue only on the cardboard that touches the actual box. The top and the bottom of the stack. For the rest, I use hot glue.
You have to work fast, though, because once hot glue cools, there is no turning back. I use the white glue against the inside of the base box because it doesn’t leave the obvious lines that the hot glue shows. I spread a thin layer over the inside of the box, then fit the cardboard into the box, pressing the entire piece into place. Then I hot glue the layers till I am ready to add the top of the box. Then it’s back to the white glue.
An advantage of using the hot glue is that the box does not take as long to dry as it did when I used white glue between each layer.
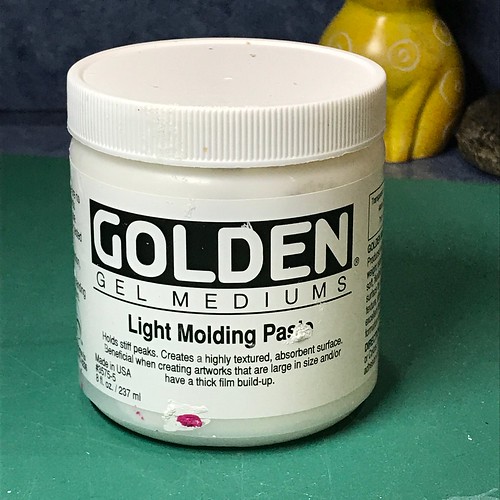
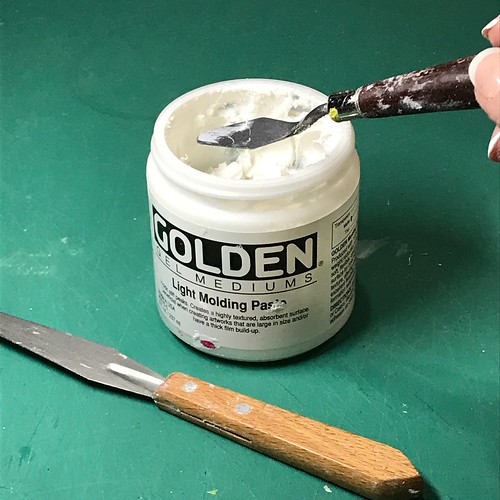
Another new technique I have since discovered is the use of Golden Gel Mediums Light Molding Paste. It’s like spackle. I spread it around the edges of my completed base to fill in any gaps or cracks. Even when being as careful as possible, some boxes don’t glue together as well as I’d like them to. Molding paste to the rescue. After spreading and smoothing it with a paint spatula, I let it dry for 24 hours, then sand it to remove the rough bits. Then I can paint over it and get a cleaner look than I might otherwise.
I still make fences as described in the tutorial. I’ve also used other things to make fences.
Here’s a Putz house with a fence made from a pipe cleaner. I wrapped the pipe cleaner around a pencil, then pulled the pipecleaner to lengthen the “curls.” Then I flattened the curls and hot glued the fence to the base.
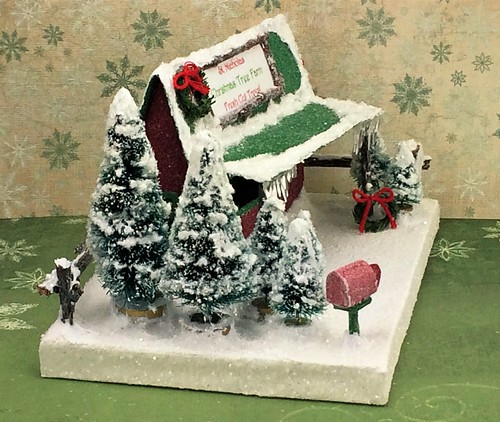
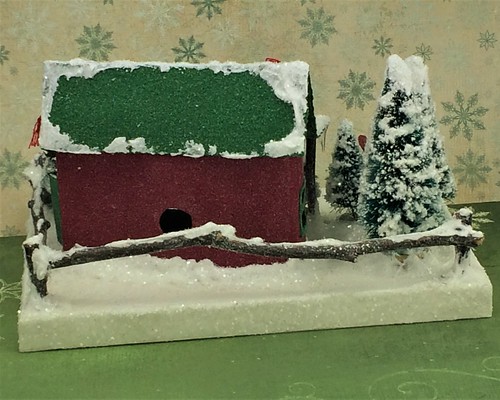
This Christmas Tree Lot has a fence made of glittered twigs. Another Christmas Tree Lot had a fence made of long cinnamon sticks.
.
I’ve learned to use corrugated cardboard as a “picket” fence. Here’s the link. Picket Fence Tutorial
.
Tutorial for making fence posts
I also make fence posts from bamboo skewers.
.
Tutorial for attaching fences and fence posts to a Putz base
I hope you find this collection of tutorials handy. If you have any questions, just ask. I’m happy to help.
~~Rhonda

2 Comments
Rhonda,
I love reading all your tips for making little houses and seeing them on Instagram as well. I was wondering about posting them on the Cardboard Christmas forum. I know everyone there would love to see your wonderful creations.
Thank you for sharing all your beautiful houses and your Christmas prep, too. It is highly motivational.
Lucy
Thanks, Lucy! I don’t mind your sharing the link. Thanks for asking! 🙂 ~~Rhonda