A lot of people enjoy making Putz houses and we all use our own methods and favorite tools. Following are my personal favorite tools and supplies for the craft of making Putz. If you have other favorites, please share!
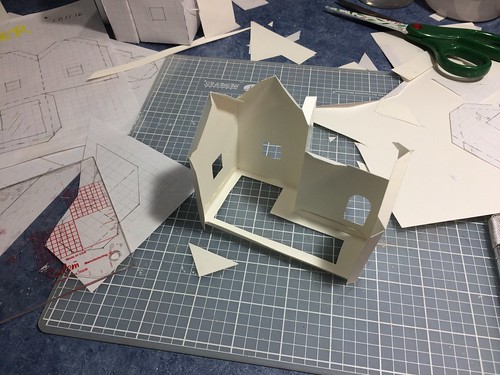
Cardboard / Poster board
I buy white poster board at Walmart for use in building Putz houses. I like the regular weight for the walls and window frames. The package I buy doesn’t give a thickness or weight. I also like the kind labeled “heavy weight” for the roofs. The heavier weight prevents the edges of the roof from warping as it dries after being painted.
You can certainly use cardboard from cereal boxes, cracker boxes, etc. It’s a perfect weight for making Putz houses.

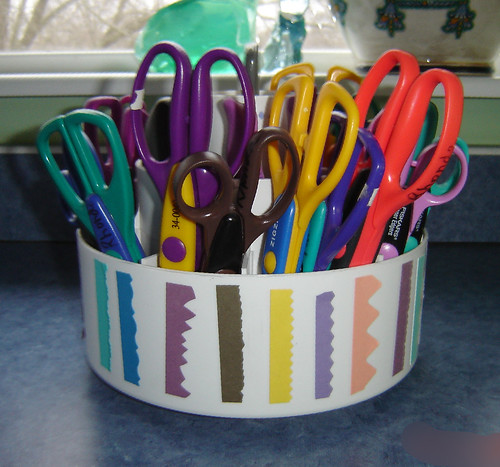
Scissors
I have three kinds of scissors I use most often. First, an 8″ pair of scissors for rough cutting (like cutting pattern pieces apart). My middle daughter put these in my Christmas stocking one year. How perfect is that??
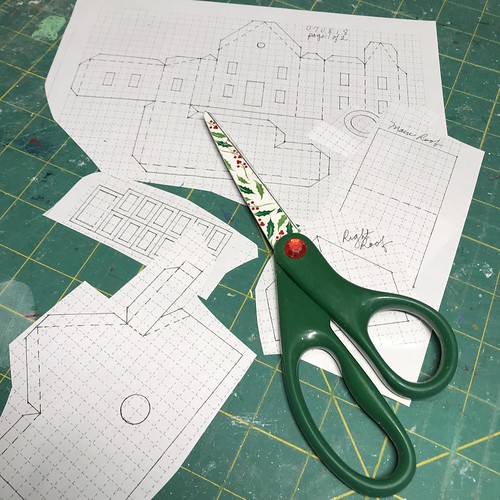
Second, my favorite scissor for putzing is the small craft scissor Fiskars 5-inch Microtip, for cutting small pieces and for cutting fine detail as needed.
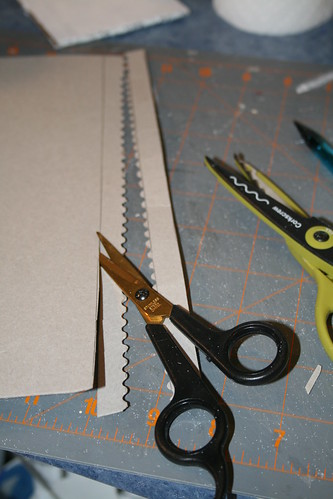
The third kind of scissors I like to have on hand are Decorative Scissors. These are great for cutting fences. I use the zigzag, wavy, and scallop designs most often, but there are many others I like, as well.
Click here to see my tutorial for making Putz fences. Tutorial for making Putz fences
Hand punches are useful, too, but not necessary when you are pulling together the basic tools needed for putzing.
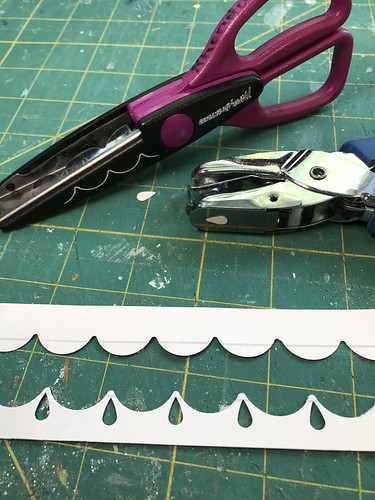
Decorative scissors can also add a nice detail to a roofline or awning.
Or a widow’s walk or balcony.
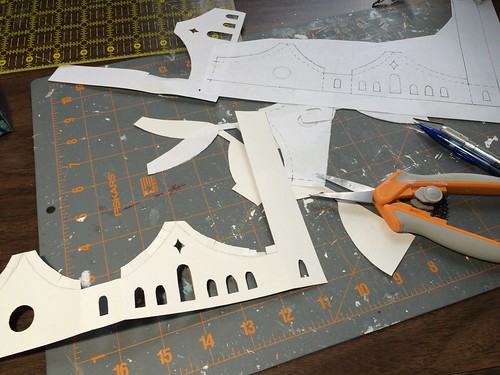
Craft Knife / Xacto Knife and #11 replacement blades
I love the one from Martha Stewart, but it can be difficult to find. It may not be in production any longer. Find a comfortable Xacto knife. Preferably one with a cap for covering the blade when not in use.
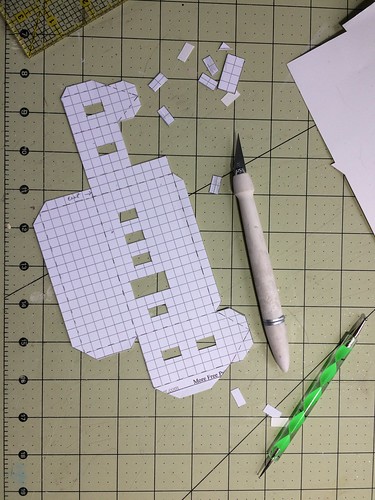
Self-Healing Cutting Mat
A 12-inch by 18-inch cutting mat is a good size to start with, if you don’t have one. It will protect your work surface and also will prevent premature dulling of your knife blade. Don’t set hot things on the mat or place it on warm surfaces. The heat can cause it to warp and make it difficult to use. Even a computer, left running on top of a cutting mat can warp it.
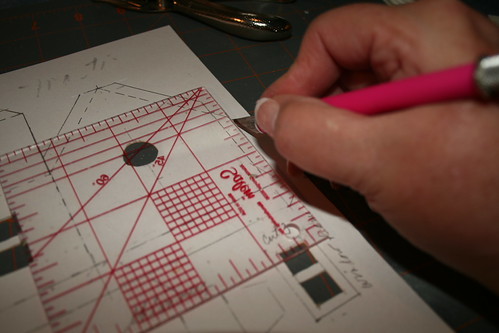
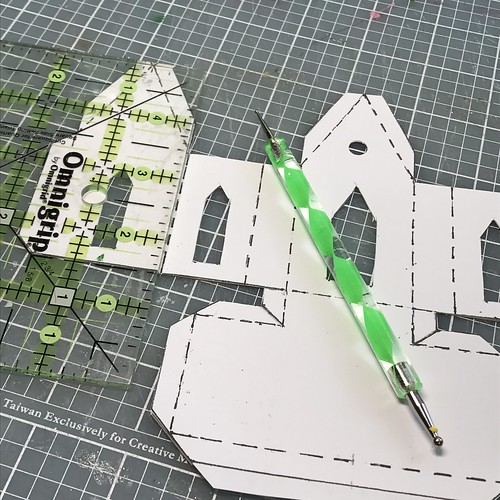
Acrylic Ruler
My favorite, use-it-every-day, acrylic ruler is a 4″x4″ square. It’s perfect for quick measurements, isn’t so long that it gets in my way, very handy when cutting pattern pieces. I use the 5″ and a 12″ square quite a bit, too, as well as an 18″ by 3″ acrylic ruler, but the 4″ one is my go-to. I find one with 1/8″ marks is very handy.
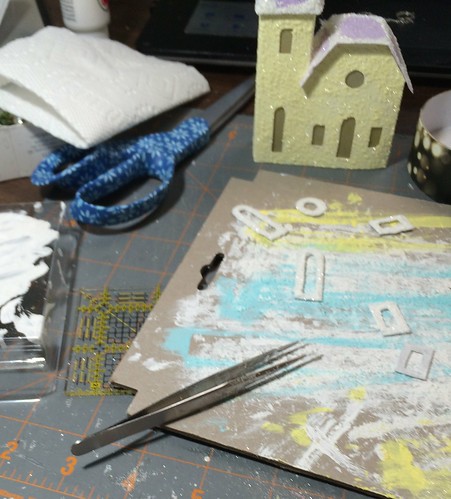
Fine-nose Tweezers
These go by several names. Fine-nose tweezers. Needle-nose tweezers. Jeweler’s tweezers. I use my fine-nose tweezers every day. I can’t imagine putzing without them. They are great for picking up and placing tiny window frames, beads, etc. They are essential for picking off those annoying hot-glue hairs that seem to magically appear on projects. These tweezers make my top five need-to-have tools. I actually have three of them so I am never without one.
Pencil
I like a .5mm mechanical pencil. Use what is comfortable for you. Drawing patterns, marking construction pieces, etc.,…a pencil comes in handy.

Bone Folder
Use this tool for creasing crisp folds in paper, cardstock and poster board.
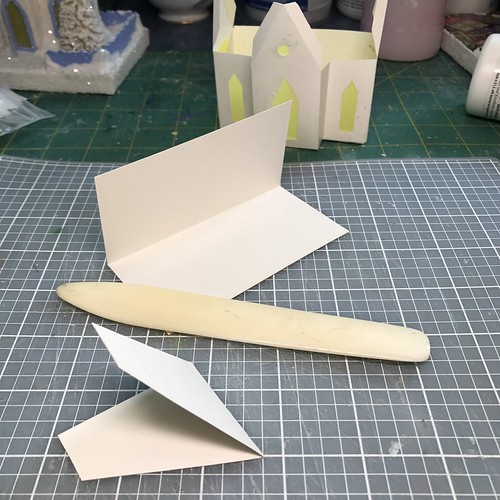
Scoring tool / Ball Stylus
Scoring a fold line helps the paper or cardboard fold more easily. I like the fact that mine is green. It is easy to pick it out when I’m looking for it, whether it’s in my tool organizer or on the craft table.
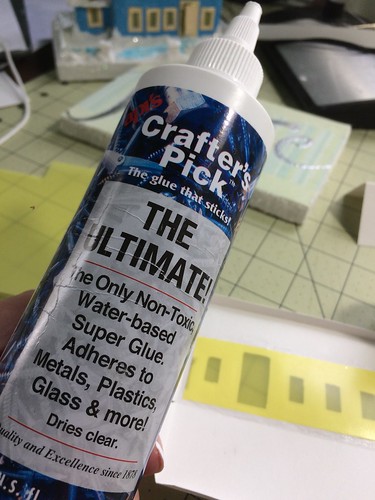
White glue
I use Elmer’s Glue to mix 1:1 with acrylic paint for painting Putz houses.
I also use Crafter’s Pick for an extra strong bond when assembling Putz houses and when applying window panes on the inside of the houses.
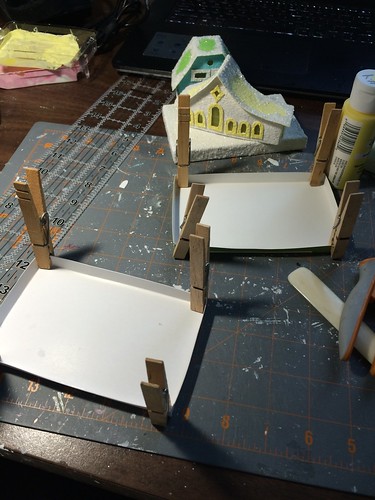
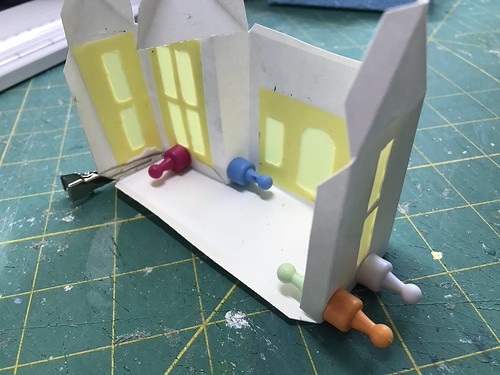
Clamps
When clamping glued pieces together, I like to use clothespins, magnets and hair clips.
Acrylic paint
Craft paint, acrylic paint, even house paint, can be used when making Putz houses. I like to make my Putz bases from greeting cards and I match the colors I use on the Putz with the colors of the greeting card.
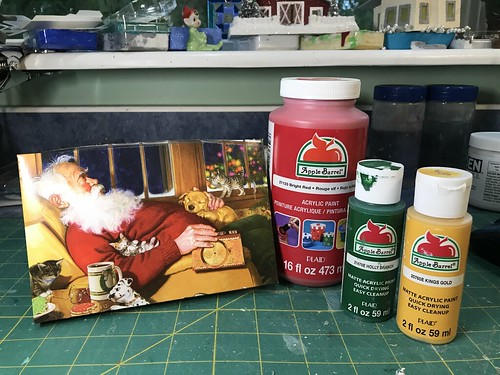
Here is a link to my tutorial for making bases from greeting cards. Greeting card bases
Glitter
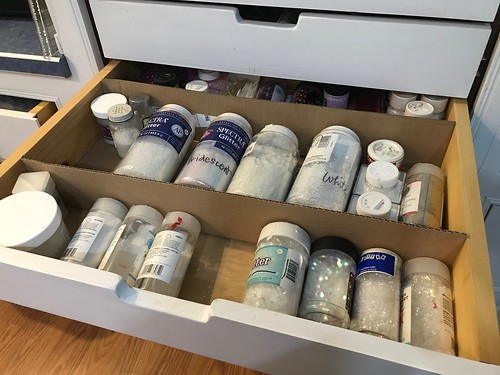
If you’re just starting the hobby of building Putz houses, I would suggest you start with two basic glitters. A fine one and a coarser one. Both in clear. I use Recollections Extra Fine Glitter “Snow.” For the larger glitter, I use Spectra Glitter “Clear”.
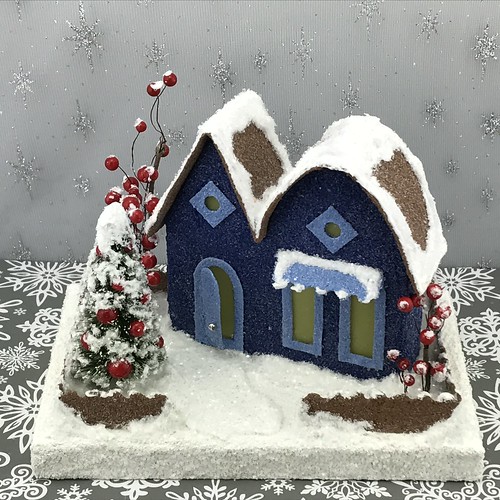
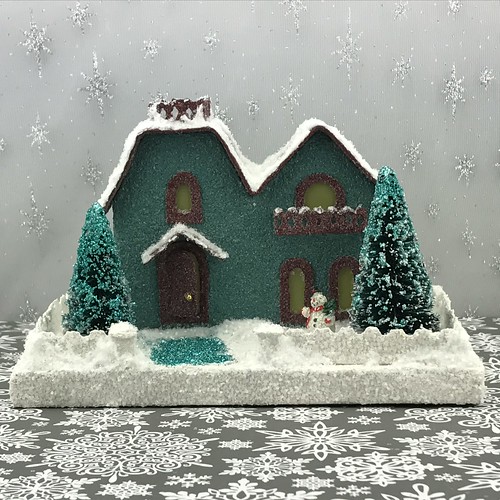
The glitters in this picture are different brands than I use now, but they are the same size as the glitter I use every day.
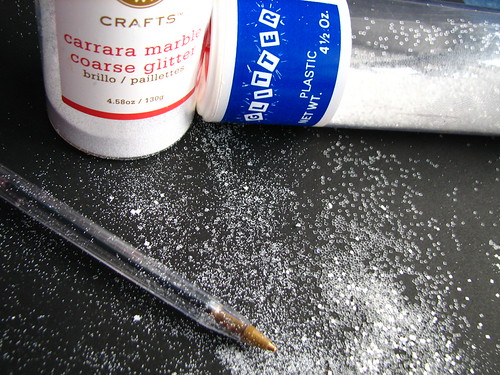
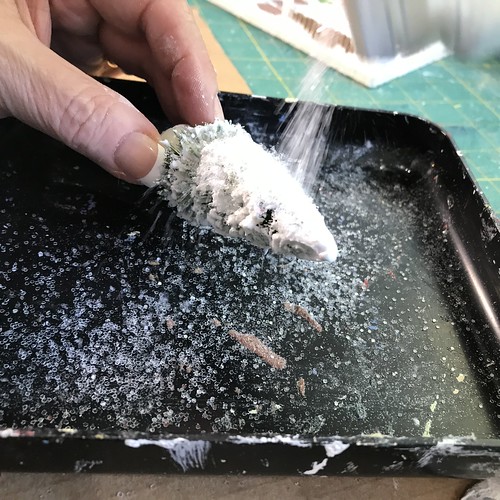
This photo is looking down onto the roof of one of my Putz houses. I use the fine glitter on the painted parts of the house and the larger glitter on the snow.

If you love to Putz, you will probably collect a nice stash of glitters, in different sizes and colors. I have a drawer full of clear, white and iridescent glitter in a variety of sizes.
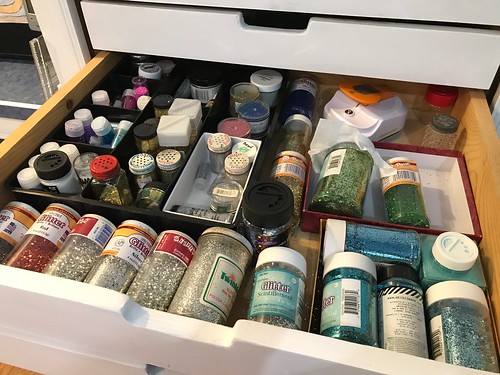
And a drawer of colored glitters, also in a variety of sizes.
Glitter Trays
When using glitter, it is handy to have a couple of glitter trays. I have a larger one and a smaller one, and I use them every day. Be sure to buy one with a lip over the opening. It’s much easier to pour the glitter without spilling it if the tray has a lip (see the black tray below).

Sand
I use sand in my paint to give my Putz houses a vintage-style texture. We had a bag of white playground sand on hand, and I filtered it to use. If you want to use sand to give your Putz texture, use a fine sand. You can find sand at home improvement stores like Home Depot or Lowes. I keep mine in a quart jar on my craft desk and refill as needed.

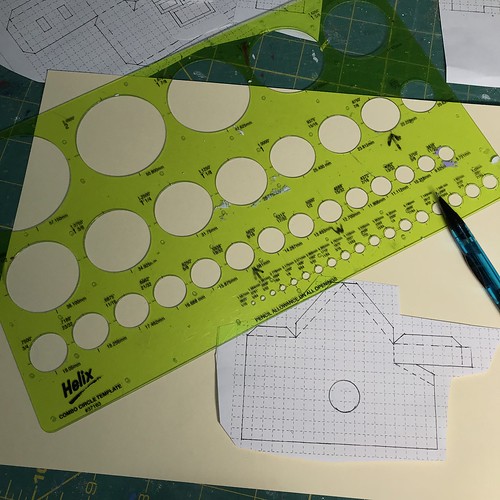
Circle Template
Useful for many circle sizes. I use mine to mark the hole in the back, to draw a frame for that hole, and for rounding the tops of Putz windows and doors.
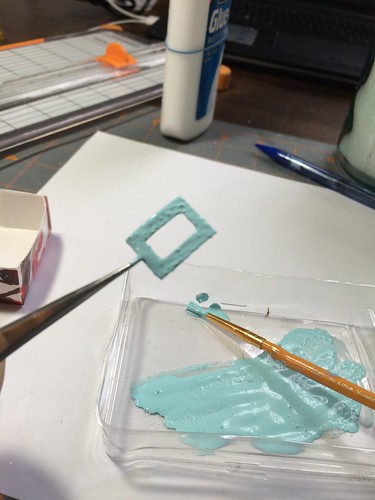
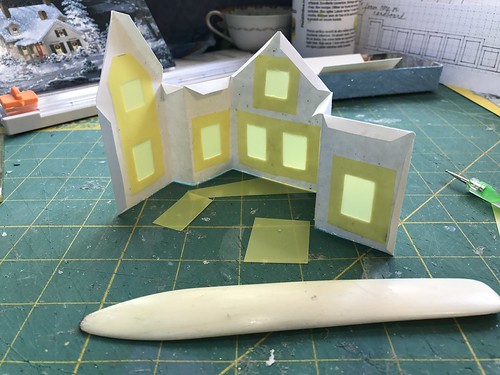
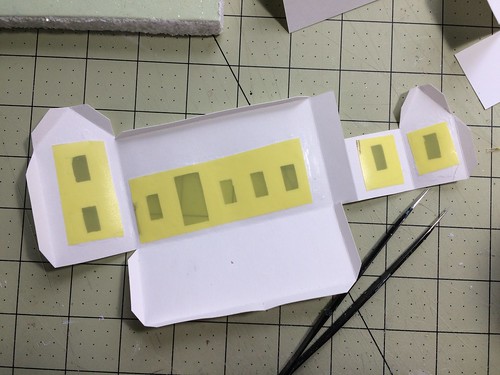
Material for use as window panes
I use yellow transluscent plastic folders for covering the windows. This creates a warm friendly glow when the house is lit with a small LED light.
Vellum or cellophane can be used. There are also sites online where you can buy reproduction window and door replacements to resemble vintage Putz houses.
Yellow Highlighter
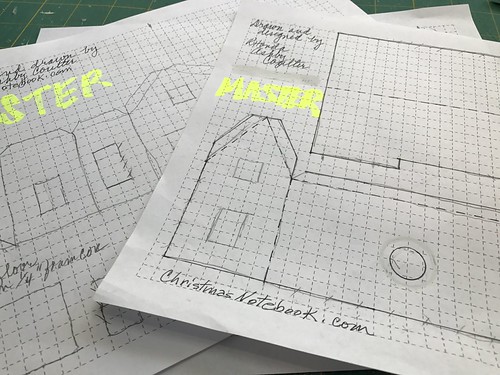
When I draw a new pattern for a Putz building, I use a wide stroke yellow highlighter to mark MASTER across the top of the page. When I’m ready to make a new Putz, I make a copy of the pattern in black and white, on regular printer paper. The yellow highlighter doesn’t show up on the copy and I am always sure of which pattern NOT to cut!
Patterns
You can google < putz house patterns > and click IMAGES. A lot of images will come up. Click on any you would like to look at and click VIEW PAGE.
I like to draw my own patterns of vintage Putz houses I find pictures of online. Once you have made some Putz houses from patterns you find, you can use them to help you design buildings of your own.
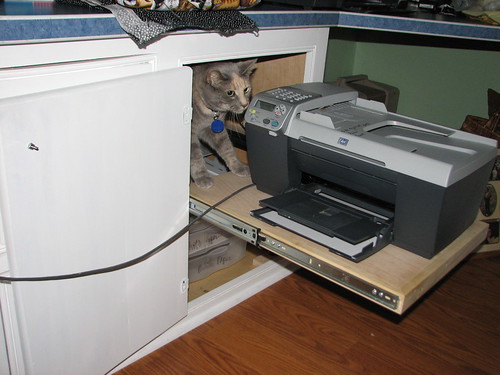
Printer / Copy Machine
The printer is useful for making copies of the patterns I want to use. I often reduce the size of a pattern by 15-20% to better fit the card I want to use as a base. And sometimes the cats find this machine amusing.
Tool-go-round or Turnabout
My desk is usually a mess of tools and supplies. Everything I am using stacks up and takes up space. But it’s still my happy place!
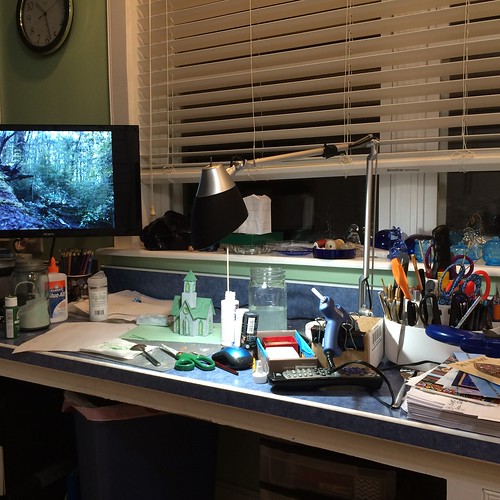
To keep my tools in reach but organized, I use a “turnabout” that I bought years ago from Pampered Chef. It sits about 18″ to my right, on my craft counter, as I work. It is a space saver and is SO handy. I depend on it every time I sit at my desk. I can’t imagine crafting without it.
The Pampered Chef version is great because it rotates, it has multiple compartments that are tall enough for pens, scissors, etc., and it has three tiers. I don’t know if it is still available from Pampered Chef. I saw two on Amazon, but they were expensive. When I bought mine, I think it was $25, which, at the time, seemed like a LOT of money. Worth.Every.Penny.
If you’re interested in using a rotating tool organizer, a DIY version could be made by gluing containers of various sizes to a lazy susan. Or, you can google < rotating tool turnabout > or go to Ebay and search < Pampered Chef Turnabout >.
I have enough tools and supplies to write another blog post, but the ones above are the ones I find most useful. If you have any questions, please ask! I am happy to help.
You can find my Putz tutorials here: Putz Tutorials
~~Rhonda
11 Comments
MANY years ago, I had the happy opportunity to see the creative departments of companies that were installing computers for the first time. It was fun to view the “back of the house” to see how company logo, packaging, etc. were conceptualized and made into mock-ups. Thank you for sharing YOUR back of the house, literally!
Thanks for this generous highlight of tools and supplies. I particularly appreciate the tip on mixing half glue and half paint. Well done throughout and makes me Christmas happy in July. Thanks again.
Thank you for sharing this information. The details help me realize what tools to focus on first, and the images are invaluable. I love the idea of using magnets to hold pieces together!
Luann, I’m so glad you found it helpful! Thanks for leaving a comment!
Loretta, so glad you enjoyed it and found it helpful!
Hillary, you are welcome! Thank you for leaving a comment. 🙂
Thanks for taking the time to share.. Question on the circle template. What size hole do you draft/cut for the led/mini lights that are used with the Putz.
Debra, I use the 19/32″ for the light hole and the 7/8″ hole to make the frame for the 19/32. I marked the template with black arrows on those holes so they are easy to find, as they are the two I use the most often. 🙂
Cool post. I like how you glued scissor samples on the side of your caddie so you know what the pattern looks like.
Hi Rhonda, I am trying to figure out/find what people use to mimick the cocoanut fiber that is ound on many of the putz houses from the 1930’s. Are you aware of a substitute? Any help would be most appreciated. Hope you had a wonderful holiday!
Todd
Todd, I don’t use the coconut finish for the Putz houses I make, so have little helpful information. I can direct you to this article.
https://www.cardboardchristmas.com/html/the_secret_of___coconut_.html
And this follow-up article.
https://www.cardboardchristmas.com/html/coconut_raw_materials.html
A few links no longer work, but most are still good.
I hope you find this helpful. ~~Rhonda