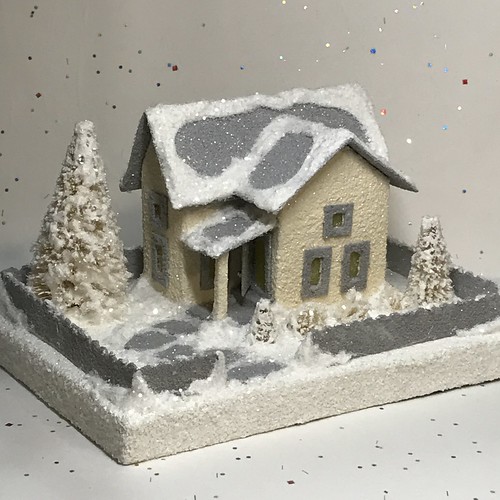
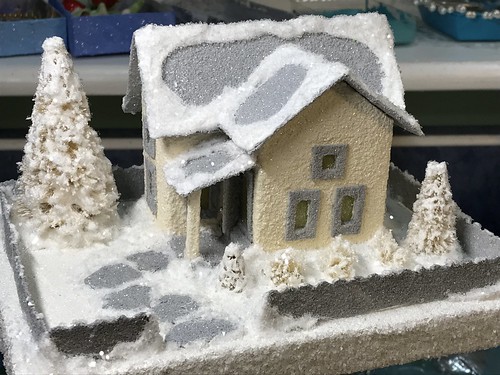
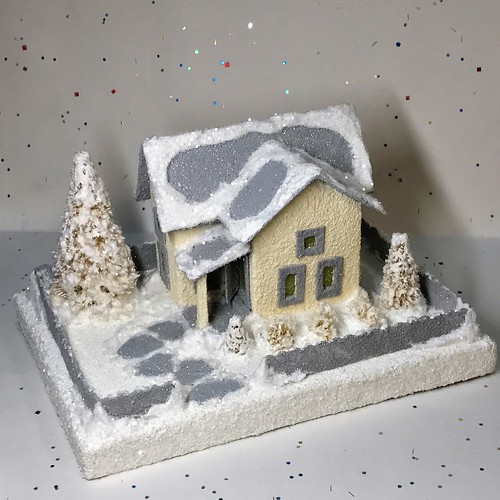
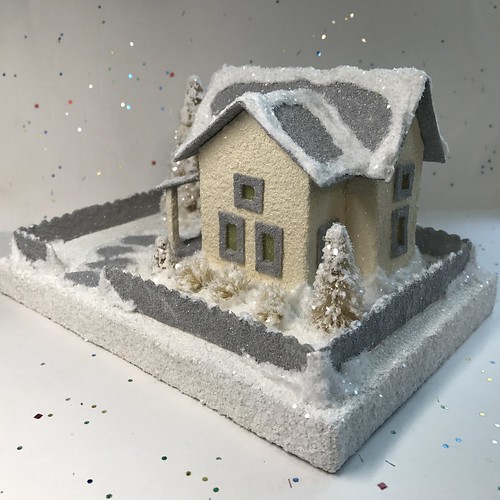
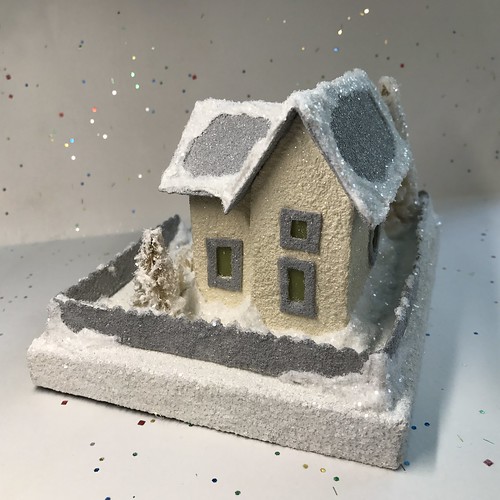
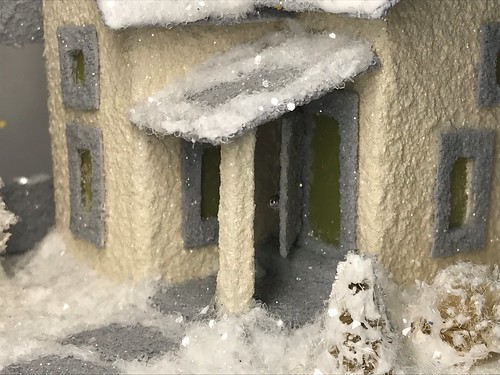
My latest Putz house took longer to finish than usual. I had to work out a few problems as I went along. But I am very happy with the way it came out. I had hoped to add green shutters but there wasn’t enough room on the front between the two windows. Next time I make it, I will move those windows farther apart and add the shutters. I’ll add a chimney or two, also.
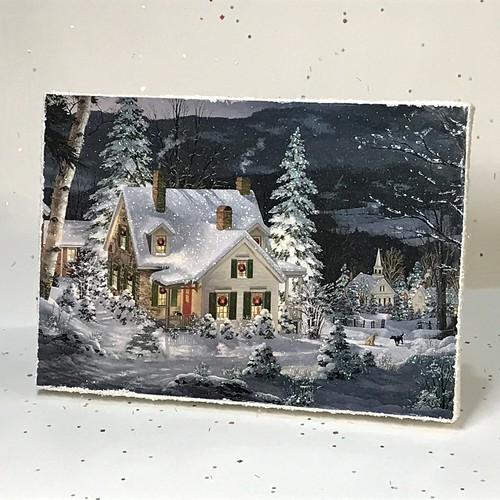
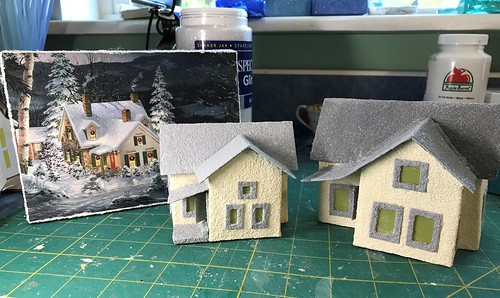
The process began when I chose this Christmas card as a base. I like to make bases ahead of time so I have them ready when I’m making a new Putz house. I match the new house to the colors used on the card base. I liked the house on this card so much that I decided to draft a pattern for it.
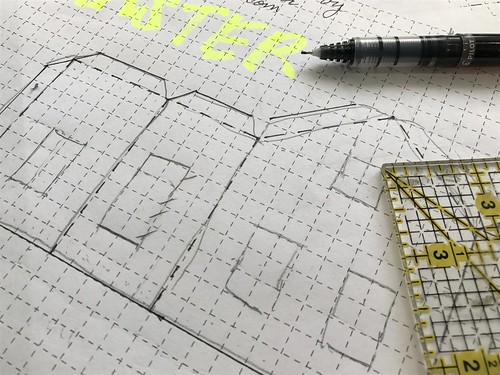
When I start a new pattern, I rough it out on graph paper. I don’t use a ruler or a straight edge at this point. I just count squares.
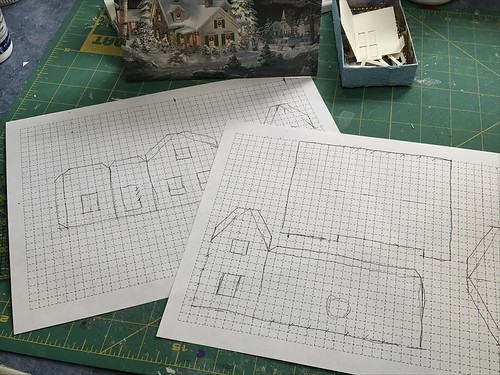
I copy and cut the pattern pieces and glue them together to make a paper mockup. This shows me immediately if there are errors that need to be corrected.
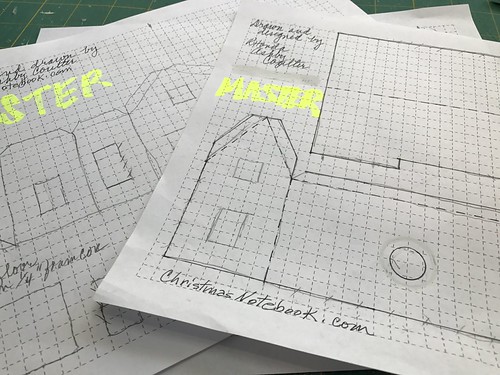
When the pattern is corrected, I draw over the rough pencil lines with a permanent, fine point, black pen. I prefer the PRECISE V5 Rolling Ball Extra Fine pen. It makes a thin, dark line and doesn’t soak into the paper making large dots of ink.
I mark each pattern page with MASTER, using a bright yellow highlighter. This has saved me from cutting into the original pattern several times. I also add my web address and my name.
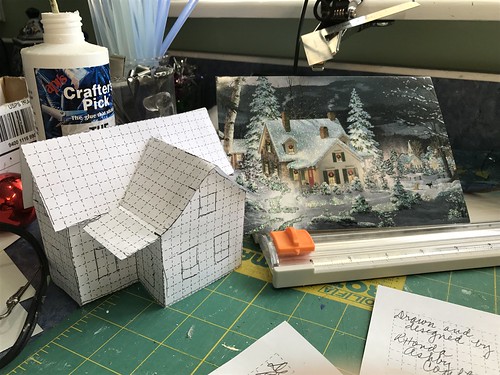
After the ink is dry and any whiteout used is dry, I erase all the pencil lines and the pattern is ready to copy. I cut all the pieces apart and then they are ready to cut from poster board.
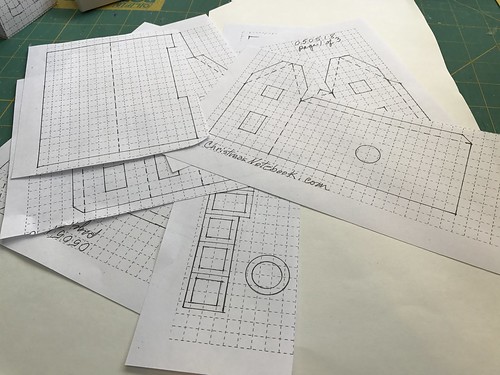
After cutting the pattern pieces, I add the window panes.
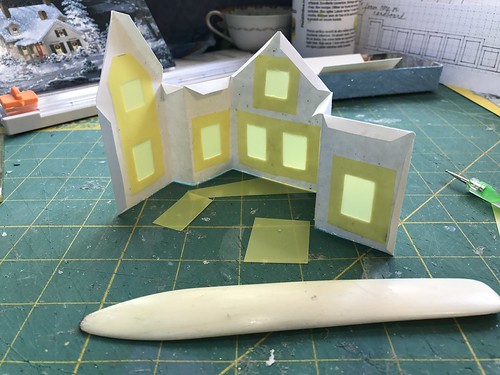
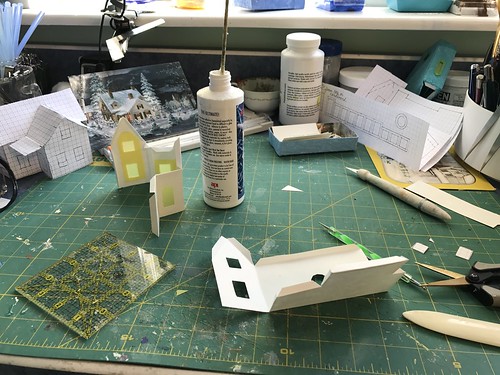
When I glue the pieces together, I love to use these little “push pin” magnets to hold the seams together till they dry.
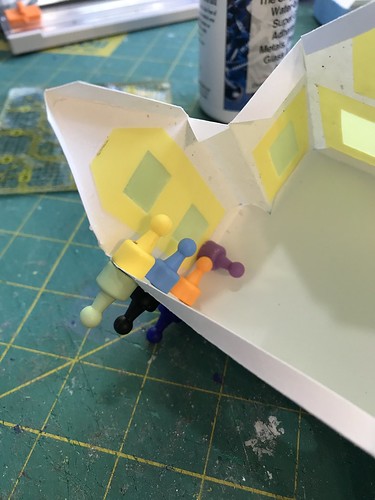
Here’s another picture of the magnets in use on a different pattern. I also like the alligator clips with no teeth for use as clamps when making Putz houses.
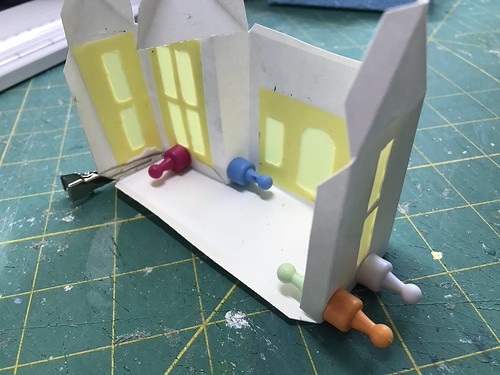
In process…
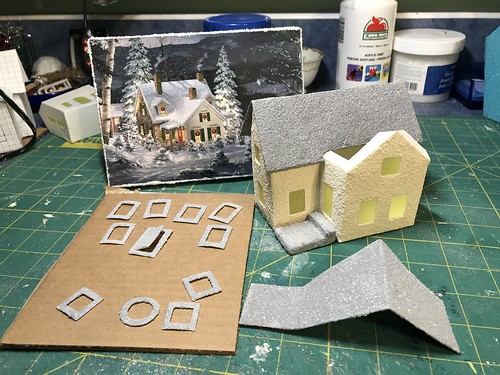
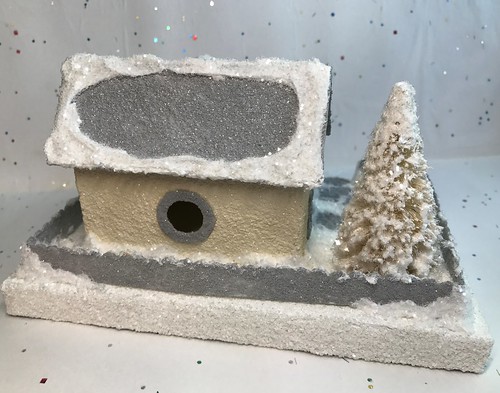
After I finished the Putz house (the one on the right), I decided the scale was too large for the base, so I drafted a smaller version and it was much better.
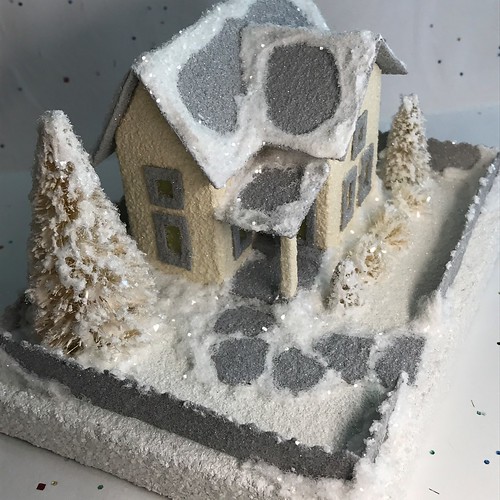
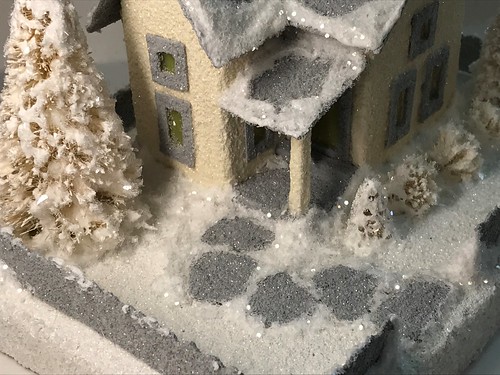
I cut a tiny bottle brush tree into sections and trimmed them to use as shrubs along the front of the house. Then I added two other bottle brush trees to the yard. They were liberally sprinkeld with glass glitter.
I hope you enjoyed seeing part of the Putzing process. This house is listed in my Etsy shop. You can see many of my other Putz houses and churches there, as well.
If you are interested in crafting some Putz houses of your own, check out my Putz tutorials for more information. Putz House Tutorials
Thanks for stopping by! ~~Rhonda
2 Comments
I love your houses and your tips and tutorials. It looked like the card had a narrow top on the window frame and the sides of the frame were a little wider than normal. Could the frames be painted to look like the shutters?
Bonnie, that’s a great idea and one I will try on the next house I make with that pattern. 🙂