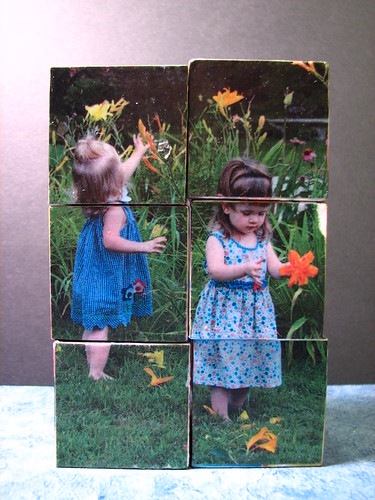
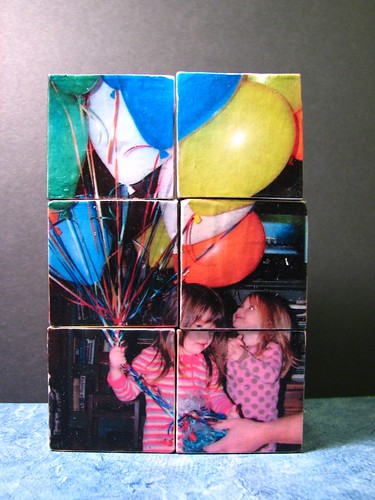
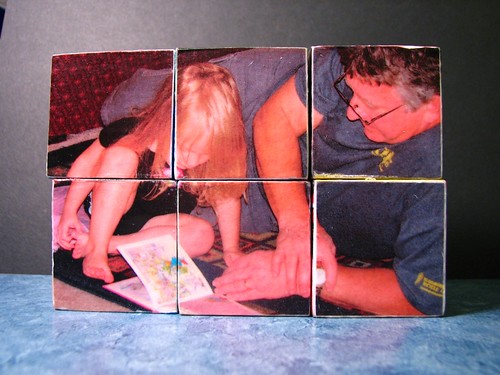
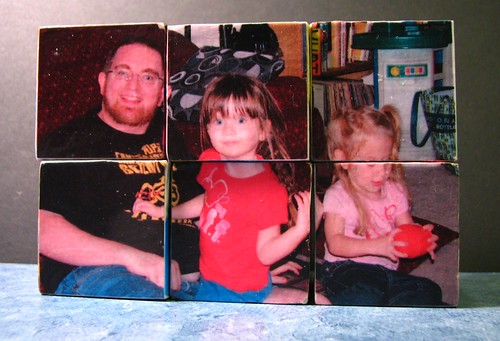
Last year I made these puzzle blocks to use as stocking stuffers for my granddaughter. They turned out well, though I learned a few things. Like, don’t use a picture that will cut someone’s face into four pieces. And choose six pictures with very different coloring around the outside edges, if you can. It will make the puzzle solving easier for young children. An alternative would be to add a border of a different color to each picture, or to paint a border around the picture after it has been decoupaged.
Choose six pictures you want to use, and print them on regular computer paper. I didn’t try them on heavier photo paper, but decoupaging works more easily with thin paper than thick paper. Cut the pictures to fit the size of your assembled blocks. I used six 1 1/2″ square blocks, though any size and number can be used. I trimmed my photos to 3″ x 4.5″ and then cut each picture into six squares.
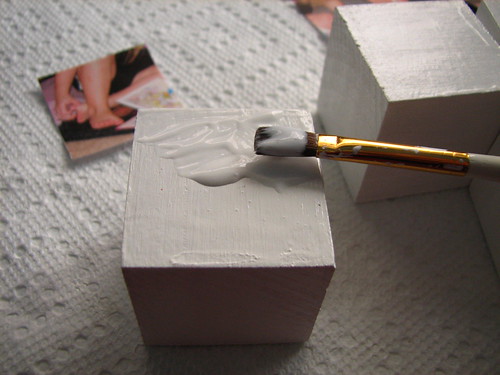
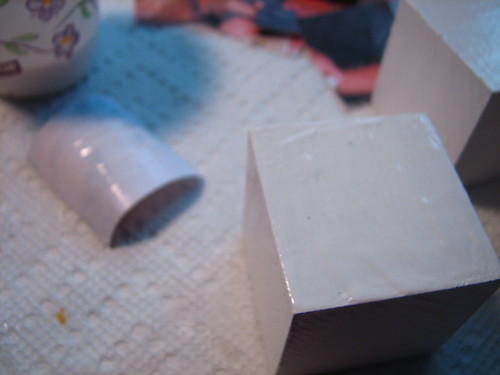
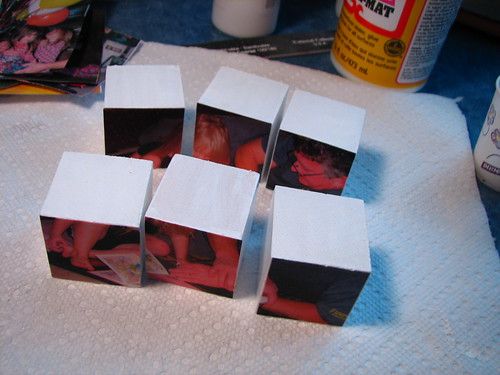
Sand the blocks to remove rough spots (use sandpaper or a large emery board). Paint a base coat of white acrylic paint on the blocks and let the paint dry thoroughly. Sand with a fine emery board and wipe the blocks to remove any dust.

Paint decoupage glue onto one side of a block. I used Mod Podge, which is readily available at Wal-Mart, etc.
Paint some Mod Podge on the back of a picture square. It will make the paper curl. No problem.
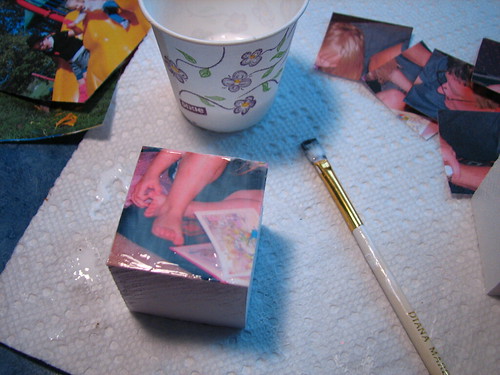
Adhere the picture square to the wooden block, sliding it to meet the edge of the block. Use your finger to press out any bubbles or wrinkles. If you don’t do this now, they will be a permanent part of the block.
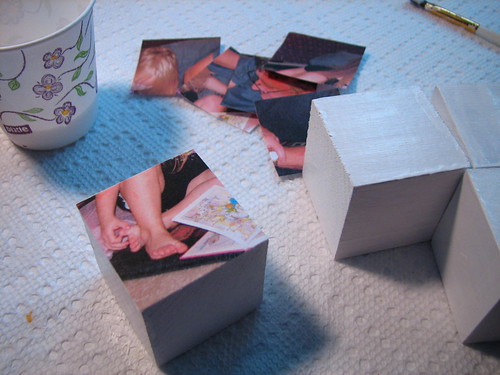
Top the picture with a coating of Mod Podge. While this picture dries, work on other blocks for the same puzzle.
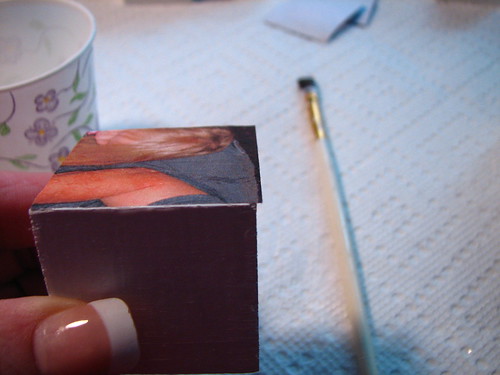
Sometimes, the picture doesn’t quite fit the block. Think about which side of the picture is the outside edge of the puzzle and slide the picture so that the outside edge of the puzzle is the overhang. Otherwise, you will be trimming off part of the picture that needs to match another block. You can trim it with a very sharp X-Acto knife or sand the edge when it is completely dry.
I used an emery board to file the picture edge, after it had dried completely.
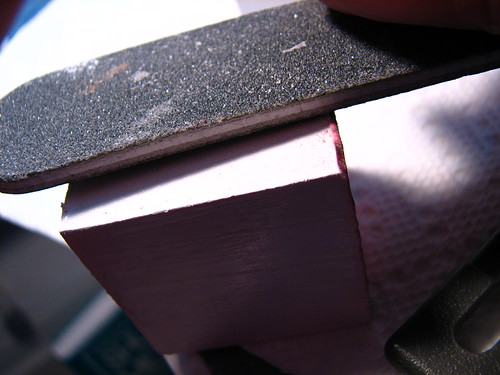
Filed edge completed.

One puzzle side done, though not dry yet.
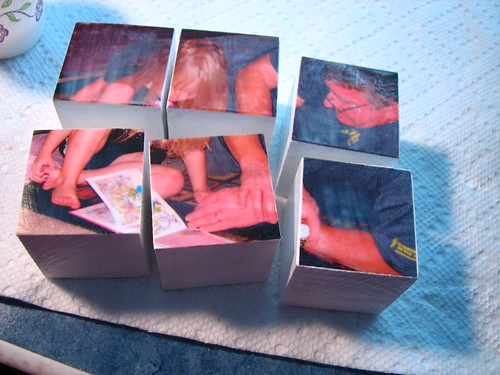
Keep working your way around the blocks, completing an entire picture at a time.
When the Mod Podge is completely dry, spray or brush a coat of sealant over the pictures.
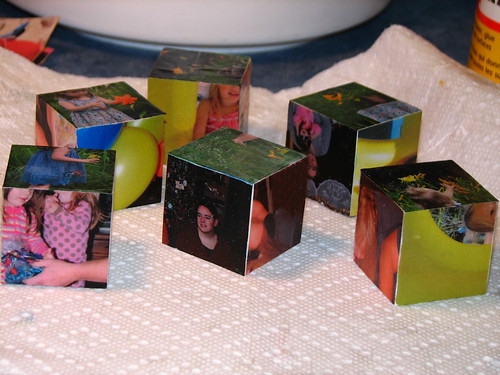
My granddaughter was so surprised to get a puzzle with pictures of herself and family members on it. My friend Tricia and I plan to get together to make some for this Christmas. A fun craft!
Update / Feb. 2016:
Four and a half years later, Tricia and I finally made block puzzles together! She made a set for her granddaughter for Valentine’s Day and I made a set for myself. You can see the one I made at this link: picture puzzle blocks 2
I also took the opportunity to update this tutorial a bit. If you have any questions, please ask.
~~Rhonda