This post shares how I “snow” bottle brush trees for a lush look on my Putz house displays.
Supplies needed for snowing and glittering bottle brush trees:
- bottle brush trees
- Aleene’s True Snow
- Squeeze Bottle
- Palette Knife or other blade
- Hot Glue Gun
- Glitter / My most used glitter is Spectra Glitter Clear. I also like to use glass glitter.
- Glitter tray or other option for catching extra glitter
In this post, I’ll show you how I make a bottle brush tree with just the snow and glitter. In a few days, in another post, I’ll show how I make them with ornaments and bead strings.
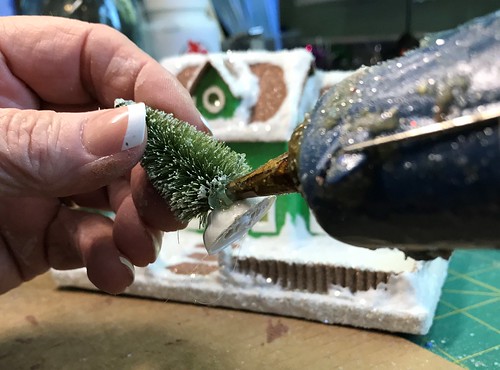
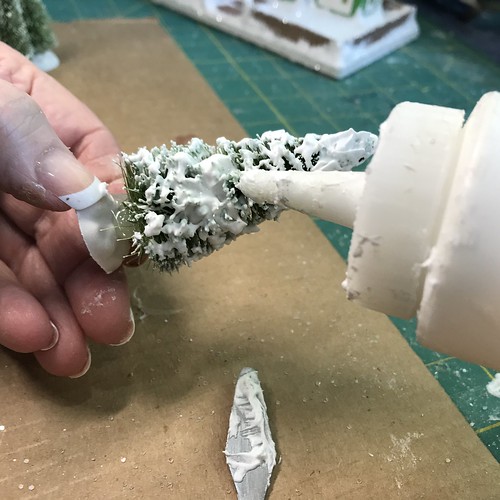
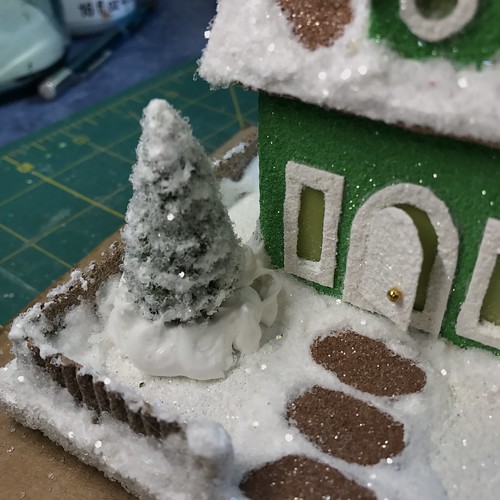
If the bottle brush tree has a plastic base, I put some hot glue on that to be sure the tree stays attached. I have found the wooden bases stay on well, but the plastic ones tend to come loose. I cover the bases with Aleene’s True Snow when putting the finishing touches on my Putz houses, so I just glob a good amount of glue on top the base, catching the lower branches and the wire trunk, to keep the tree in place.
I put the True Snow in a squeeze bottle. I use bottles sold for decorating cookies with royal icing. I like to put snow on the top of the tree first.
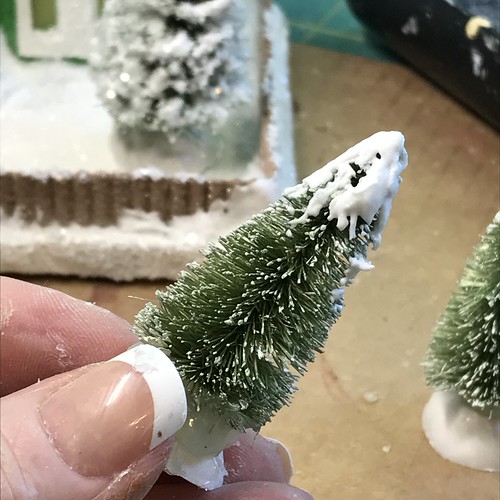
Then I squeeze some snow out in horizontal lines all the way around the tree. I forgot to do the top first on this particular one…

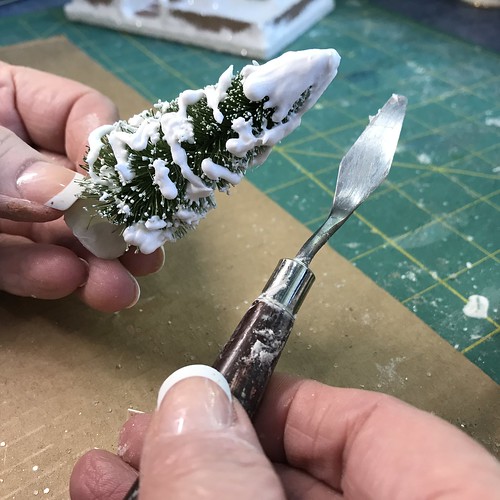
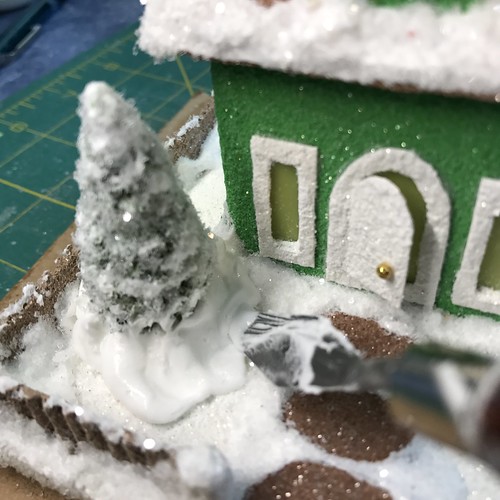
After the snow is on the tree, I use a palette knife to spread the snow, swiping across the snow in a horizontal direction.
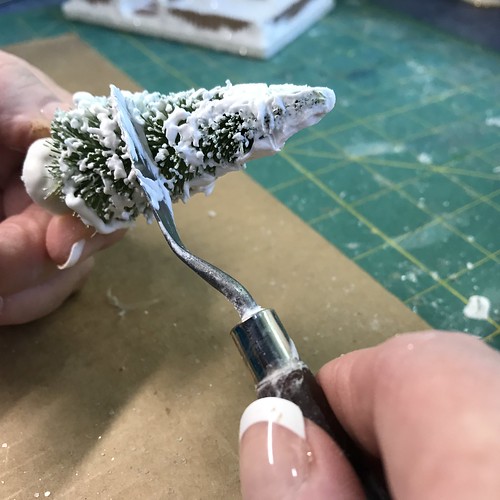
In the following picture, you can see a hole in the branches just above the tip of the palette knife.
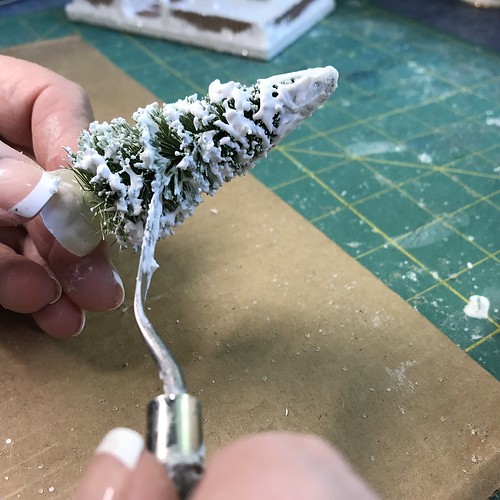
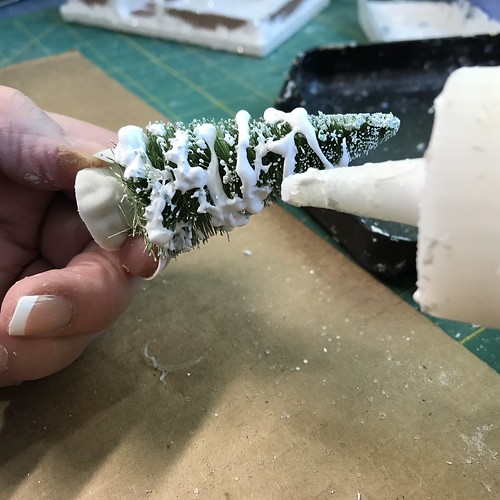
To fill those holes, I poke the nozzle of the squeeze bottle in there and squeeze out enough snow to fill the void.
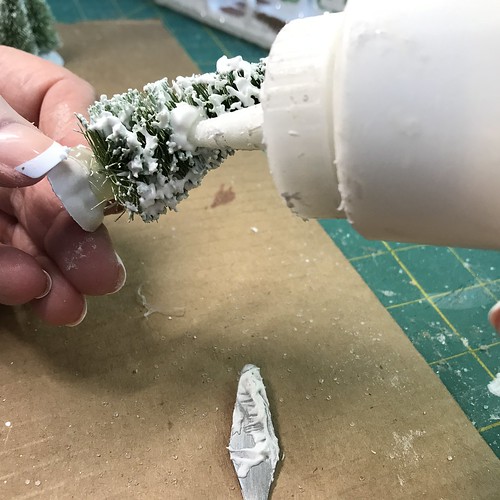
The tip of the squeeze bottle can be used to spread the “snow” around a bit, blending it in with the other snow.
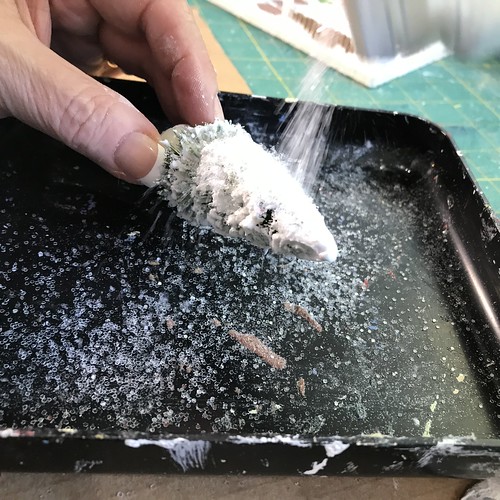
Then, while the snow is still wet, pour on the glitter of your choice. Cover the entire tree. Pour over a glitter tray to catch the extra. If you don’t have a glitter tray you can use a sheet of paper to catch the extra glitter, then fold the paper to pour the extra glitter back into the glitter bottle.
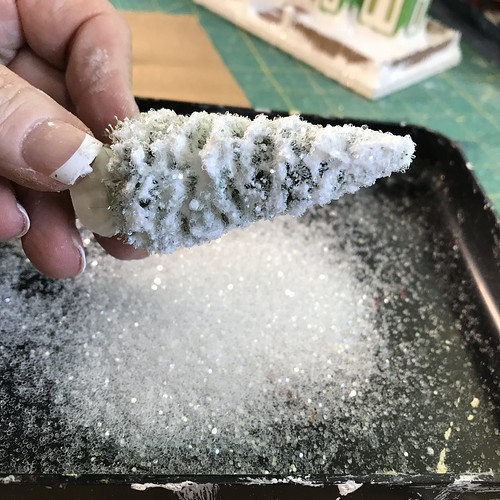
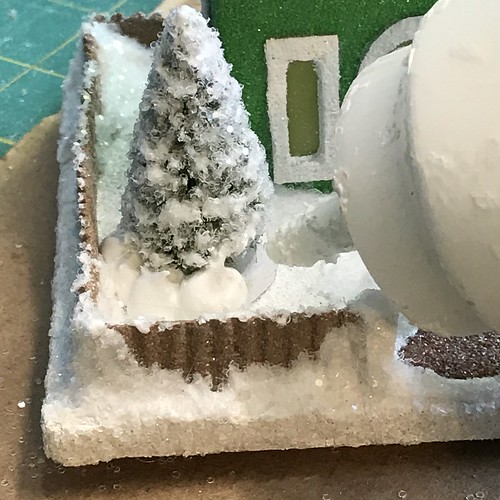
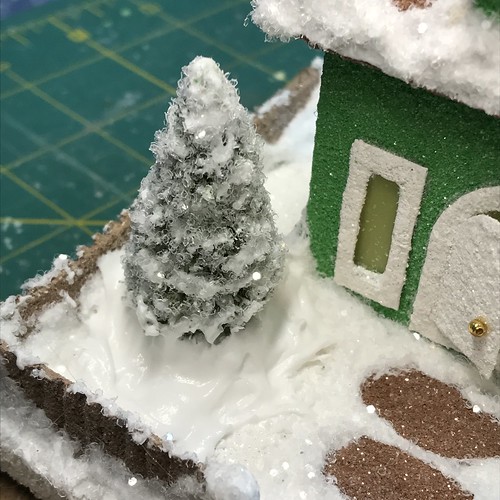
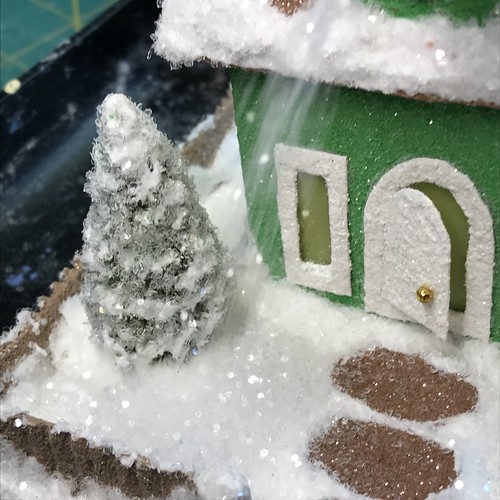
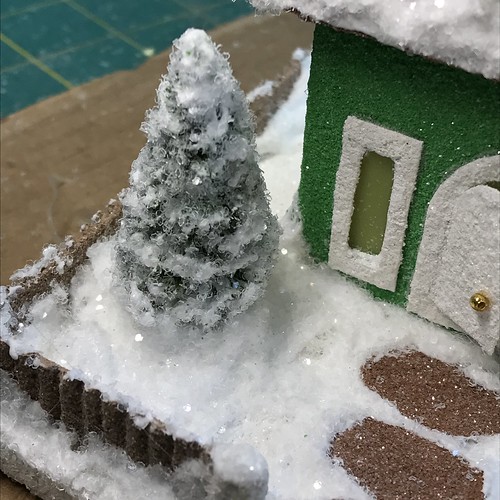
A nice full tree! Lots of snow and glitter.
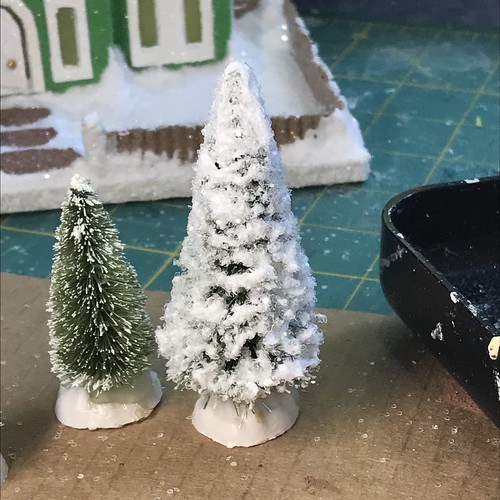
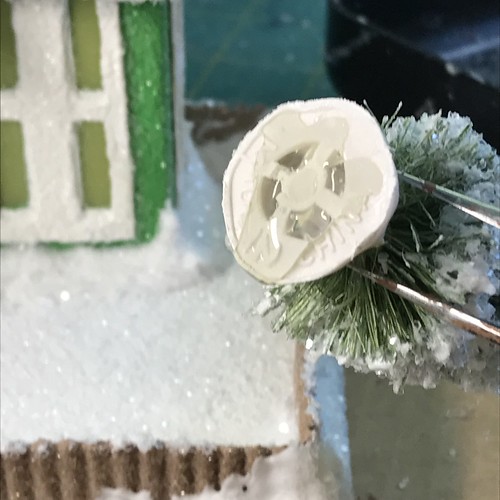
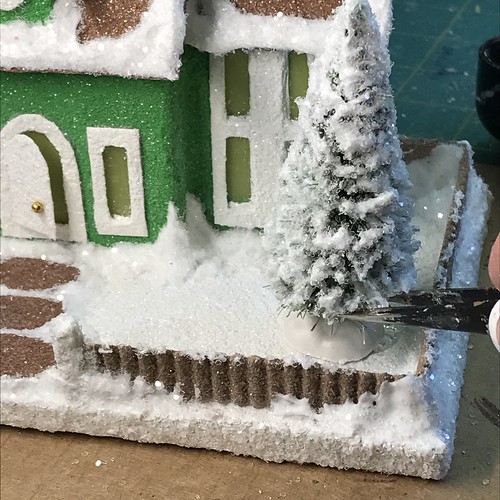
To attach the tree, I use hot glue on the bottom of the tree. I like to use needle-nosed tweezers to hold the tree in the right position for placing on the base.
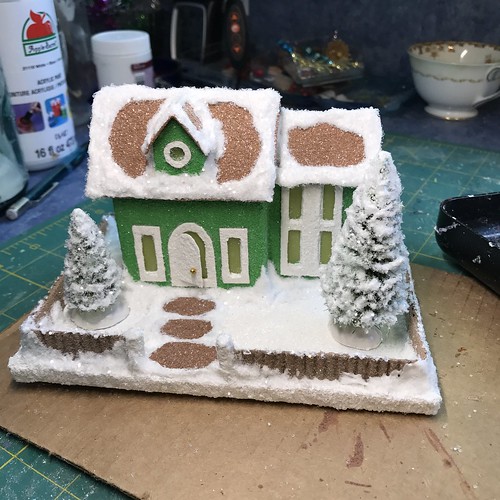
FYI, the “picket fence” is made from corrugated cardboard.
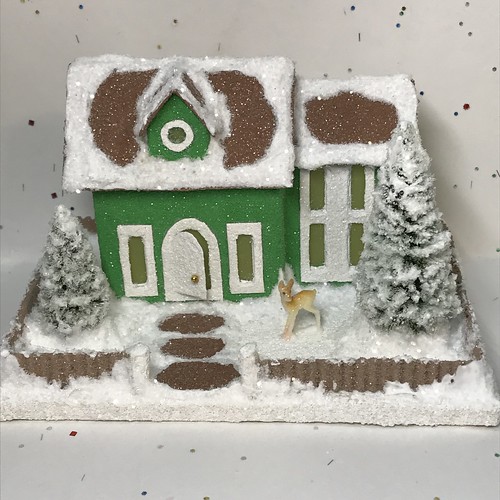
The heavily “snowed” trees make a beautiful snowy scene. I will write another post soon to show you how I make the stepping stones like the ones in front of this little green Putz house.
To finish the look of the trees, I always cover the bases. I don’t like to see the plastic base on the completed Putz.
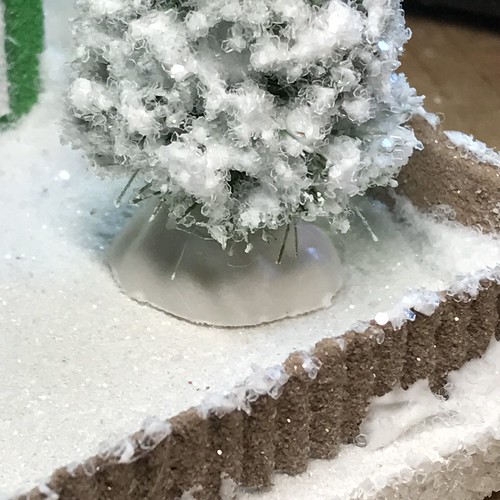
Using the squeeze bottle of Aleene’s True Snow, I apply snow all the way around the base.
It looks like this before I spread it out.
I use the palette knife to spread out the snow.
Done…
I place the house in the glitter tray and pour glitter all around the tree.
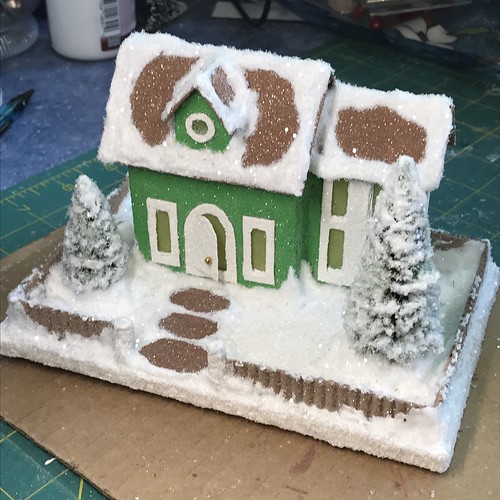
Done…
And almost done…I added a deer after I took this picture. It seemed to need something in that big open space…
If you are interested in crafting some Putz houses and bottle brush trees of your own, check out my Putz tutorials for more information. Putz House Tutorials
I am always happy to answer questions about the process. Please ask, if you are wondering about the details of putzing!
You can see my Putz houses and other Christmas ornaments in my Etsy shop.
All proceeds from my Etsy shop benefit Kenya Mercy Ministries. They work with the urban poor of Nairobi, Kenya, particularly the children and their families who live in Kibera, the largest slum in Africa. Thank you for your part in helping these children when you purchase items from my shop!
~~Rhonda
2 Comments
Thank you for sharing this tutorial, Rhonda. Very nice work.
Thank you, Loretta. 🙂 I am always happy to answer questions about putzing. Lucy asked about how I “snow” my trees, so I wrote this tutorial. I have some other questions in the lineup and will be working on them. Next up, will be decorating bottle brush trees with ornaments and beads. ~~Rhonda 🙂