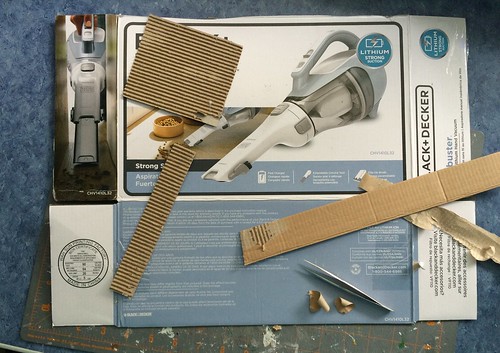
I have been trying several ways to make picket fences for Putz houses. I came up with some options, using corrugated cardboard. The cardboard I used is a thin cardboard with about seven ridges per inch. It came from a box for a dustbuster.
The “picket” fence I describe in this post was inspired by Laney at SugarplumPatchwork.com. She used corrugated cardboard as a fence for her little Putz houses. At the end of the post I will show a couple of more detailed options.
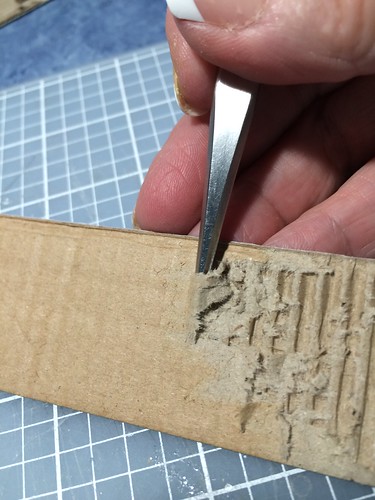
The first job is to clean the cardboard. One side has to be removed so the ridges show. I used fine point tweezers, slipping them under the side of the cardboard and peeling it off.
EDIT / 2020 I now use a spritz bottle to put a fine mist of water on the side of the cardboard I am removing. I let it set a 10-15 seconds and it helps the cardboard layer come off more easily. Sometimes it needs a second misting.
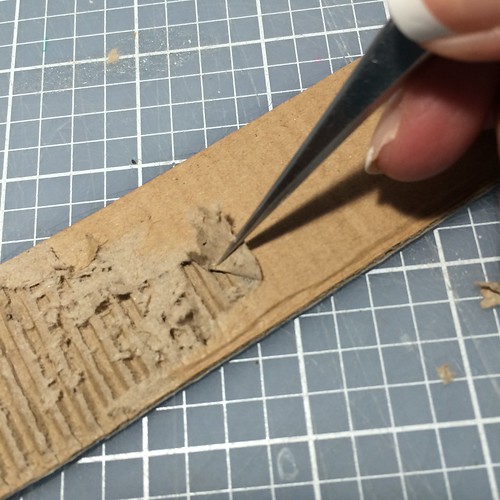
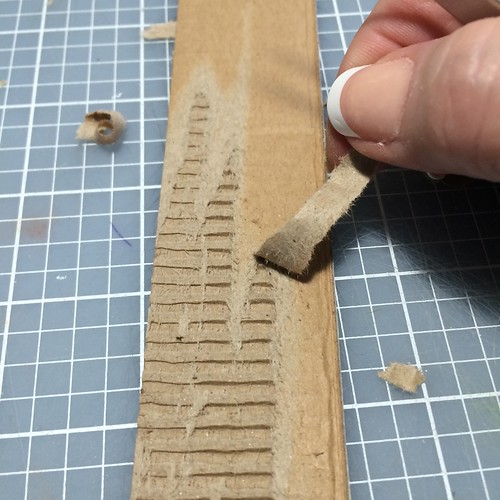
Sometimes you can peel a strip off by gripping it with the tweezers or with your fingers.
A stiff-bristled brush will take off some of the small bits that are left on the cardboard.
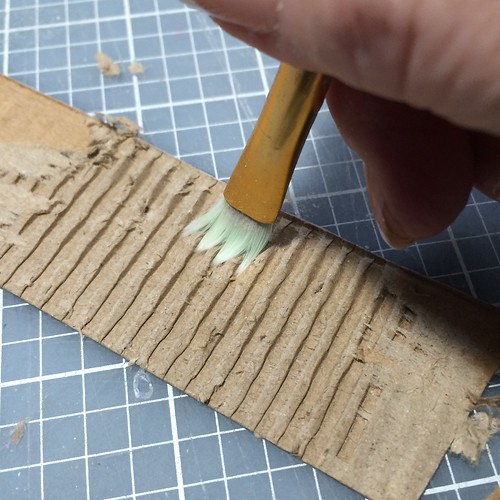
Before using a brush on the cardboard…
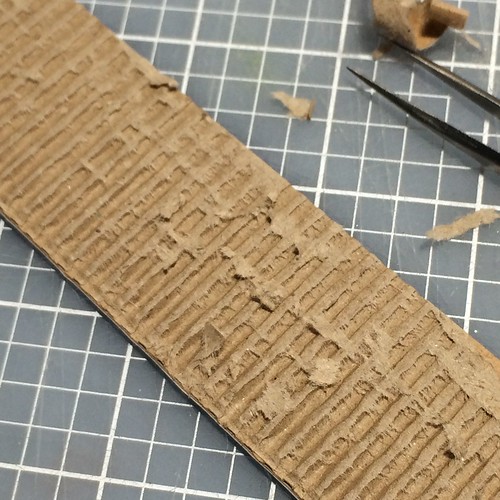
After…
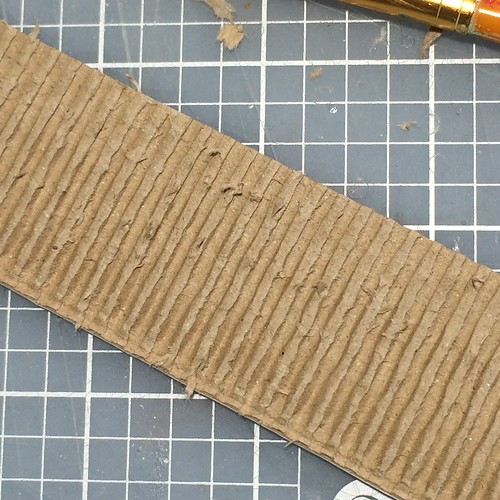
Cleaned. After brushing, little leftover bits can be picked off with tweezers, but I find that most of that doesn’t show after the cardboard is painted.
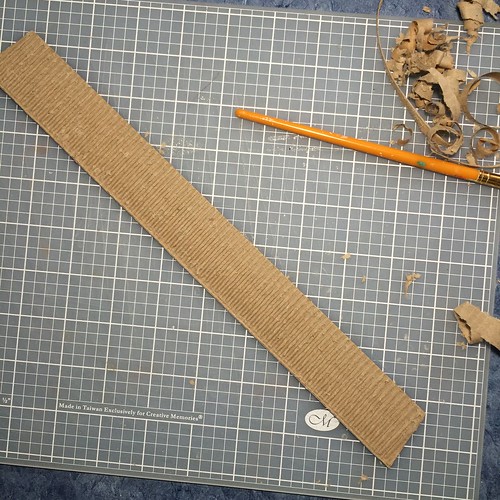
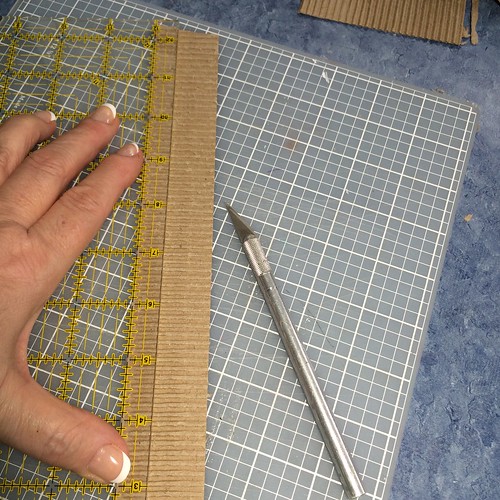
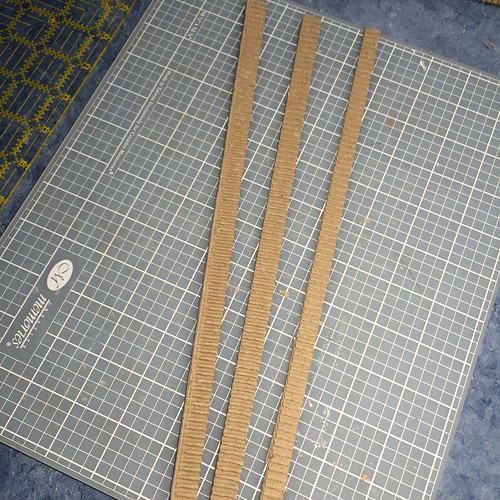
I cut 1/2″ strips to make fencing. The height of the fence should be in proportion to your house. A larger house than I usually make would need a taller fence.
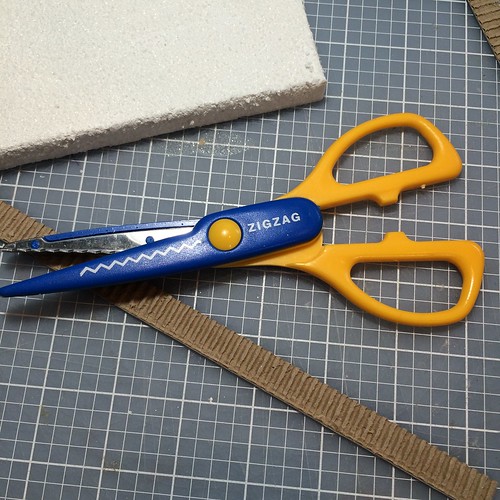
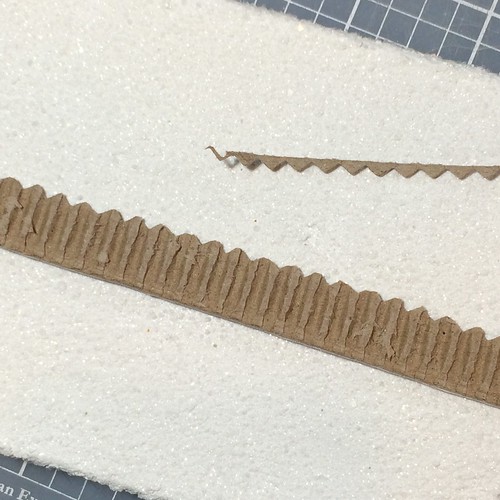
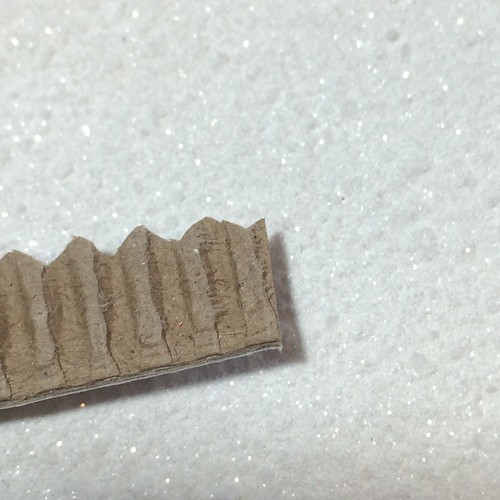
Zigzag scissors add a good “picket” finish to the top.
The end of the cardboard strip isn’t cut quite straight, so I trimmed that next.
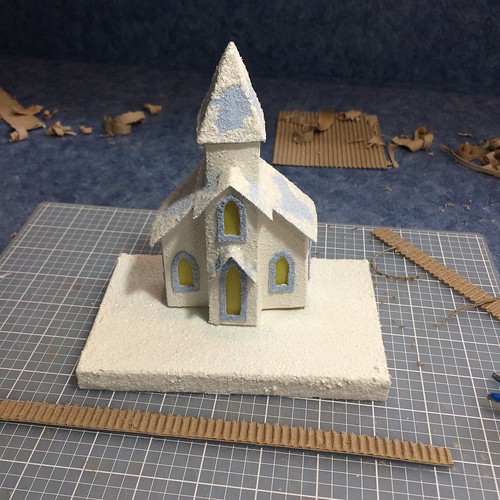
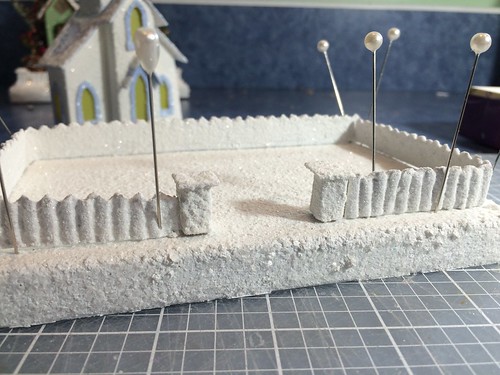
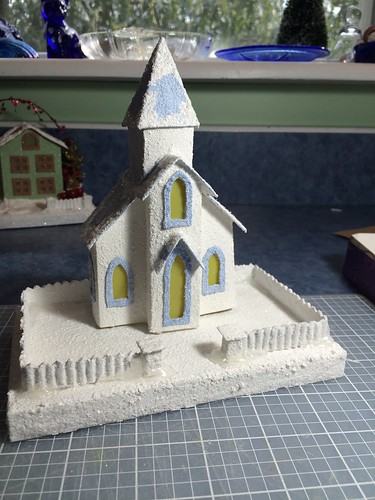
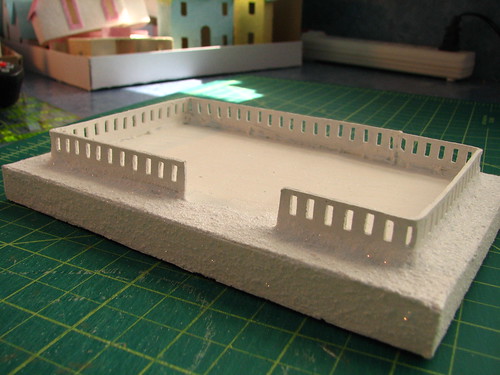
I chose a church to sit on this base.
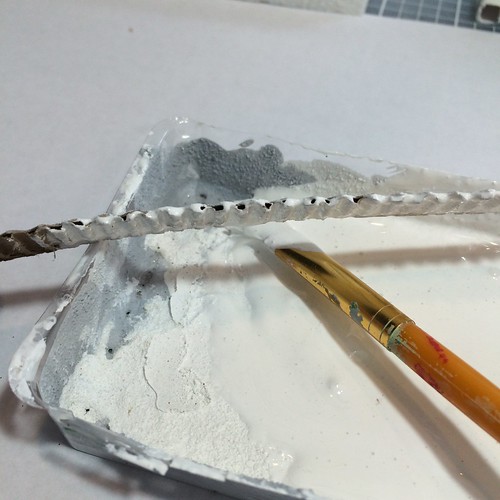
When I paint a fence, I use two coats. The first coat is 1:1 white glue and paint.
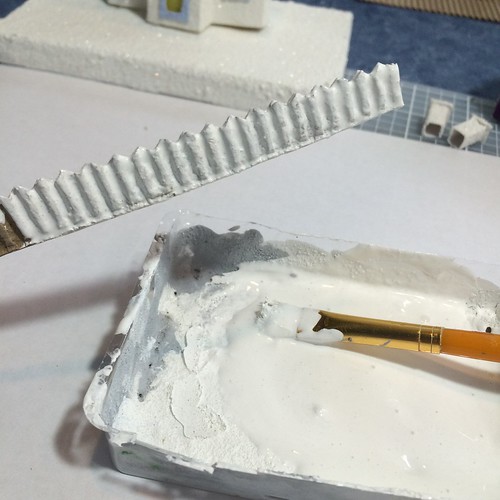
The holes made by the cardboard can be filled with molding paste, spackling, artificial snow (like Snow-Tex), or just paint over them. Painting over them worked well for me because the holes were very small in this thin cardboard.
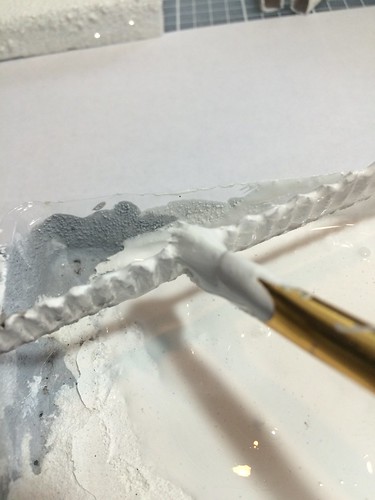
The second coat of paint gets an addition of fine white sand to give the paint some texture.
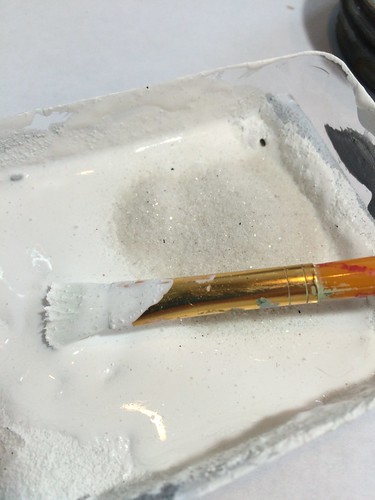

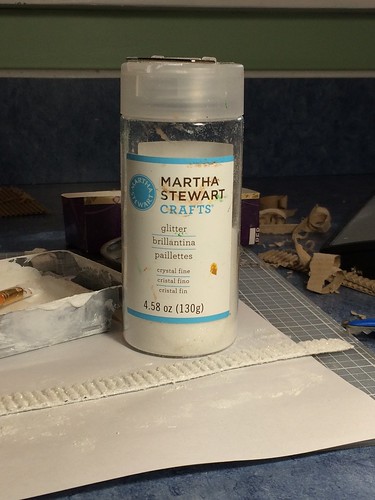
While the second coat of paint is still wet, I put glitter on it. This is the glitter I like to use.
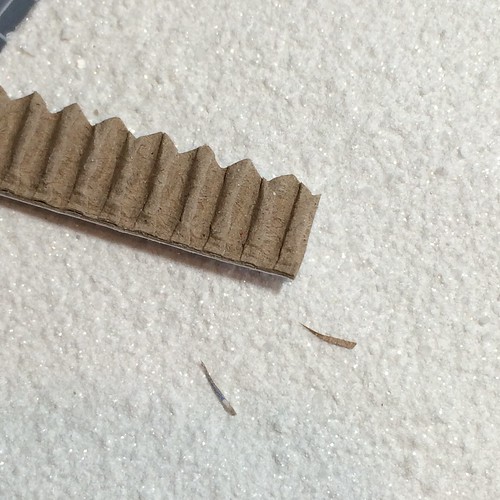
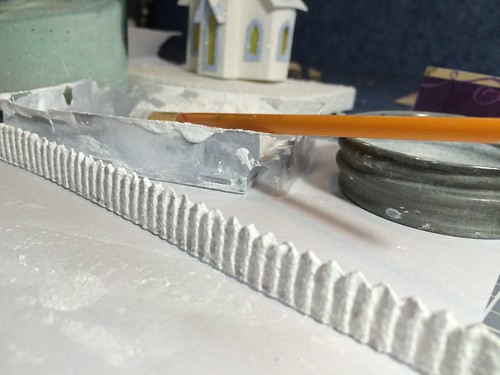
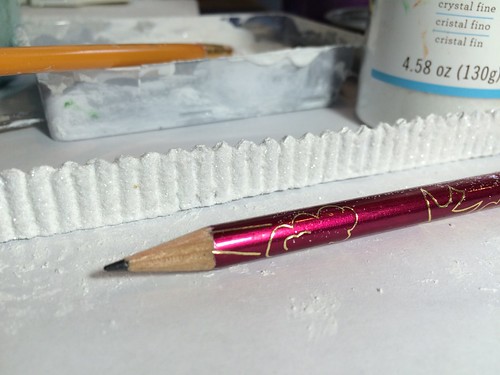
The pencil may give you some sense of the scale.
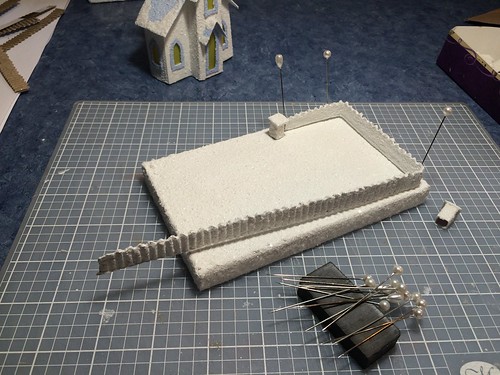
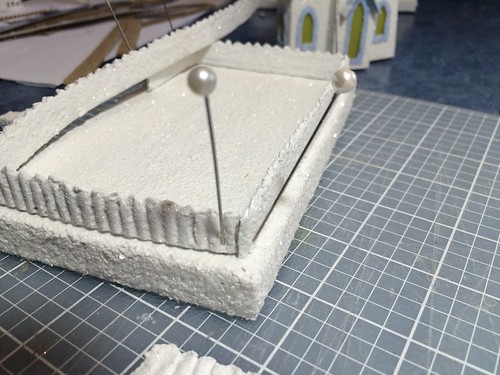
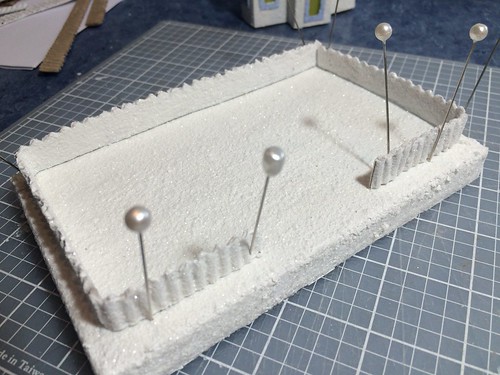
When the fencing is dry, it’s time to add it to the base. I begin by making a judgement about how long the fence will be. Should there be a large gap in the front or a small one? And should I add fence posts or not? How many? Depends on the house, your own judgement, what you do or don’t like. As with all crafting and art work, each artist brings his or her own skill and judgement to the project. Don’t compare your work with someone else. Develop your own style!

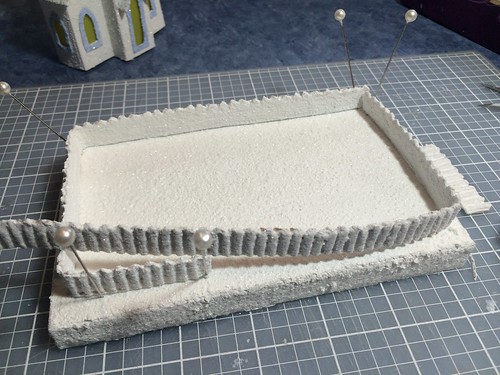
For this one, I decided to use two fence posts in the front. I bent the fencing around the corners. When I got to the back right hand corner, I cut the fence.
Making cuts like that are best done at the back where they are not as noticeable. They are easy to disguise with faux snow, paint and glitter, though, so if you need to make a cut in the front, do that. I never make a cut in the middle of a fence length, though. Always at a fence post or in a corner.
I use large pins to hold the fence in place until I am ready to glue it down.
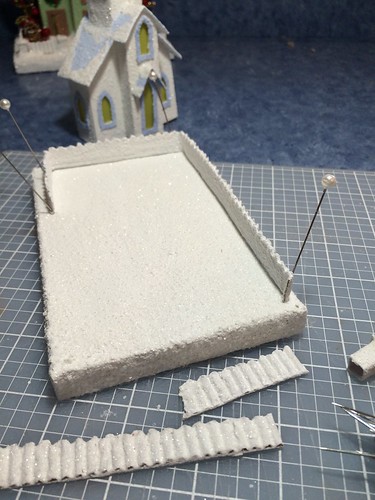
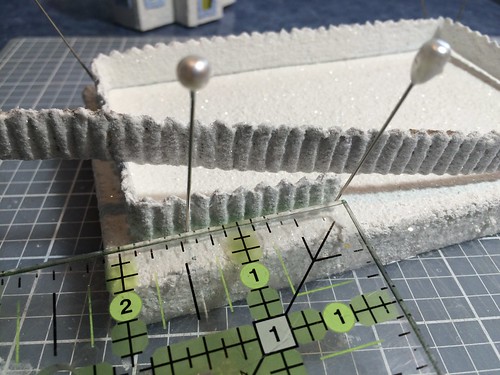
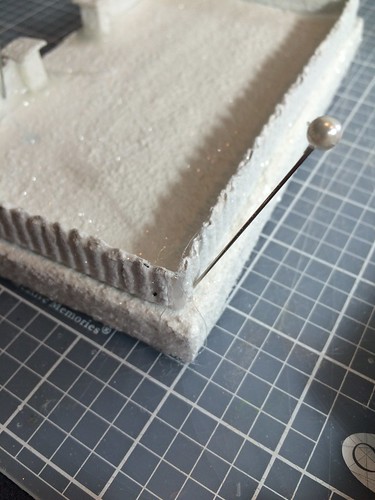
Now, where to cut the fence in the front?
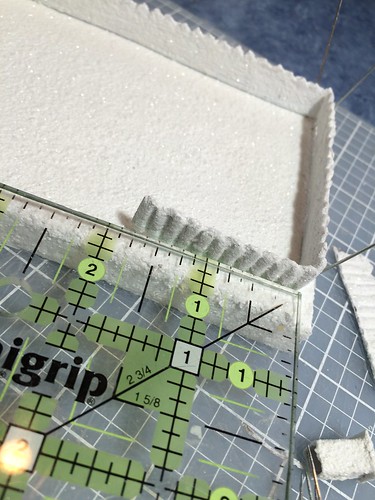
Measure the side you’ve already worked on. Then use that measurement as a guide for the other side.
Pinned and ready to set the fence posts.
Before gluing…
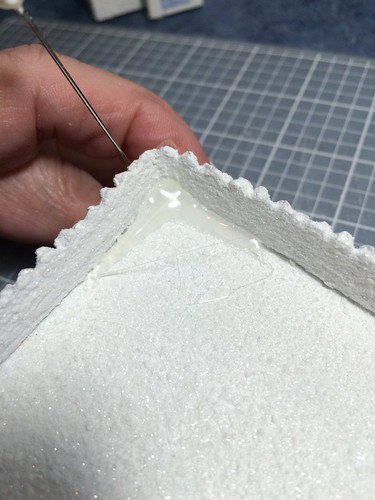
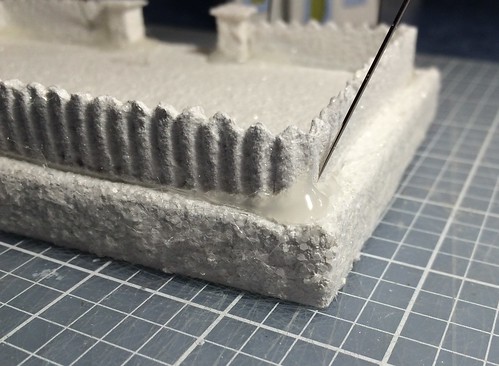
I use hot glue to attach the fence to the base. When gluing the cut corner, I spread a little glue all the way up and down the cut.
Each inside corner gets a bit of glue. I start in the corner and pull it away, in both directions. That gives the glue a larger area of contact and also makes it is easy to camouflage the glue as a snow drift.
I do the same on the outside corners.
If the fence is one long piece across the back, I will add an anchor of glue in the middle, on the inside of the fence to give it more stability. Just another little snow drift. 🙂
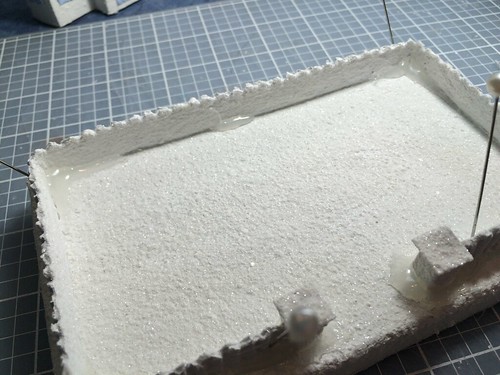
I glue all the way around the fence posts, drawing the line of glue a little bit down the fence line. People can’t resist touching the fence or the fence posts, for some reason. Those items need to be very stable for the sake of longevity.
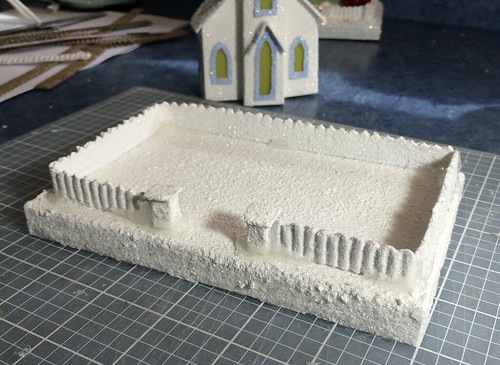
And there you have it. Ready to paint and glitter before gluing down the church. Much easier to do without the building in the way.
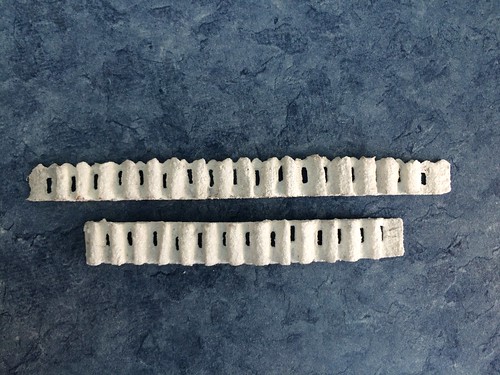
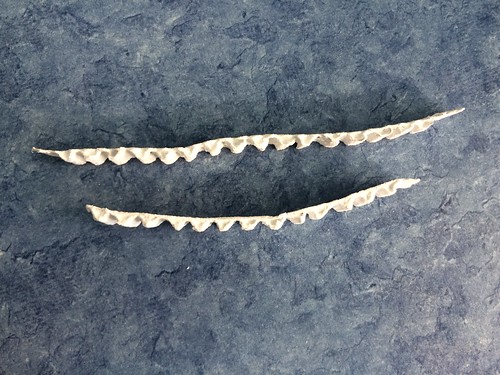
I experimented with two other options, using a hand punch that makes a small rectangular hole. These pieces were made with larger corrugated cardboard (four ridges per inch). The top piece of fencing was trimmed with the zigzag scissors. The other piece was left straight.
This is the Fiskars punch I used for these fences. It makes a 1/4″ rectangular hole. Yes, it is a bit tedious to punch all those holes, but it is worth it to me. I think the fences add a lot of lovely detail to the Putz houses.
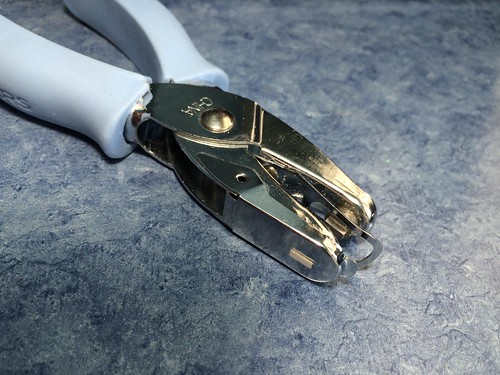
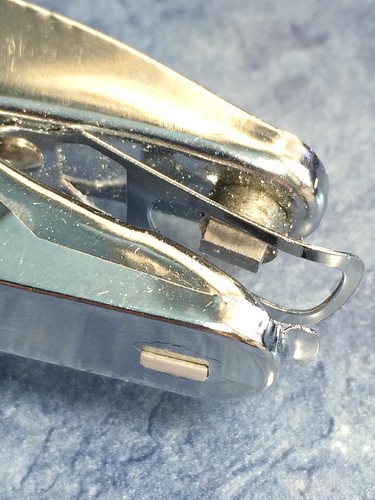
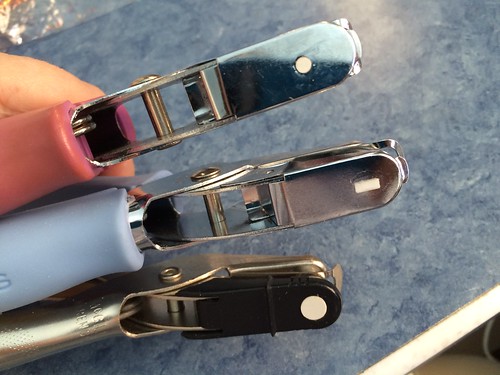
The little white rectangle on the punch is one I added. I do that to all my punches so I can easily see which is which. Why they don’t come that way is beyond me.
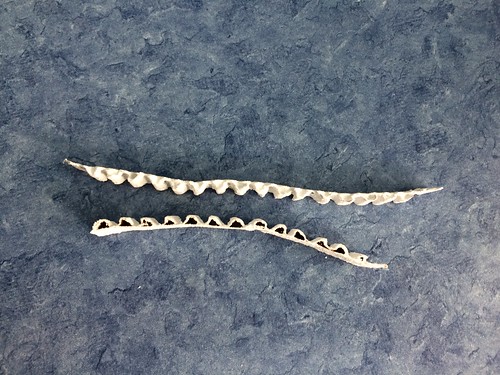
Here is a view from the top to show how well the sandy paint filled in the holes.
This picture shows the filled holes in the top bit of fencing. The other piece of fencing is sitting upside-down so you can see the holes. I don’t fill those as they will be glued down to the base and won’t show when the house it done.
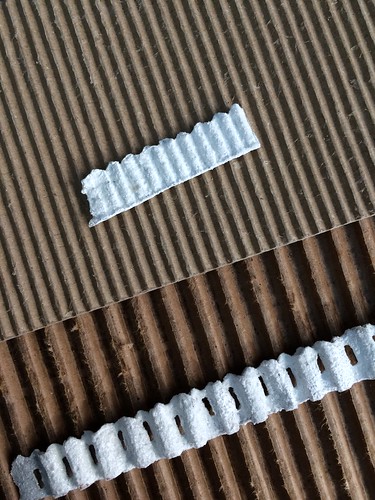
Close up of the bit of fencing that was trimmed on top with the zigzag scissors. Personally, I think the zigzag worked better with the smaller corrugated cardboard.

This picture shows the two sizes of corrugated cardboard I used. The top piece has about seven ridges per inch. The bottom piece has four ridges per inch.
I think that is all my mind can handle about picket fences for Putz houses for now. %-)
Here is a tutorial I made about making fences for Putz houses. It has instructions in it for a picket fence made with the above punch and a flat piece of cardboard. tutorial for making fences for putz houses
Here is a previous tutorial about attaching fences and posts to bases. tutorial: attaching putz fence and fence posts to the base.
If you make picket fences for Putz houses, I would love to see examples. However you make them!
~~Rhonda
One Comment
Lucy Foxworth gave me your website so I could see how to make fences.
I am doing the corrugated cardboard.
I was frustrated with the layer peeling and chat removal.
My husband suggested that I steam the cardboard over a small bowl of water into. I did this for 15 seconds.
What an amazing difference!
Totally clean removal.
I just started putzing in 2020. It is my COVID Anxiety Cure.
While checking out your website, I saw many houses that I LOVE.
Do sell your patterns?
Your fence ideas are great.
Thank you!
Priscilla