This one was fun. Maybe because I love the colors so much. In the last post, I left off here…
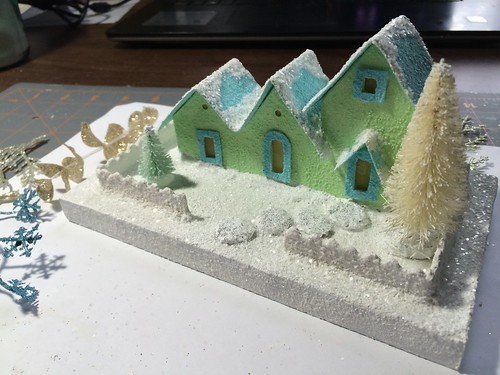
Partway through the process…
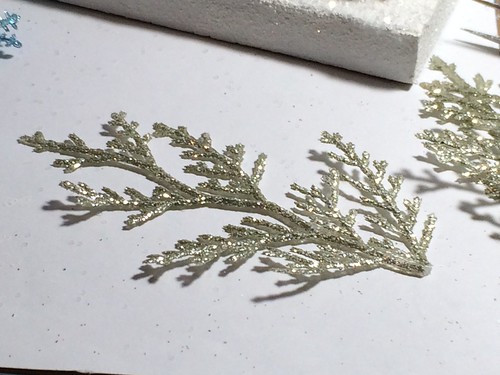
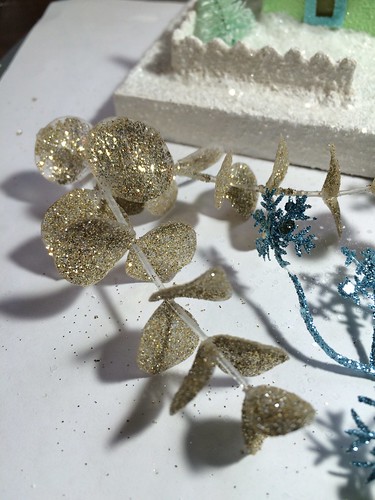
Here are some of the bits and bobs I used to embellish this Putz house.
Ferns, in a color I call “champagne.” These came on a long stem. I bought them on Amazon.
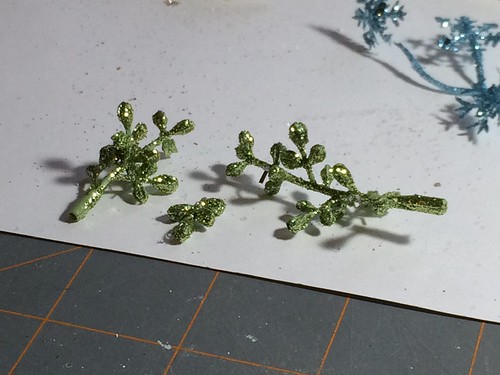
These little bits are parts of a larger stem. I pull them off the larger stem for embellishing. They are an odd color of green that doesn’t work well with many colors, but when they do work, it’s very pretty.
Eucalyptus stems. These are also that funny champagne color. Not quite silver, not quite gold. It’s nice to have the contrast of the larger leaves next to the smaller ones.
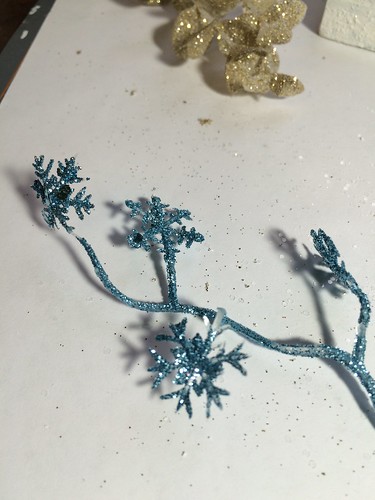
Blue snowflakes. They come on a long stem.
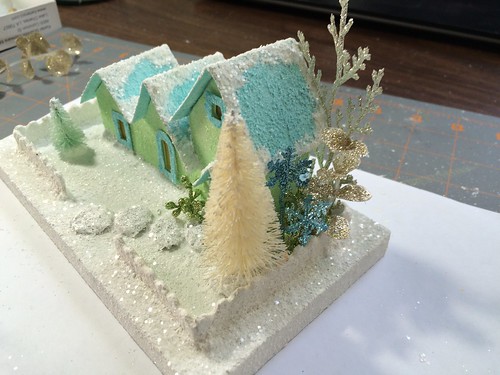
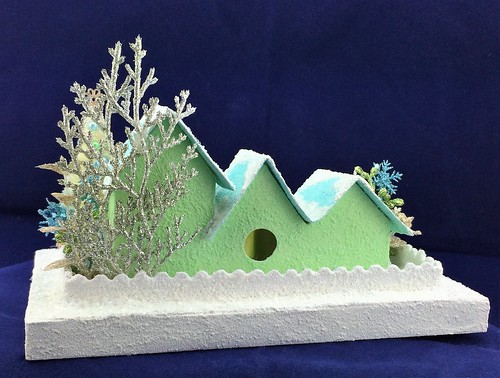
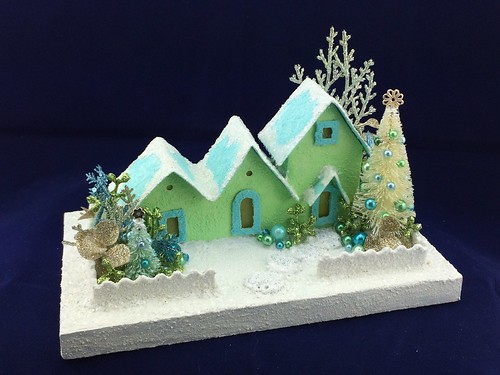
I also used small blue and green beads to embellish the bottle brush trees and around the bottoms of the trees. I was so into it that I neglected to take more photos of the process! Here is is finished.

The back…
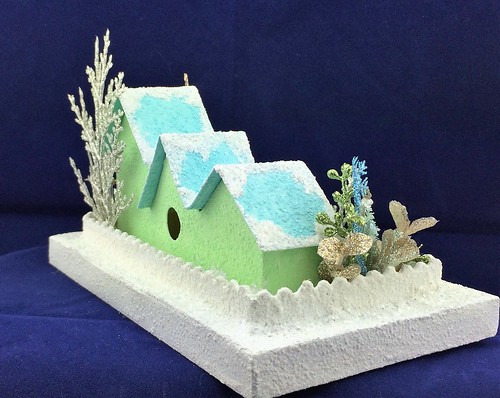
Front…

Close up…the tree topper is a bead cap that I pounded flat and glued on top the tree. The one I used is like these on Amazon.
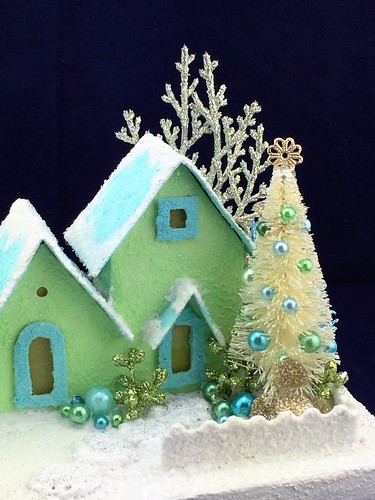
This Putz house is a new favorite. I will be hard pressed to put it up for sale!
Which one should I do next?
~~Rhonda
3 Comments
Gorgeous! The colors that your chose for the embellishment is perfect. I am again, in awe. I have started to gather materials for the creating process to begin. After a year of drooling I think I’m ready but not sure mine with come anywhere near yours.
I do have a question about the process and sorry if I missed it mentioned elsewhere. Have you ever attempted to give the houses/scenes a vintage feel. I would like to make mine more aged to match a village of very small Putz houses that belonged to my grandmother. Thanks.
Sandra, thank you for leaving a comment! Glad to hear you are gathering supplies to make your own little Putz houses!
I have not tried to give the houses I make an aged look. If you have some you would like to match, I would suggest you take a critical look at those. What size and shape are the windows? Are they framed or not? How is the snow applied? Try to match that on new ones you make. Copy the general size and the type of bases the originals have. Does the paint have some texture to it? Do the houses look a bit scruffy with age? You can duplicate that, too, with a little sanding or some rough patches. Trying to imitate the color would be important. Colors may be faded or muted. I hope that helps. And I’d love to see pictures when you get some made!
~~Rhonda
Rhonda
Thanks so much for taking the time to reply. Your input and information have given me much to think about. The houses are a tad scruffy looking as they were used by my grandmother then mother and now me. They are one of my prized possessions and now I wish I hadn’t packed them away with my Christmas decorations so I would have something to go by. I was thinking maybe I could age them by using Tim Holtz Distress Ink (re-inker) in the paint. The paint has texture so I think I’ll follow your suggest of adding sand to the paint or glue and a drop or two of the re-inker. The base is very basic and they don’t have fences. I think they were originally meant to decorate the tree as they holes in the back for what I would think would be to insert a tree light. I will post you some pictures once they are completed. Again, thanks so much.