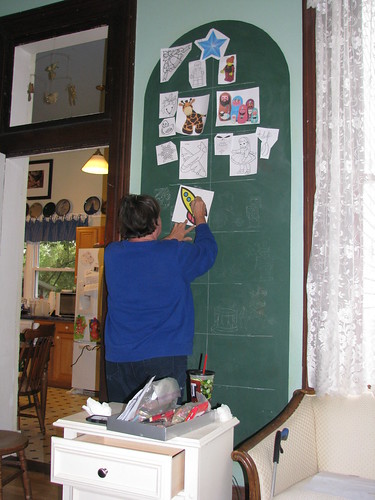
Genny and I worked on the chalkboard tree last weekend. It is a labor of love, that is for sure! It takes much longer than we think it will and that’s after doing a chalkboard tree the past three years. You’d think we’d have it figured out by now!
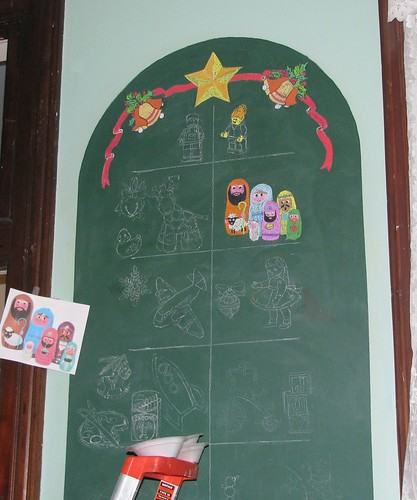
In a previous post, I showed you how Middle Daughter and I worked out the placement of the pictures I had printed. When Genny arrived, she began the job of chalking in the outlines.
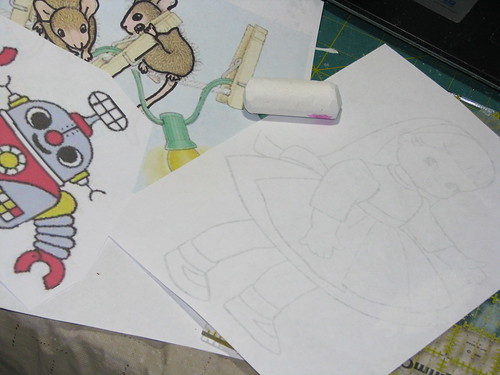
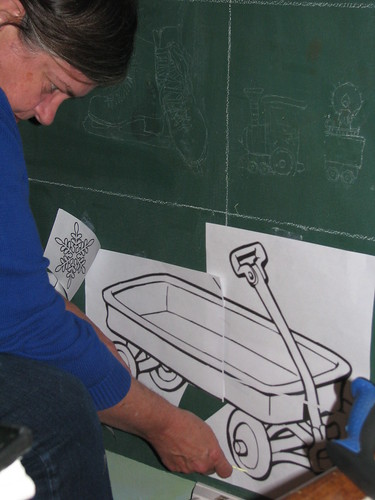
To make the transfer of the design, we use sidewalk chalk to cover the back of the picture. If you look closely, you can see the outline of the doll showing through the paper.
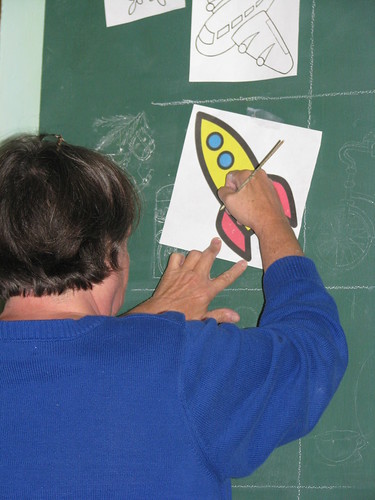
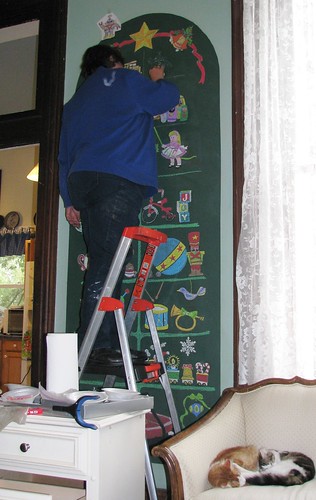
With the chalked side of the paper toward the chalkboard, Genny taped the picture to the chalkboard and then used a wooden skewer to trace the lines.
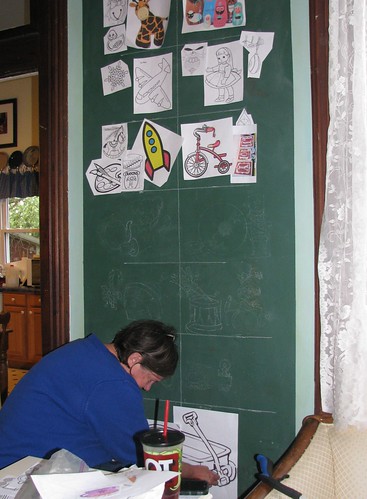
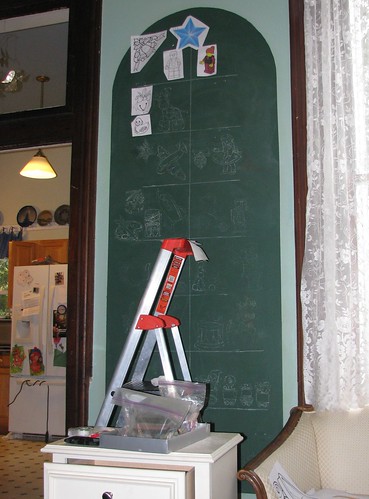
You can see in the picture below that some of the designs don’t show up as well as the rest. The ones behind the ladder were chalked on the back with regular sized chalk. The ones that show up best are chalked on the back with softer sidewalk chalk.
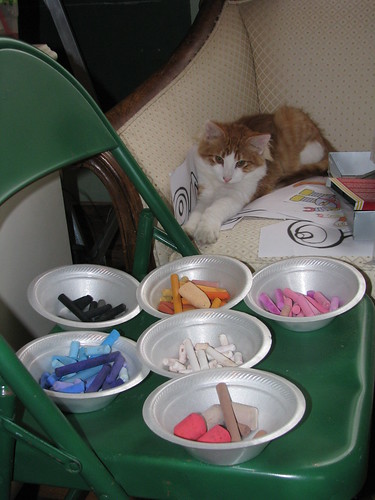
Finally! The fun part. Coloring! And so it begins…

Winston kept an eye on the chalk for us.
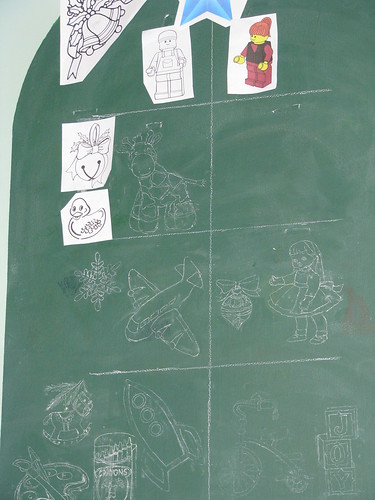
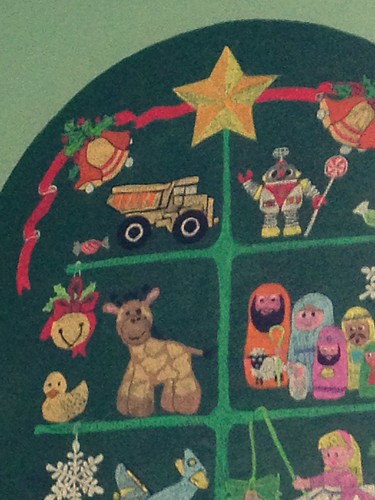
We planned to put a Lego boy and a Lego girl at the top, helping to decorate the tree, but the lines of the figures were too hard to duplicate with the chalk we have. So we “lego” of the Lego idea and added a dump truck and a robot instead.
It’s 98% there.
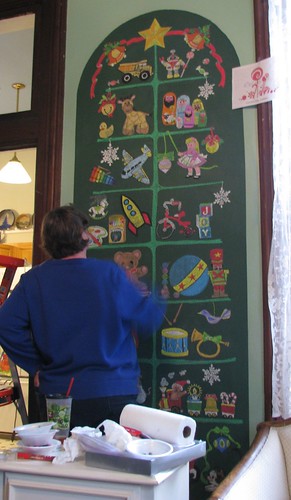
I plan to add some pine branches and red berries to the ends of the branches.

And the dump truck should be full of candy.
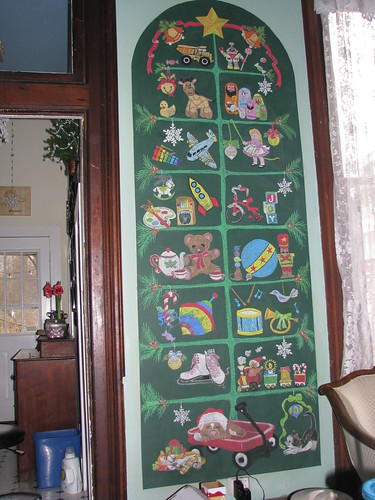
There are a few other tweaks that need to be done, but, for the most part, the tree is ready! If you’re in the area, come by for our Open House in December and see the chalkboard tree in person.
If you have questions about the process, please ask. I’m happy to share hints and helps.
~~Rhonda
3 Comments
I love this. I always enjoy seeing what you come up with for the chalkboard. This is a winner!!
That’s amazing! I do chalkboard art for our church. I’m not quite sure I understand how you trace the pics to the chalkboard. Can you explain in an email, if possible, for me. Thank you!! Beautiful work!!
I just looked it over again. I think I get it now! Lol! How cool!