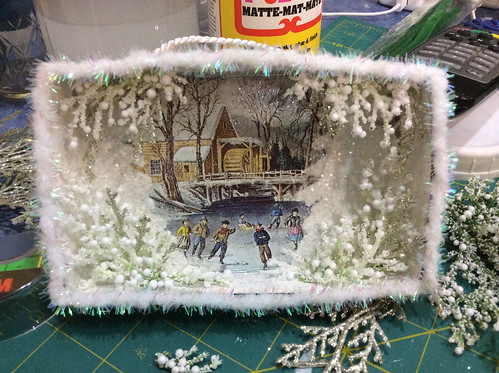
This box was one I liked a lot. It had two large white trees, one on each side, framing the mill pond and the skaters. I glittered the box with silver glitter glue inside and out (one side at a time) and let that dry. Then I covered the trees with a larger white glitter so they would stand out.
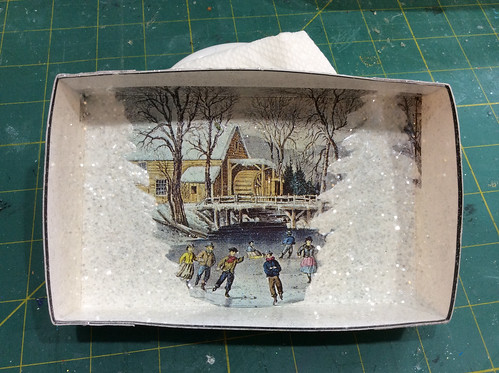
I used a small hole punch to punch holes on the top of the box to pull the hanging cord through. I began embellishing the box by adding white branches to the sides to bring out the snow theme.
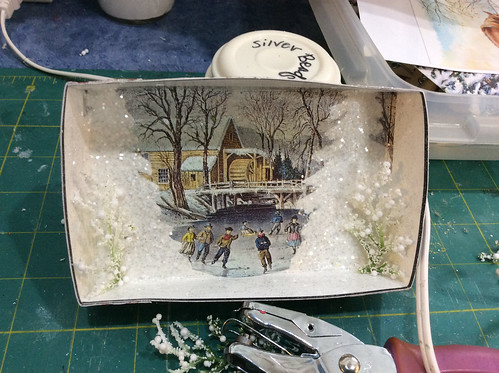
Layering the embellishments gives the box more depth.
After I hot glued the cording, I wanted to cover the glue on the inside of the top of the box, so I added some branches there.
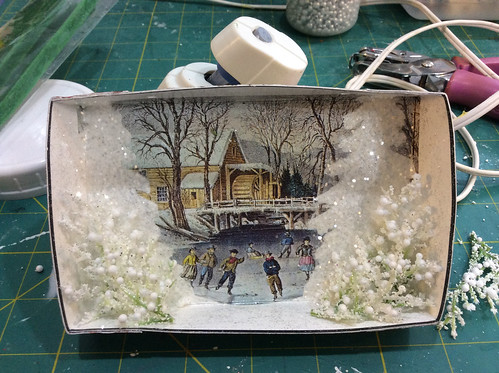
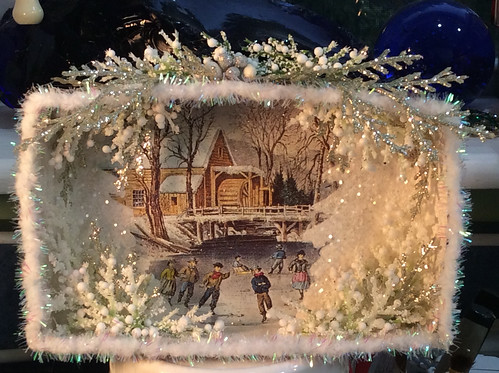
Silver branches added more sparkle. Then I hot glued a pretty trim around the edge of the box.
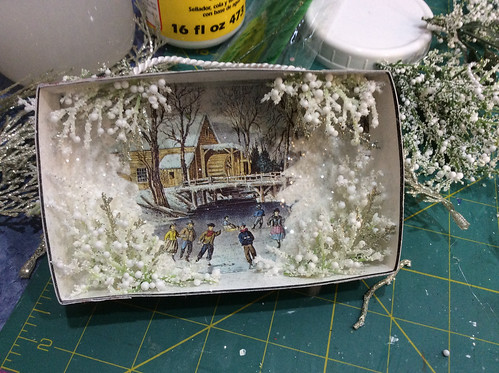
I added silver branches to the top of the box and had them hang over the edge just a bit. A little dab of hot glue held them in place. A few white branches tied in the other embellishments and a bit of silver and white in the center finished it off.
By the time I finished the embellishments, the white trees on the card didn’t show up as much as I had hoped, but I do like the way the box turned out.
Follow this link for a tutorial on making Christmas card shadow boxes.
Similar Christmas card shadow boxes I have made are featured in my Etsy shop. ChristmasNotebook
~~Rhonda