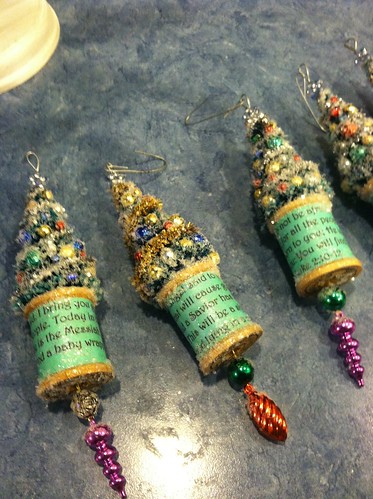
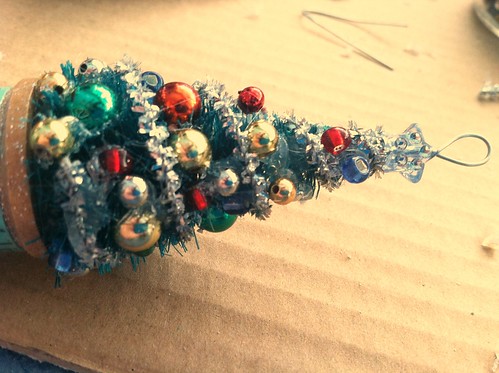
Two of the {many} things I brought home from my mother’s house after she passed away last Christmas were her button and spool collections. I love them both and have been using them in my crafting. With the spools and some small bottle brush trees, I made these ornaments.
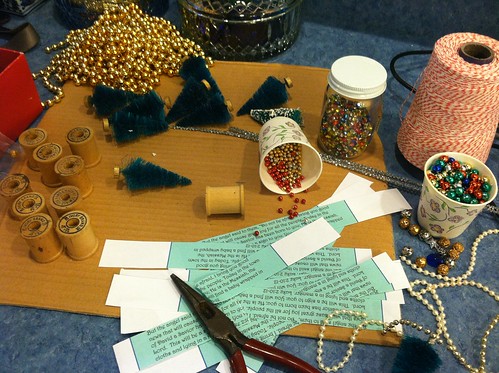
Supplies needed:
- 2″ – 2 1/2″ bottle brush trees, bases removed
- wooden spools
- strips of text cut to fit the height of the thread area of the spool and long enough to go all the way around (use pages from old books, magazines, wrapping paper, or type your own phrase and print it)
- ornament hooks for making hangers
- wire cutters
- scissors
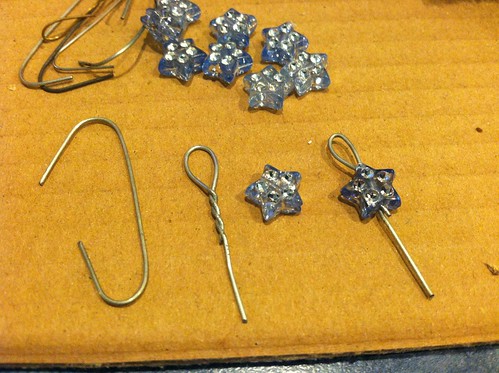
- star shaped beads for the top of the tree
- miniature ornaments and beads to dangle under the spool
- strings of small beads or tinsel pipe cleaner to wind around the tree as a garland
- fine point tweezers
- small beads to glue to tree as ornaments
- glitter
- white tacky glue or mod podge
- silver glitter glue
- paint brush for applying white glue and glitter glue
- hot glue gun
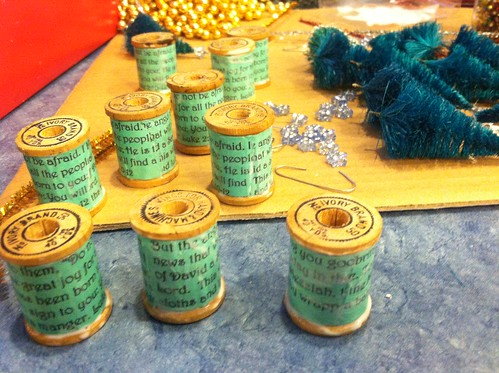
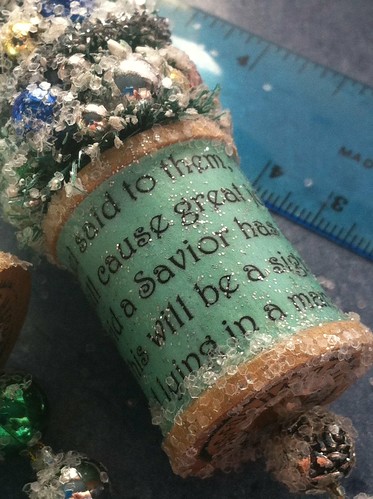
To decorate the spools, paint each spool with white glue, all the way around where the thread would be. Place the strip of paper over the glued area and wrap it around, adding glue if needed. When the strip of paper overlaps, tear the remainder off, then paint glue under the end of the paper and over the entire top of the strip of paper. Smooth out any bumps that may appear by rolling the handle of the paint brush over the paper.
When the glue has dried, paint glitter glue over the entire spool, including the text. The glitter glue I used leaves a thin film of glitter over everything and doesn’t hide the text at all. Don’t use a thick coarse glitter that will cover the text and make it hard to read. If you don’t have glitter glue, just add some fine silver glitter to white glue and paint it on.
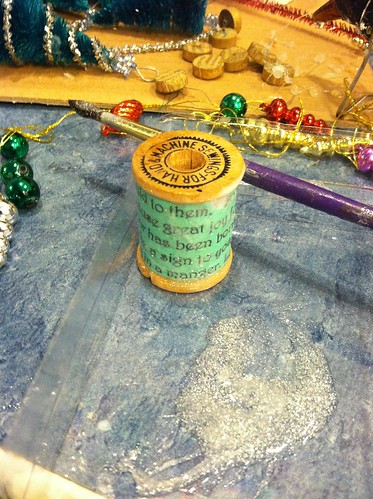
This is the glitter glue I used:
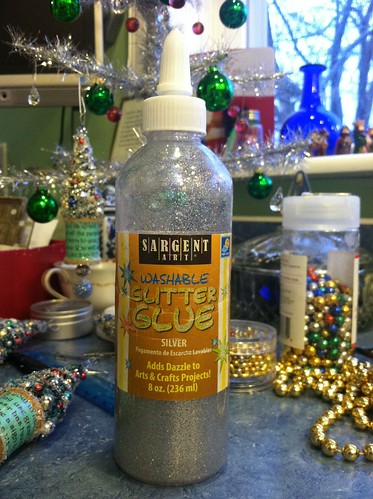
No, I didn’t squirt the glue right onto the counter. The glitter glue is actually in a plastic container, though that is hard to tell in this picture.
Prepare the dangling ornament for the bottom of the spool by adding a bead to the string of a miniature ornament.
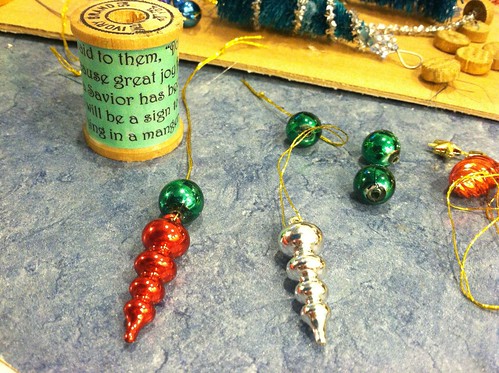
When the glue is dry on the spool, thread the beaded miniature ornament through the spool from the bottom, checking to be sure the text is right side up. Glue the cord of the miniature ornament to the top of the spool, using the hot glue. Be sure you leave enough room for the little ornament to hang freely below the spool.
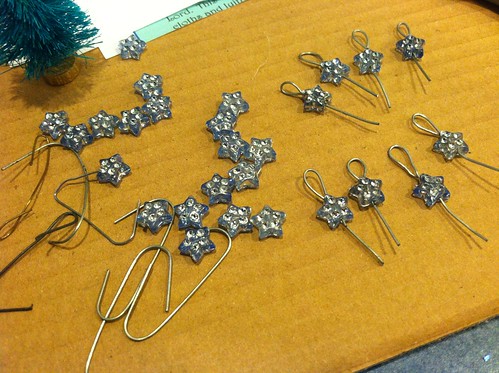
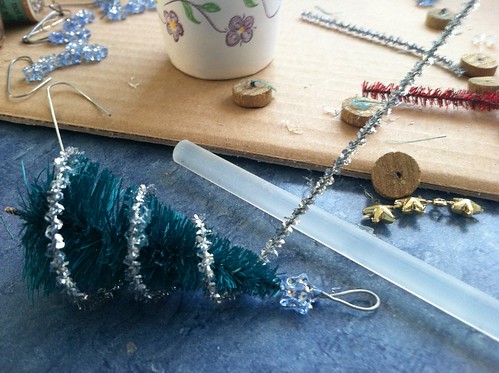
To make the hanger for the top of the tree, use needle nose wire cutters to make a loop in one end of the ornament hook. Wind the wire tightly around itself so it will fit through the hole in the star bead. Be sure the star is right side up. Trim the tail of the wire to about 1/2″.
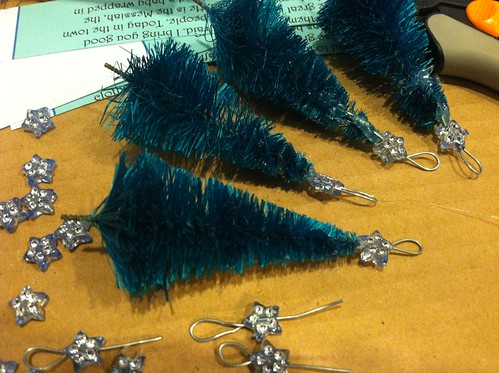
Glue the star to the top of the tree, sliding the tail of the wire down into the tree so it sits along the center wire of the tree. Glue the tail to the center of the tree.
You can use strings of beads or tinsel pipe cleaners to decorate the tree as garlands. Either way, start by using the hot glue to glue the end at the bottom of the tree. Set it so it will slowly slant up and around the tree.
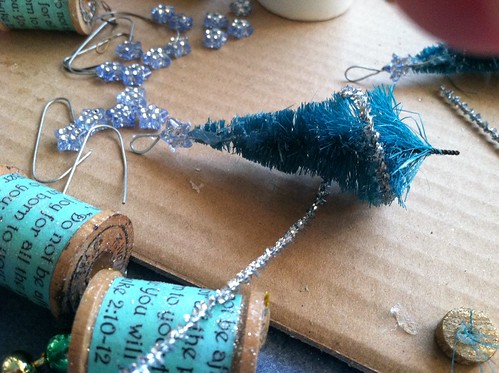
When the glue at the end is hard, continue around the the until the top is reached, using dots of hot glue to hold it in place.
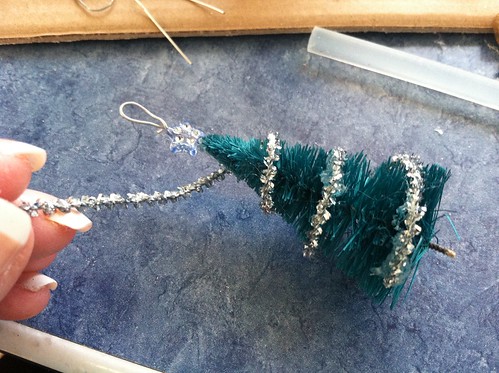
When you get to the end, wrap the tinsel pipe cleaner just under the base of the star and trim it with the wire cutters so it is flush with the tree. If a sharp end sticks out, push it into the tree so it won’t catch on anything or scratch anyone.
When finished, use tweezers to pick the hot glue “spider webs” off the tree.
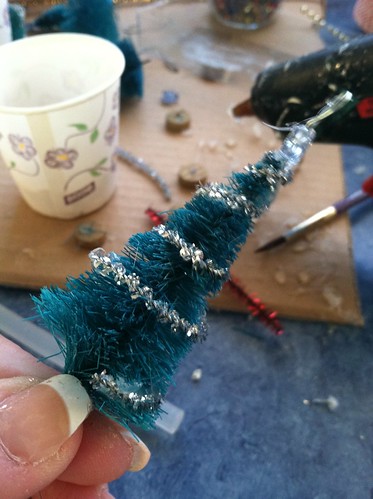
After the garland is done, use fine point tweezers to add small beads to the tree as ornaments. Believe me, the right tweezers make all the difference! I use “parade” bead necklaces and cut the beads apart for the larger ornaments. Don’t worry about the tiny “tail” of string. It’s easy to turn the bead to hide that. For smaller ornaments, I use colored and metallic beads.

Fine point tweezers make this job easier than it would be otherwise.

When done, use the tweezers to groom the tree of hot glue “spider webs.” It will look much more professional and finished if you eliminate those glue threads.
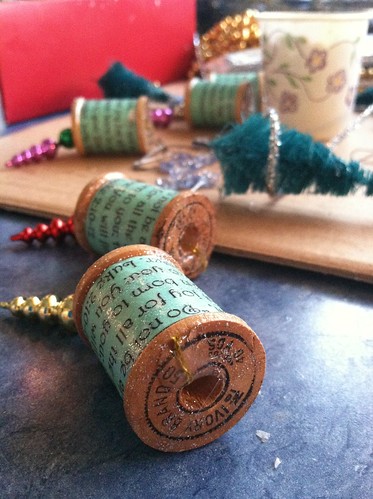
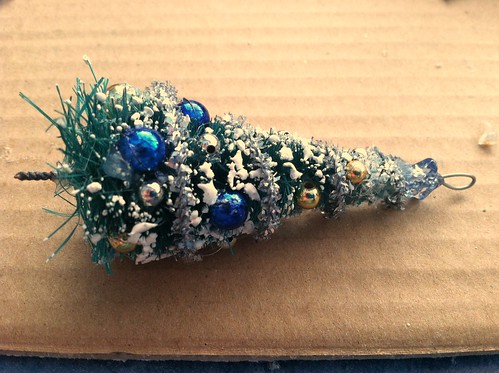
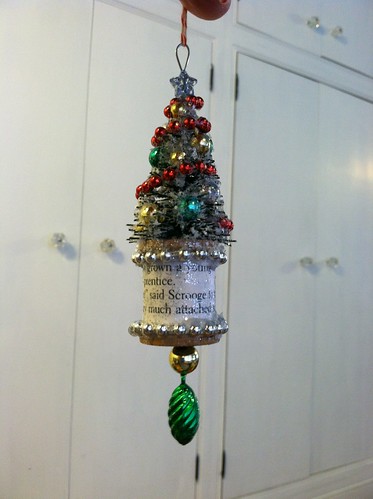
Using hot glue, attach the finished tree to the top of the spool. The ornament can be done at this point, or you can spread it with glue and sprinkle on some glitter. Personally, I lean toward “can’t have too much glitter.”
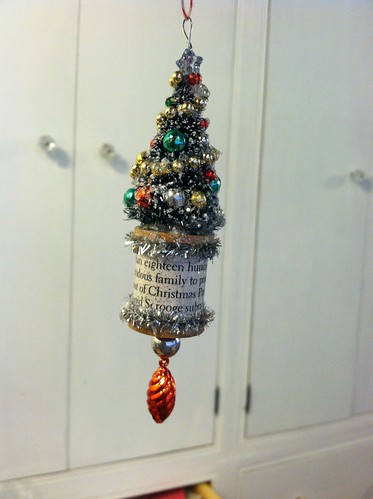
This is a variation of the ornament, using strings of very small beads as a garland on the tree and also as a trim on the spool.
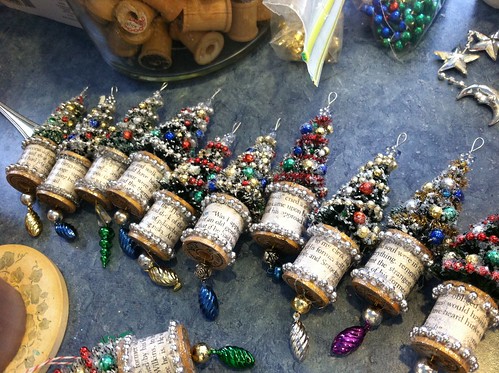
I plan to make more of these ornaments. They were fun to put together.
Update July 26, 2016 / Click this link for another post on making these ornaments. A few helpful tips. spool ornaments
Similar spool ornaments I have made can be found in my Etsy shop. ChristmasNotebook
~~Rhonda
16 Comments
Thanks Rhonda.
They are beautiful.
Hi Rhonda! I simply love these! Not only is your mother’s memory alive, you’ve been able to share this with so many people!!!! I have a few vintage spools and I just “found” some bottle brush trees (they are hard to find!), so I’m going to try these. Love being able to repurpose items, which I thought I would just toss!!! So creative! You helped me so much about a year ago with the Putz house patterns! I have finally gathered enough courage to try and make some. They are definitely primitive looking, but the more I make I’m sure the better I’ll get at it! Take care and Merry Christmas! – Dawn
Thanks, Dawn! So glad you like them and I’d love to see your finished ornaments! ~~Rhonda
These are beautiful. I really like them. You do a good job of keeping the proportions looking good to the size.
Those are so pretty!have you ever thought of opening an etsy.com store?I think you’d do really well..
These are darling, and what a wonderful way to remember your mother!!! They have such a beautiful, vintage feel to them and I will definitely be making something like these. Thank you so much for sharing your talent!!
LOVE THESES I PLAN TO MAKE THEM MORE VICTORIAN. GREAT WAY TO REMEMBER YOUR MOM FOREVER. TRULY UNIQUE ONE OF A KIND ORNAMENTS YOU CREATED TO HONOUR YOUR MOM. THNAKS FOR THE IDEA
~~Rhoada these are absolutely gorgeous! I have a bunch of bottle brush trees from my great-grandmother’s Christmas collection. She was born in 1898 and some of them are quite tattered and rough looking. I can’t throw them away due to sentimental value. However, after reading your post now I think I can dress them up following your tutorial. Thank you for keeping your mother’s memory alive and allowing me to keep “Nana’s” memory alive as well. Thank you for sharing. Take care and happy holiday’s. ~Cyndy
~~Rhonda, thank you for sharing your beautiful idea and honoring your mother. I have a beautiful Christmas collection which belonged to my great-grandmother, who was born in 1898, and there are several bottle brush trees that are quite tattered and rough looking. I can’t possibly throw them away due to sentimental value. Your tutorial has given me an idea what to do with them now. Thank you so much for sharing. Take care and Happy holiday’s. ~Cyndy
what a lovely idea kath
Thanks, Kath! They were lots of fun to make. 🙂
Thank u for sharing
where can I find those little bottle brush trees?
Carmela, thanks for leaving a comment! The bottle brush trees can be found at most craft stores. Also, there are quite a few craft supply resources that can be found by searching online for < bottle brush trees >.
I love these gorgeous tree ornaments. I will be crafting Christmas all year ‘round. It’s my favorite holiday and my favorite crafting theme.
My mom is blind, but I want to make this Christmas 7 months since my dad passed away, her most special. I’m making most of the ornaments for her tree, or contrafying (my word) some random ornaments. She will be able to feel them, in some cases hear and feel them.
Love these, thank you
I love these ornaments! My Christmas theme is Christmas trees of all sizes and colors grouped together or just scattered around in various places. These are a perfect addition! Thank you for sharing. Merry Christmas!